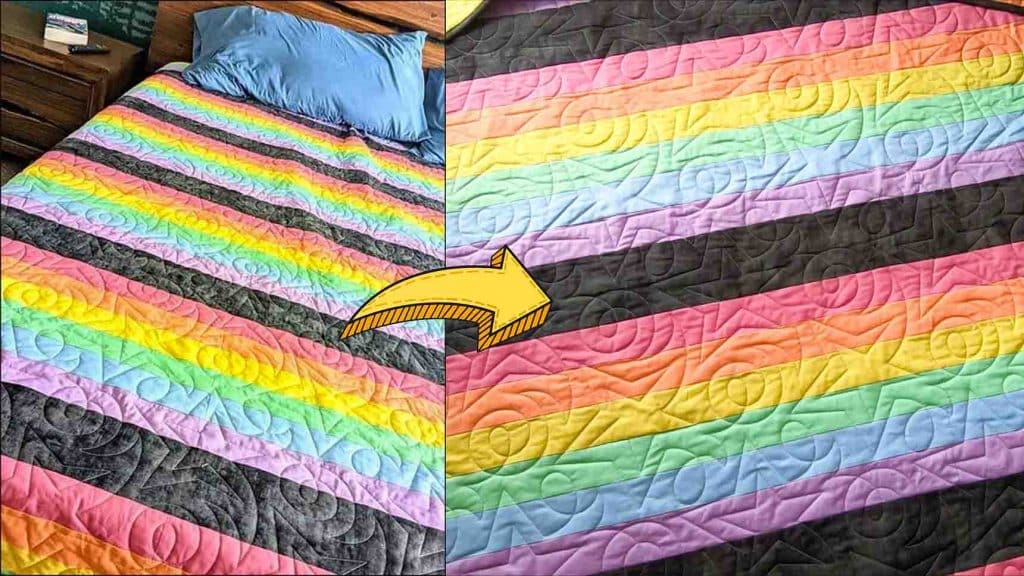
I always love pretty and colorful quilt patterns, so when I came across this rainbow road quilt from Moonkin Stitchery on Youtube, I immediately tried making one. It’s pretty easy and fun to make if you’ll follow the free pattern carefully. You can also use any other color if you like – the options are limitless. Try making one today by learning the step-by-step instructions below.
Materials:
- layer cakes
- yardage of six different rainbow-colored fabrics
- background, binding, backing, and batting fabrics
- rotary cutter
- sewing machine
- iron, for pressing
- click here for the free pattern and sizes
Directions:
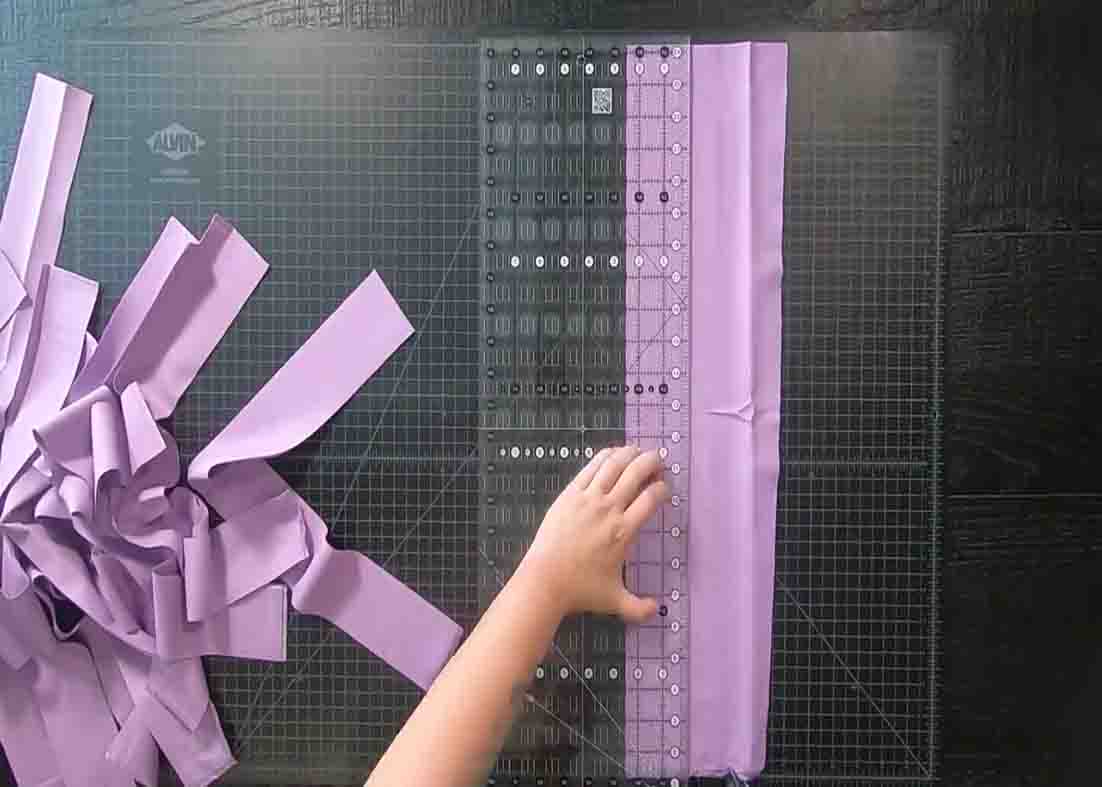
Step 1
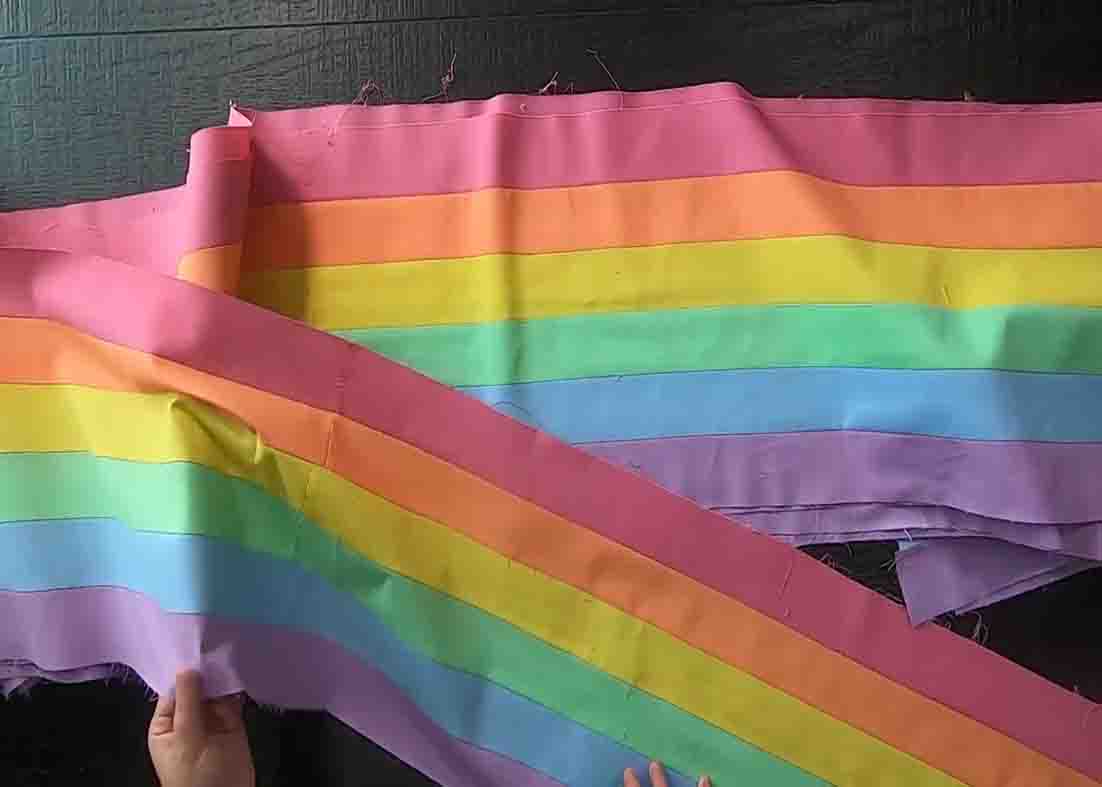
First, take the yardage of your six different rainbow colors and cut them into 2 & 1/2″ x WOF strips. Now, if you’re making the throw size and up, with each color, daisy chain your strips together right after each other to make one continuous strip color. Repeat this per color. After your colors are chain pieced, cut your strips at 112 inches. (This is for the king size, check the link above for the free PDF that includes other sizes for this quilt). Sew your rainbow strips together to complete the rainbow strip set, then press them.
[social_warfare]
Step 2
If you cut your strips a little longer than normal – trim and square everything up at the end. After this, finish your quilt by adding your background fabric between each row. Once your quilt top is completed, go ahead and quilt it.
Rainbow Road Quilt Pattern Tutorial


