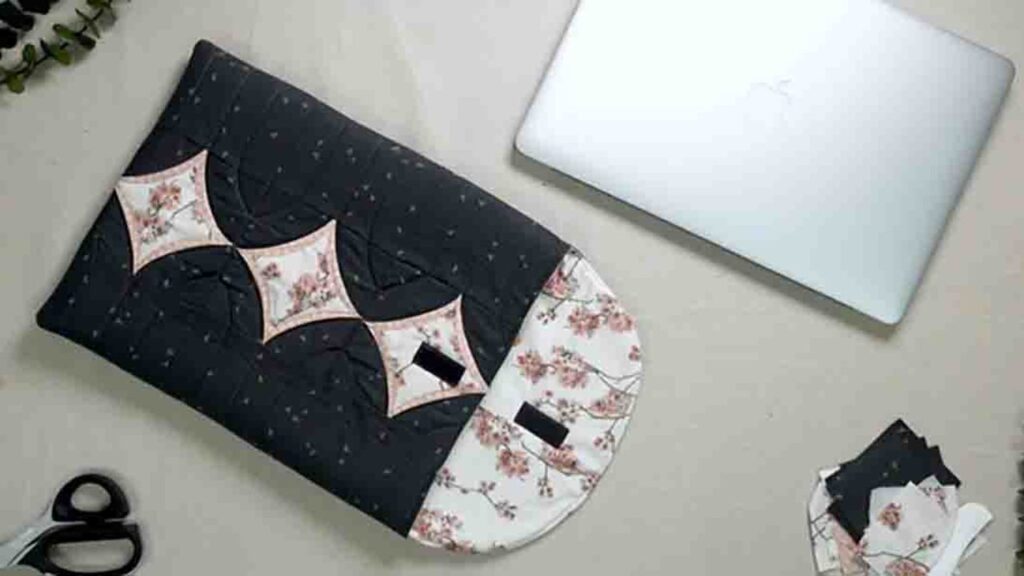
I have to admit, this quilted laptop case from Art Gallery Fabrics on Youtube is one of my favorite quilt projects I made to date. Even though this might be challenging to beginners like me, it’s quite fun to make, and I feel so satisfied with the outcome. So if you’re a beginner looking for a more advanced quilt, I recommend this project! Watch the video tutorial below to learn the step-by-step instructions.
Materials:
- 1/2 yard printed fabric A
- 3/4 yard printed fabric B
- 5/8 yard printed fabric C
- 5/8 yard solid-colored fabric D
- template
- ruler
- rotary cutter
- pins
- hi-loft batting
- velcro
- (click here for the free pattern)
Cutting:
- two 20 1/2″ x 4″ rectangles (from fabric A)
- two 15 1/2″ x 4″ rectangles (from fabric A)
- twenty-eight 3″ squares (from fabric A)
- twenty-eight 3″ squares (from fabric B)
- one 12 1/2″ x 15 1/2″ rectangle (from fabric B)
- one 12 1/2″ x 20 1/2″ rectangle (from fabric B)
- one 12 1/2″ x 20 1/2″ rectangle (from fabric C)
- one 12 1/2″ x 15 1/2″ rectangle (from fabric C)
- seven 3″ squares on point (from fabric C)
- one 12 1/2″ x 15 1/2″ rectangle (from fabric D)
- one 12 1/2″ x 20 1/2″ rectangle (from fabric D)
Directions:
Step 1
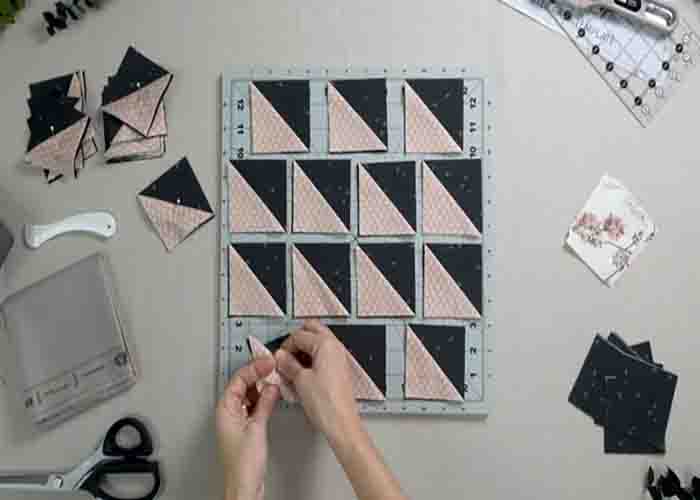
Before starting, make sure to cut all the required fabric pieces for this project. Next, start by laying out your 3″ squares from fabric B, then fold them corner to corner and press. Now, for block 1: take one folded square from fabric B and place it on the bottom right corner of one 3″ square from fabric A. Repeat these steps and make 14 pieces in total. Block 2: take one folded square from fabric B, and place it on the bottom left corner of one 3″ square from fabric A. Make a total of 14 pieces. Block 3: sew blocks 1 and 2 together, making 14 pieces in total. Block 4: sew two block 3 together. Make seven of these.
[social_warfare]
Step 2
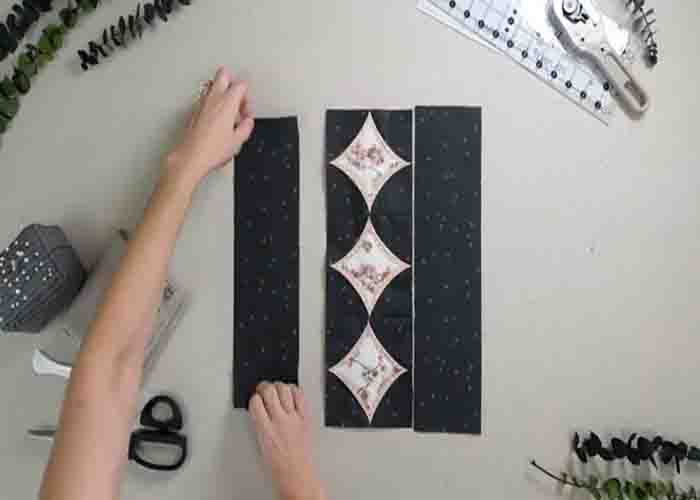
For the cathedral windows, place one 3″ square from fabric C on point at the center of block 4. Grab the folded edge side of fabric B and fold it towards fabric C. Topstitch it and repeat this step on the remaining three sides. Do this to all block 4’s. Next, sew three block 4’s together for the front and four block 4’s together for the back. After this, sew a 15 1/2″ x 4″ rectangle on each side of the 3-block structure. This will be the front of the laptop case. Next, sew one 20 1/2″ x 4″ rectangle on each of the previously sewn 4-block structure. This will form the back of the laptop case. Use the template to trim the top of the 4-block structure.
Step 3
Now, place the batting on the back of the block and quilt it. After quilting, trim the excess batting all around. Next, take your 10 1/2″ x 20 1/2″ block and 10 1/2″ x 14 1/2″ block, and place them right sides together, then sew on the sides and bottom. Turn right side out afterward. After this, take your fabric C and place them right sides together and sew them together, leaving a 3″ to 4″ gap at the bottom. Now, take your main structure with the batting, and insert this inside the fabric C lining. Sew them together and clip the corners. After sewing, turn it right side out through the gap at the bottom of the lining. Close it by hand-stitch. Next, topstitch around the perimeter of the edge. Finally, take two pieces of velcro and sew them to your case to form your closure.
Quilted Laptop Case with Free Pattern


