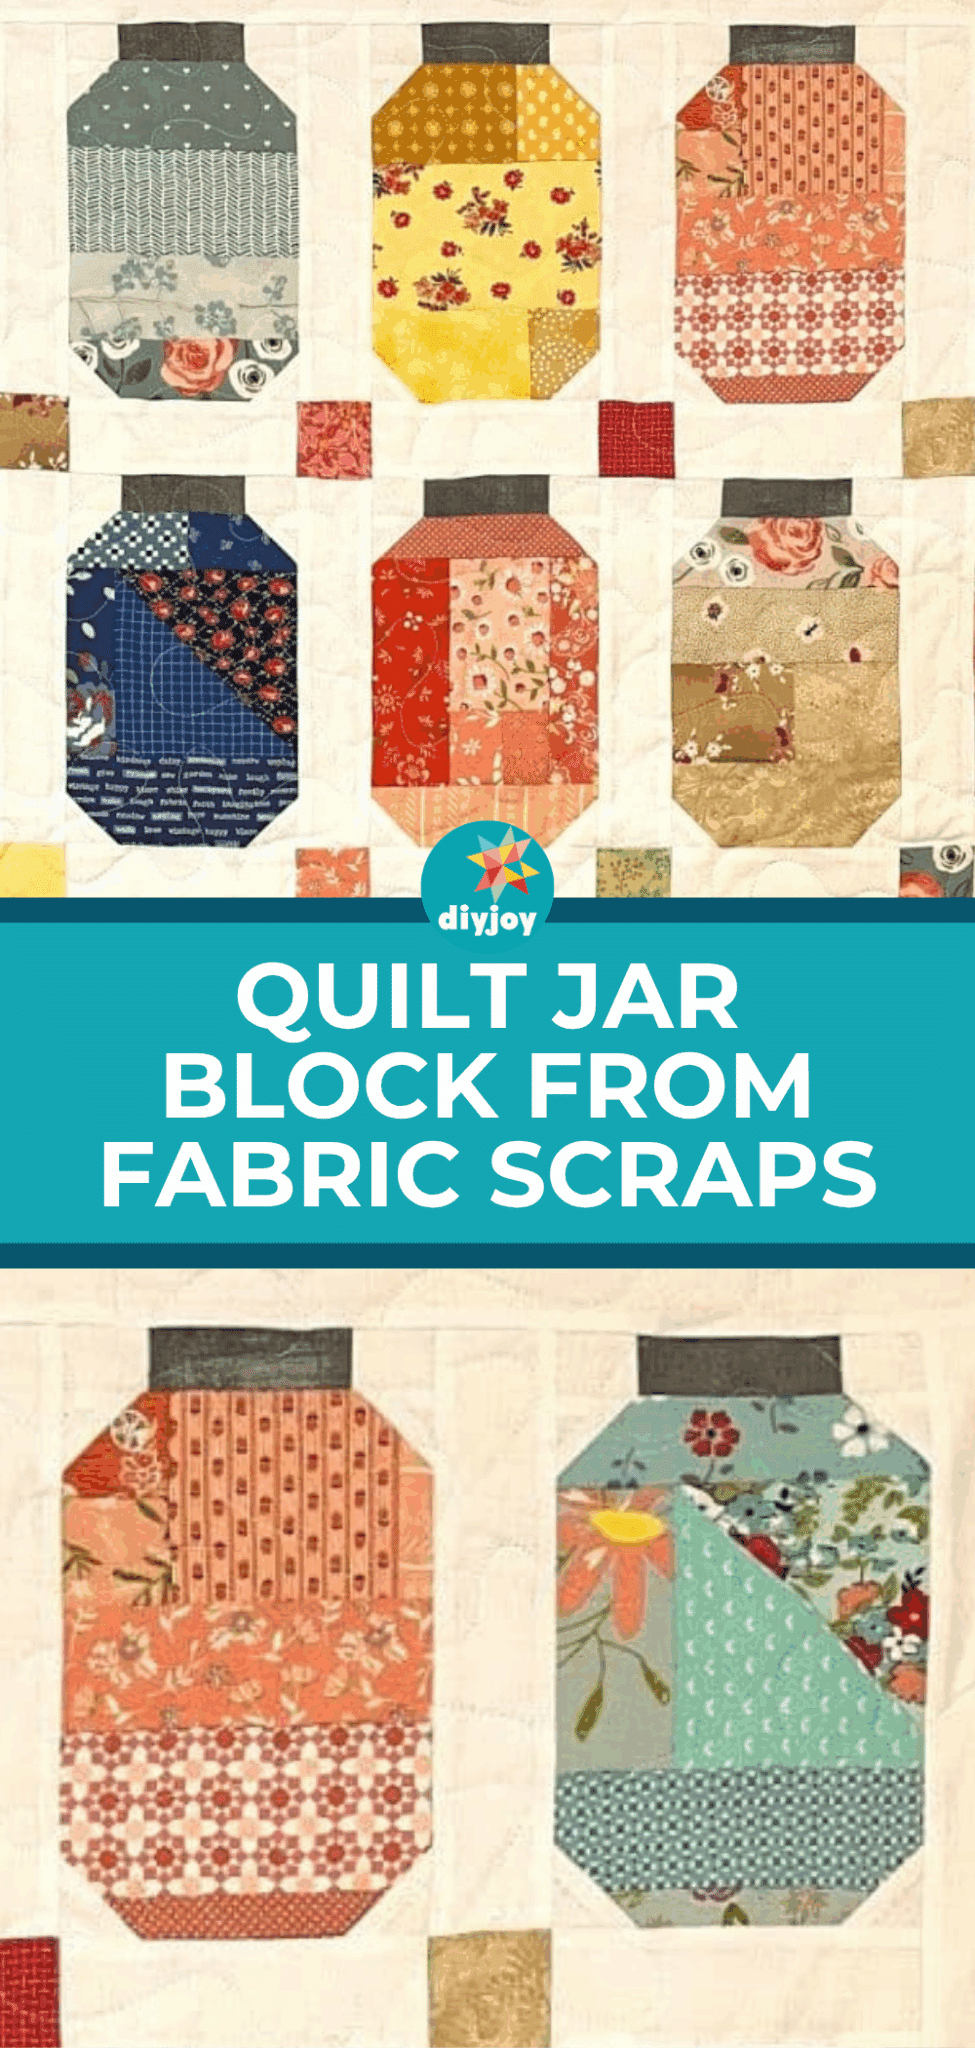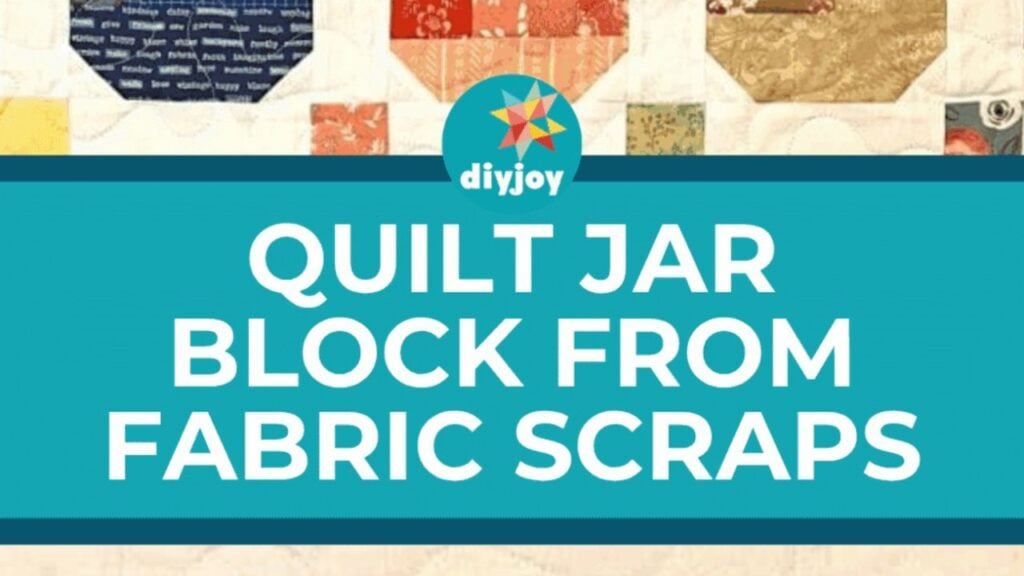
Here’s a great idea for your excess fabrics from past sewing projects. We want to recycle and reuse them as much as we can instead of throwing them away, so I am sharing this lovely tutorial I found on Youtube by The Quilting Compound. She made a quilt jar block from fabric scraps, and it turned out so beautiful! Read on to learn the step-by-step instructions. Happy sewing!
Materials:
- fabric scraps
- white fabric
- fabric for the lid of the jar
[social_warfare buttons=”Facebook,Pinterest,Twitter,WhatsApp”]
Instructions:
Step 1:
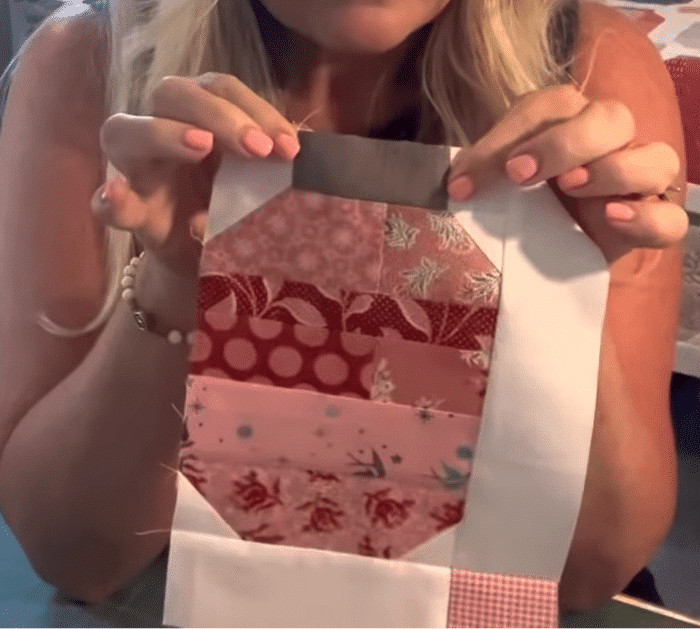
Start with 5-inch wide strips or you can just sew different widths of fabric as you will just trim them later on into a 5-inch wide and 7-inch tall block. Use the same colors of fabric for each block for a more cohesive look. Sew them together, then press the seams.
Step 2:
Make the 4 corner squares from the white fabric. These squares measure 1 1/2 and 1 1/2 inch squares. You will sew half the triangle of the white square to the corners of the 5-inch wide block diagonally to make the bottom of the jar. Do the same for the other side and the top part. Press the seams down.
Step 3:
For the lid, cut a piece of fabric measuring 2 7/8″ long by 1 1/4″ wide. Then the two white squares for the ends to make a 5-inch long strip. Sew them together, then fold the seams.
Step 4:
Pin the lid into the top of the jar, then sew them together. Once done, press the seams. You need 25 jar blocks for the quilt.

Step 5:
Cut 7 3/4″ x 2″ strips for the latticework. Sew on the right side of the jar then press. For the bottom lattice, 2″ x 2″ square, and for the cornerstone 5″ x 2″ strip. Sew the two together and press. Once done, sew to the bottom of the jar block. Then continue until you have all the jars. For the border, use 2-inch strips all the way around.
Quilt Jar Block From Fabric Scraps