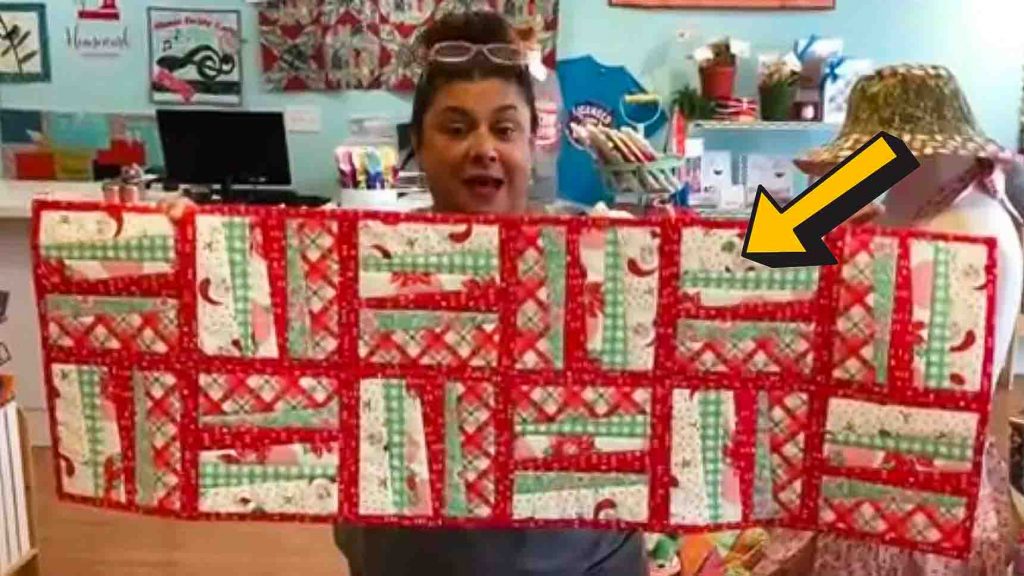
I love quilt-as-you-go projects, and this one from Not Your Mama’s Quilt Store on Youtube is my favorite way of doing this technique. I’ve tried different variations of this quilting technique, but this one is the easiest for me. I can finish up a whole quilt in less than a day – quick, easy, and absolutely fun to do. So if you want to try this also, watch the video tutorial below and learn the step by step instructions.
Materials:
- different patterned fabric
- binding fabric
- batting
- sashing strip
- background fabric
- (click here for the free pattern and exact dimensions)
Directions:
Step 1
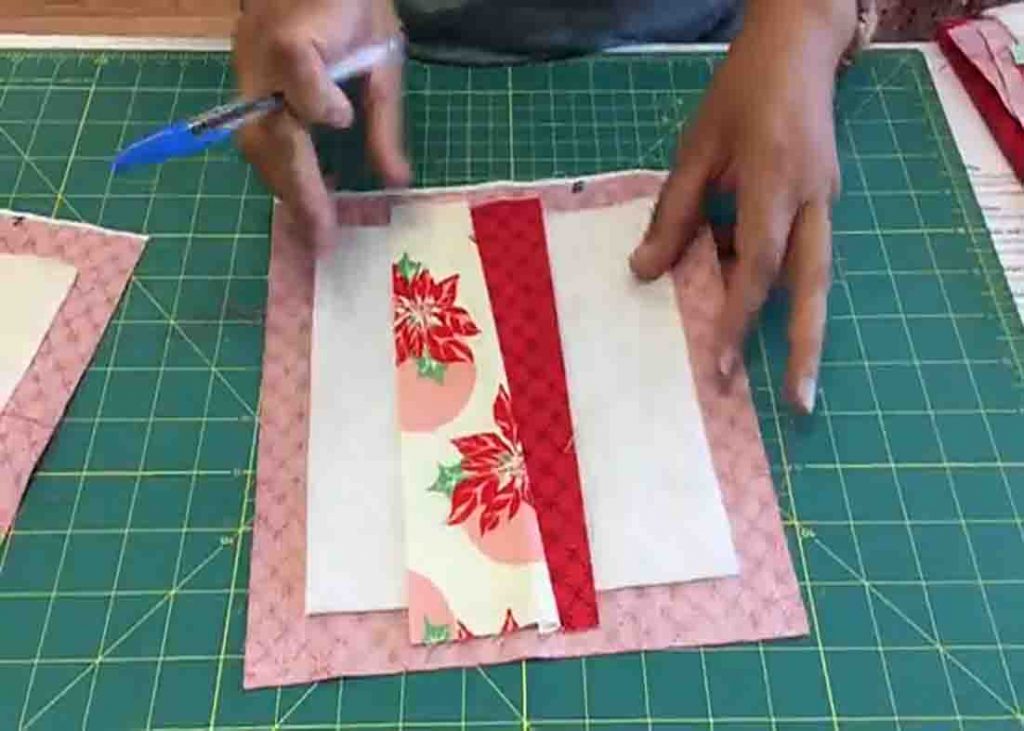
Cut your background fabric to size, then cut your batting smaller. (See the free pattern.) Now, start laying out your pieces. Lay two of your quilt pieces, right sides together, pinning them to your batting. Start sewing a little bit in from the batting with a quarter-inch seam, and stop just before the edge of the batting. Continue adding your quilt pieces with the same process until you finish a block. After this, trim it. Repeat these steps until you have enough blocks for your desired quilt size.

[social_warfare]
Step 2
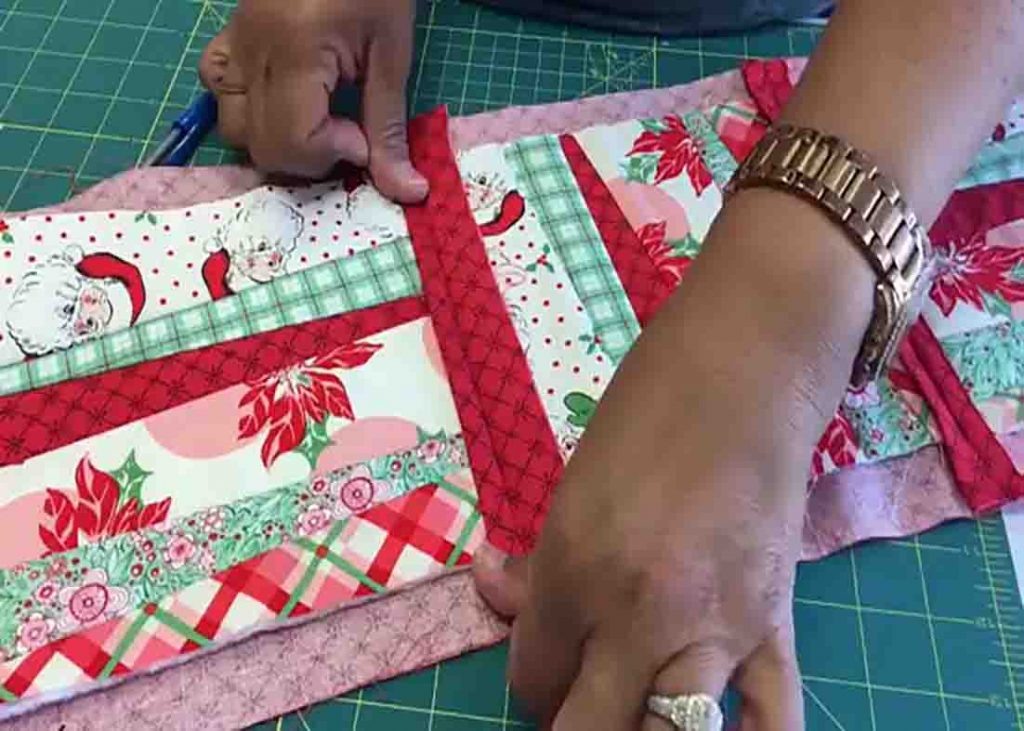
Once you have all your blocks, start putting them together. Put two blocks, wrong sides together, then sew a seam right along the edge of the batting all the way across. After this, take it to the iron board and press your pieces open. Next, take the excess fabric between the blocks, and fold it inwards. Do the same to the other piece of fabric. After this, topstitch right along the edge of the folded fabric. Now, you have your sashing in place. Repeat these until you have a whole row, then make other rows, and put them all together to finish the quilt.


