Have you seen this quilt pattern before? It might look tricky and hard, but it’s actually easy. When I first saw this pattern, I also had the same reaction and stared at it for a long time. I wondered how I could recreate it. I searched online and had a hard time finding a video as I did not know it was called the card trick pattern. After a few minutes, I was able to find this tutorial by Sew Yeah.
RELATED: Easy Cathedral Window Quilt Tutorial
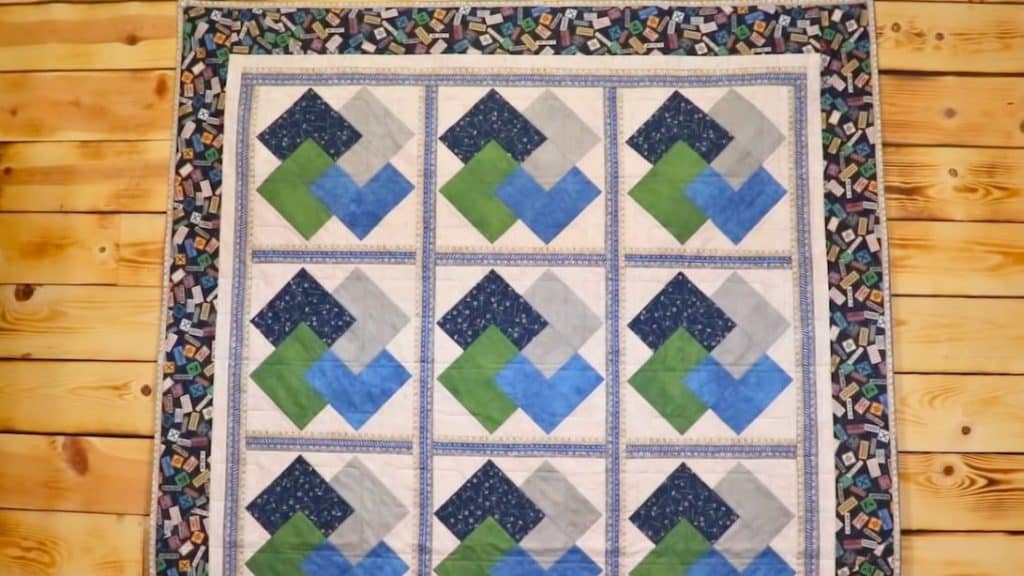
It might be confusing at first, but once you finish one block, it will be a breeze. I had so much fun making this quilt. I am sure you will, too. I love that the squares overlap each other, creating this beautiful X pattern. Play with different colors to make it even more interesting. For detailed instructions, watch the quick card trick quilt tutorial video below.
For more easy and beginner-friendly quilt patterns, check these out: Diamond Point Quilt Block Tutorial, Easy Split 4-Patch Quilt Block Tutorial, Beginner’s Star Quilt With Jenny Doan
Easy Card Trick Quilt Materials
- 1/3 yards for fabrics A-D
- 1 1/3 yards of background
- 1 1/8 yard for sashing/1st border
- 1 yard for 2nd border
- 1 1/3 yards for 3rd border
Cutting fabrics:
For fabrics A and C:
- Cut 2 pieces of 3 1/2″ x WOF
- Cut 2 pieces of 6″ x WOF
For fabrics B and D:
- Cut 2 pieces of 3 1/2″ x WOF
- Cut 3 pieces of 3 1/4″ x WOF
Background fabric:
- Cut 6 pieces of 3 1/4″ x WOF
- Cut 5 pieces of 6″ x WOF – sub cut to 3 pieces of 6″ x 6″ squares
Sashing/1st border fabric:
- Cut 14 pieces of 2 1/2″ x WOF – sub cut 12 pieces of 2.5″ x 12.5″ strips
2nd border
- Cut 24 pieces of 1.5″ x WOF
3rd border
- Cut 8 pieces of 4.5″ x WOF
How to Make Card Trick Quilt
Step 1:
Place one 3.5″ strip fabric A and one 3.5″ strip fabric B right sides together and sew on the right side with 1/4″ seam allowance. Press it open. Do the same with 3.5″ strip fabric C and 3.5″ fabric D.
Step 2:
Lay A/B strip on top of C/D strip with A on top of fabric D. Cut 3.5″ pieces. Sew them together to make 15 pieces of 4 patches. Square them to 6″ squares.
Step 3:
Place 3 1/4″ strip fabric D on 4 patch with D in the upper left corner. Sew the length of the block. Chain piece to make the process faster.
Step 4:
Place the unopened strip on the cutting board with 4-pacth on top. Cut the four-patch apart, trim to 6″, then press it open.
Step 5:
Do the same process as steps 3 and 4 with 3 1/4″ strip fabric B on 4-patch with B in the upper left corner.
Step 6:
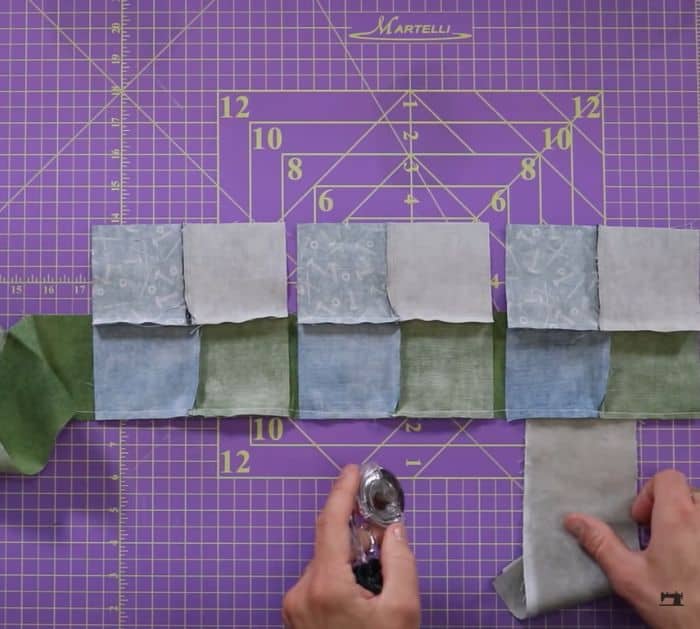
Place a 3 1/4″ background strip on each side of fabric A 5″ strip. Sew along the WOF. Press it open. Repeat the process with background fabric and fabric C.
Step 7:
Cut strips from step 6 into 3 1/4″ pieces. You’ll make 15 pieces with fabric A and C.
Step 8:
Place the 4-patch with fabric B on top and lay A piece on the left side of the 4-patch and the C piece on the right side of the 4-patch. Sew them right sides together, open, and press flat.
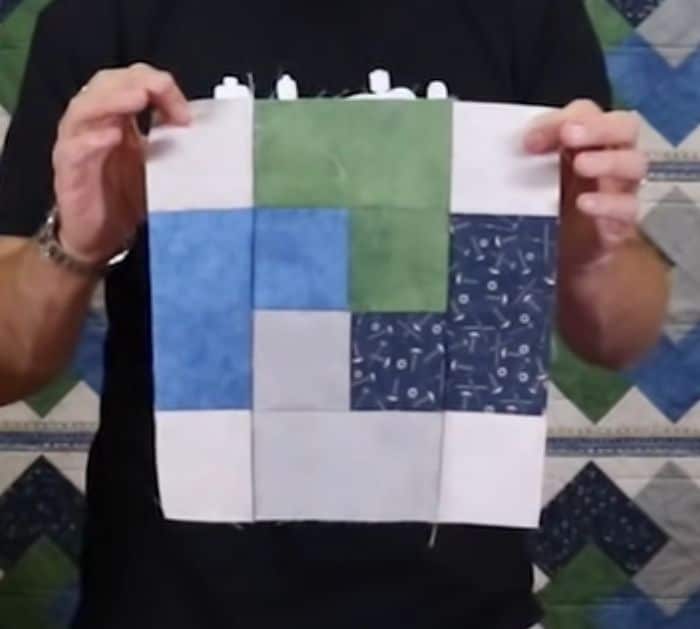
Step 9:
Cut the background 6″ squares on the diagonal to make 6″ triangles. Place them on each side, lining up the point of the triangle with the center of the 4-patch. Sew each side and press them flat. Trim into a 12″ block.
Quick Card Trick Quilt Tutorial


