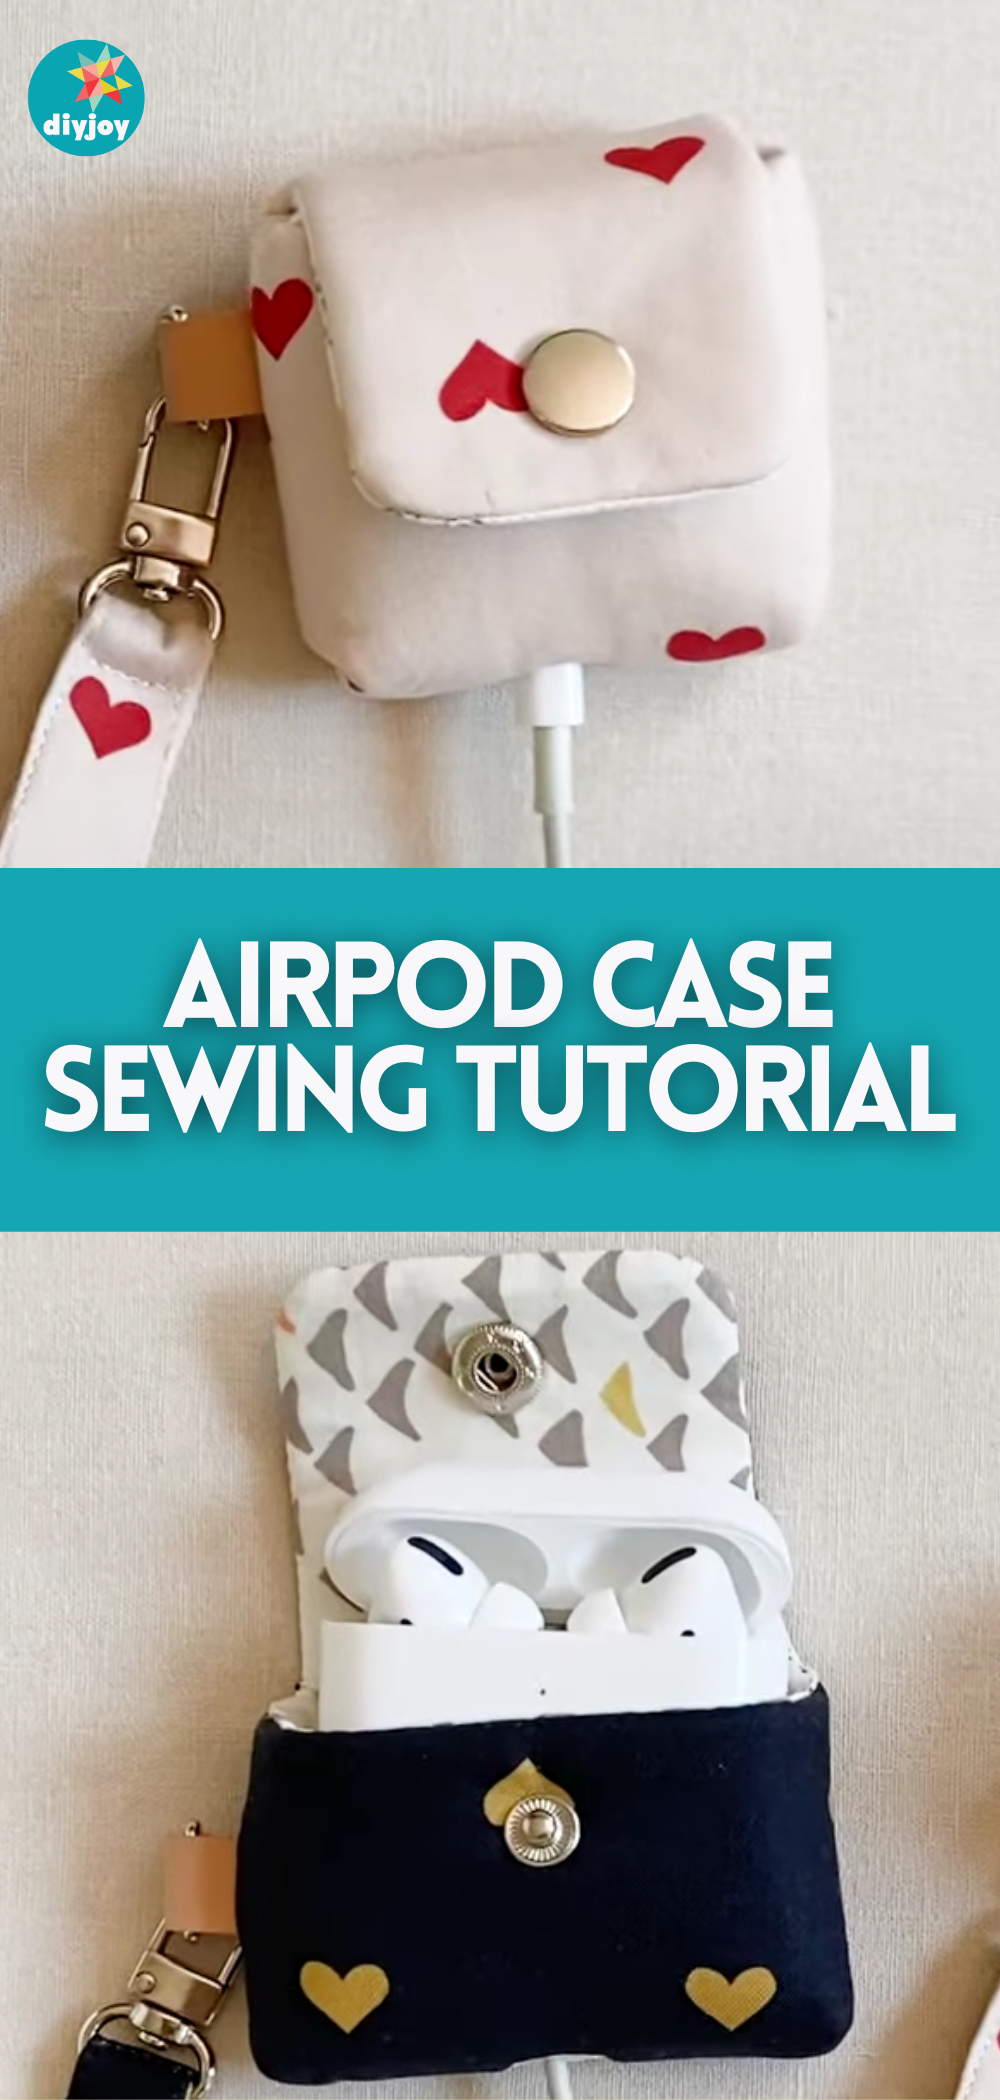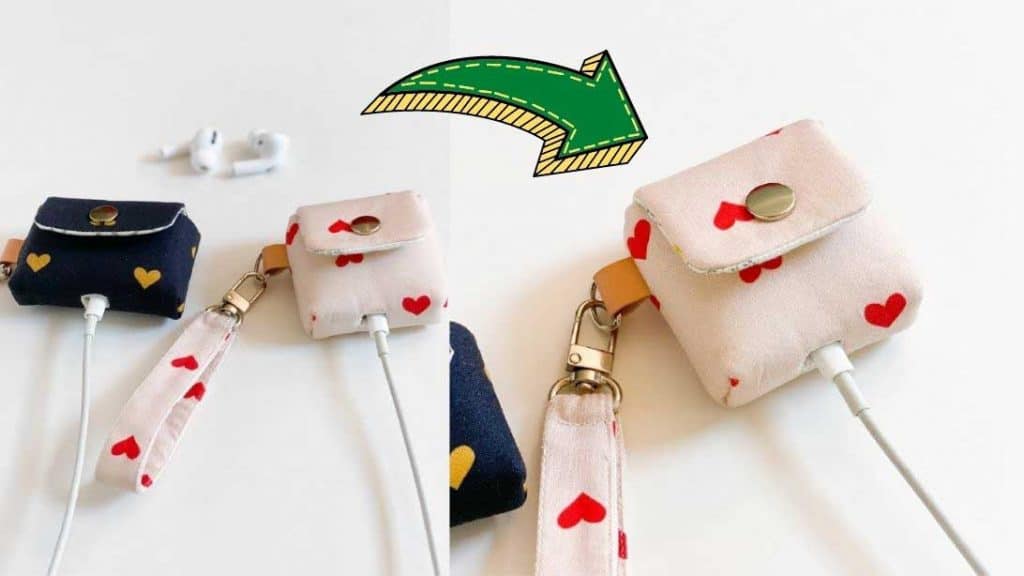
Protect your air pod from scratches and from missing by making this super pretty fabric case that is so easy and simple to make! This sewing project’s finished size is about 3*2*5/8 inches. Proceed to read the instructions down below and watch Minki Kim‘s video tutorial on YouTube as well.
Materials:
- 9*11-inch Quilting cotton: fat sixteenth, for exterior
- 9*11-inch Quilting cotton: fat sixteenth, for lining
- Foam stabilizer: such as soft and stable or Pellon foam flex
- Woven fusible interfacing
- Snap button
- D-ring and matching hook
- Scissors
- Clips and pins
- Pattern (click here to download the pattern)
Directions:
Step 1
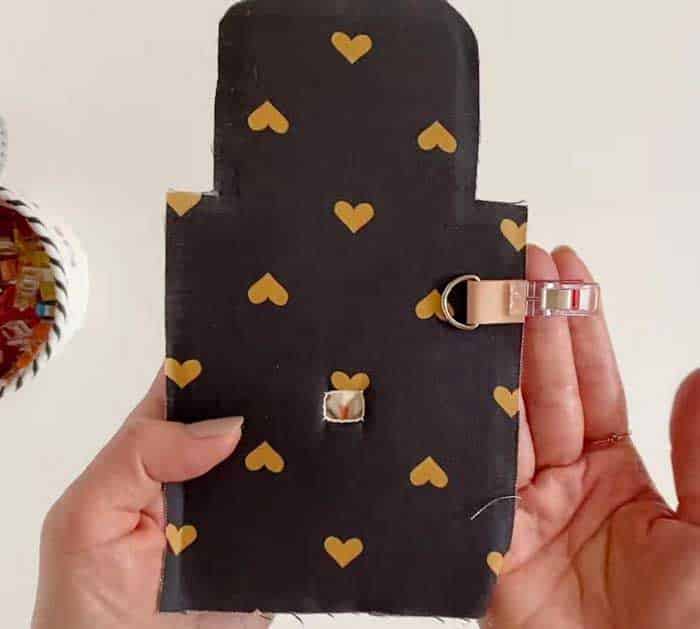
First, print and cut the template or pattern accordingly, then trace the cutout pattern into your foam batting, and fuse it on the wrong side of the exterior fabric. Give it a good press, then cut it around leaving only a ¼ inch seam allowance. Trace the pattern on the lining fabric as well including the small square shape at the lower center. Place the lining on top of the exterior panel with their right sides facing, then pin them around in place. Sew over the traced small square, then make notches inside the square, and trim it out. Push the lining fabric through that small hole so that their wrong sides are now facing. Give the lining fabric a good press to smoothen it out at the back. Attach a small loop into the D ring, then place it on the upper right side of the panel with its edges matching the seams, and sew it in place.

[social_warfare]
Step 2
Fold the main panel’s body upward in half matching the corners, then sew their sides together making sure to avoid stitching the lining fabric. Stitch the corners as well to make a nice curve, then stitch both sides of the lining fabric with a 3/8″ seam allowance, and sew the corners as well. Match the flap together, then pin them in place, and then sew the flap around backstitching at the beginning and at the end of your stitch. Trim the flap’s curve a bit, make a small incision at the bottom of the lining fabric, then turn it right side out, poke the corners well, and attach the snap button. Next, sew the gap close making sure to tuck the seams nicely. Make a strap using similar fabric as the main fabric, fold, press, and sew. Insert in a hook and attach to the D ring on the case.
*All these images are credited to Minki Kim via YouTube. Give her channel a visit and subscribe for more!
Pretty Air Pod Cases Sewing Tutorial