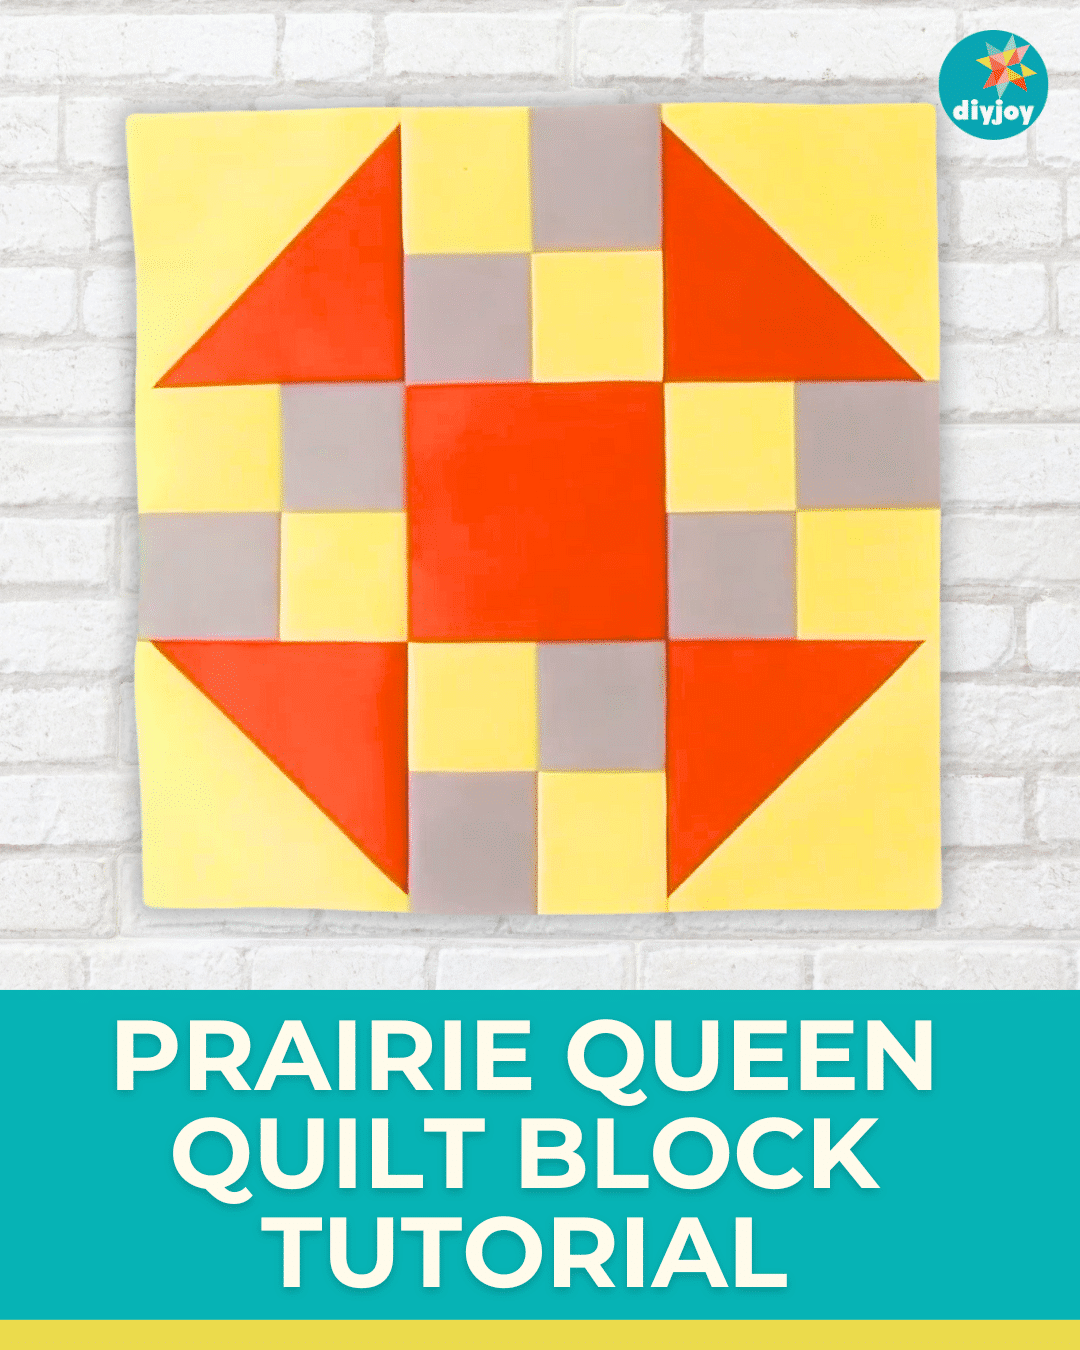
I was looking for quick and easy quilt blocks and found this beautiful pattern from Nancy’s Notions‘ YouTube channel. Isn’t this lovely? It is called the prairie queen quilt block. I have no idea why it is called that way. So, I did some research and found out that it is a block from the Pioneer days and is also called a true blue quilt block.
RELATED: Prairie Flower Quilt Tutorial
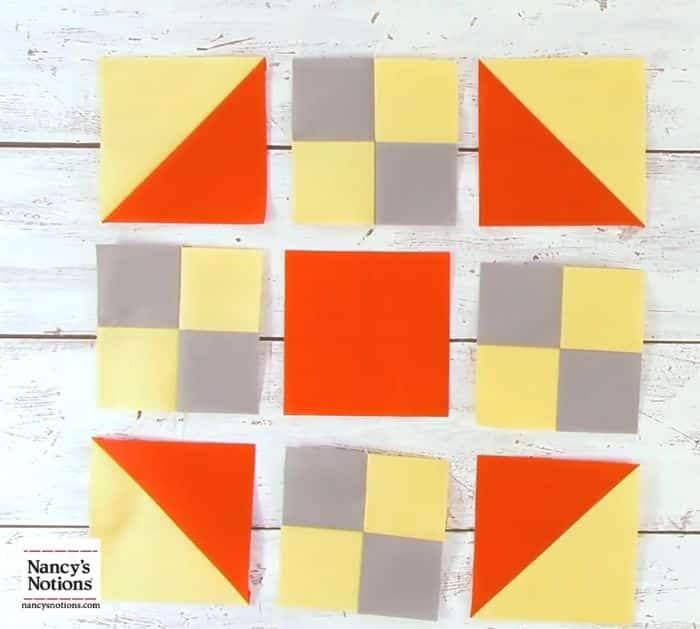
This block is pretty straightforward. If you already know how to make the basic quilt blocks, this project will be a breeze. It is just a combination of half-square triangles, four-patch blocks, and a print square. It’s an easy sewing project, perfect for the weekends.
Easy Prairie Queen Quilt Materials
- 4 pieces of 4 7/8″ squares (2 for the first color and 2 for the second color)
- 16 pieces of 2 1/2″ squares (8 for the first color and 8 for the second color)
- 1 piece of 4 1/2″ square
How to Make Prairie Queen Quilt
Step 1:
Take 2 pieces of 4 7/8″ squares in different colors and place them right sides together. Draw a diagonal line from corner to corner, then sew 1/4″ away from either side of the line. Cut directly on the line and press each one open. Repeat with the remaining 2 to make 4 half-square triangles.
Step 2:
Take two pieces of 2 1/2″ in different colors and place them on top of each other, right sides together. Repeat with the remaining squares.
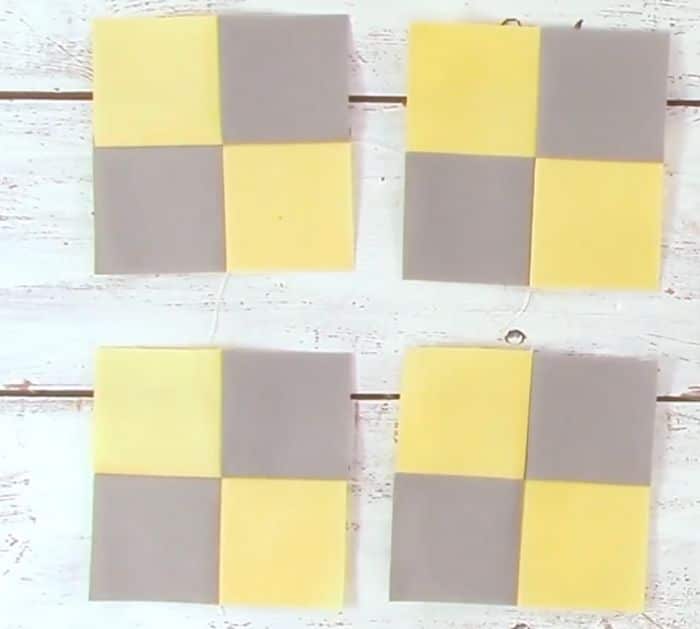
Step 3:
Get two pieces of the 2-unit strip and arrange them into a four-patch, making sure the colors don’t match. Press it flat. See the photo below for reference.
Repeat with the remaining 2-unit strips.
Step 4:
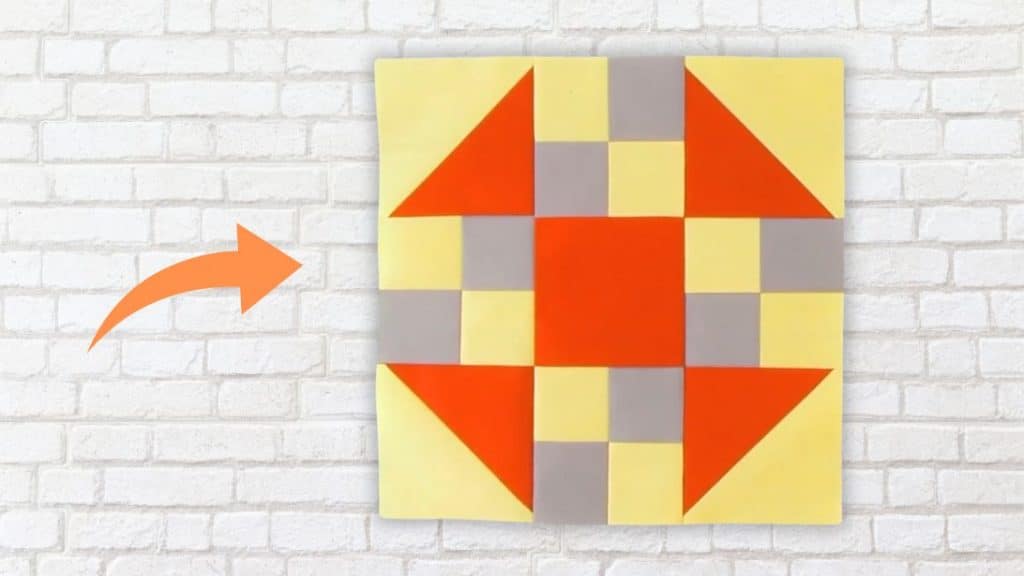
Place the 4 1/2″ square in the middle and then place the 4-patch blocks into the sides. Make sure they are going in the same direction. Fill the corners with the half-square triangles. Sew them in rows first, then sew the rows together. Press it flat.
Prairie Queen Quilt Block Tutorial