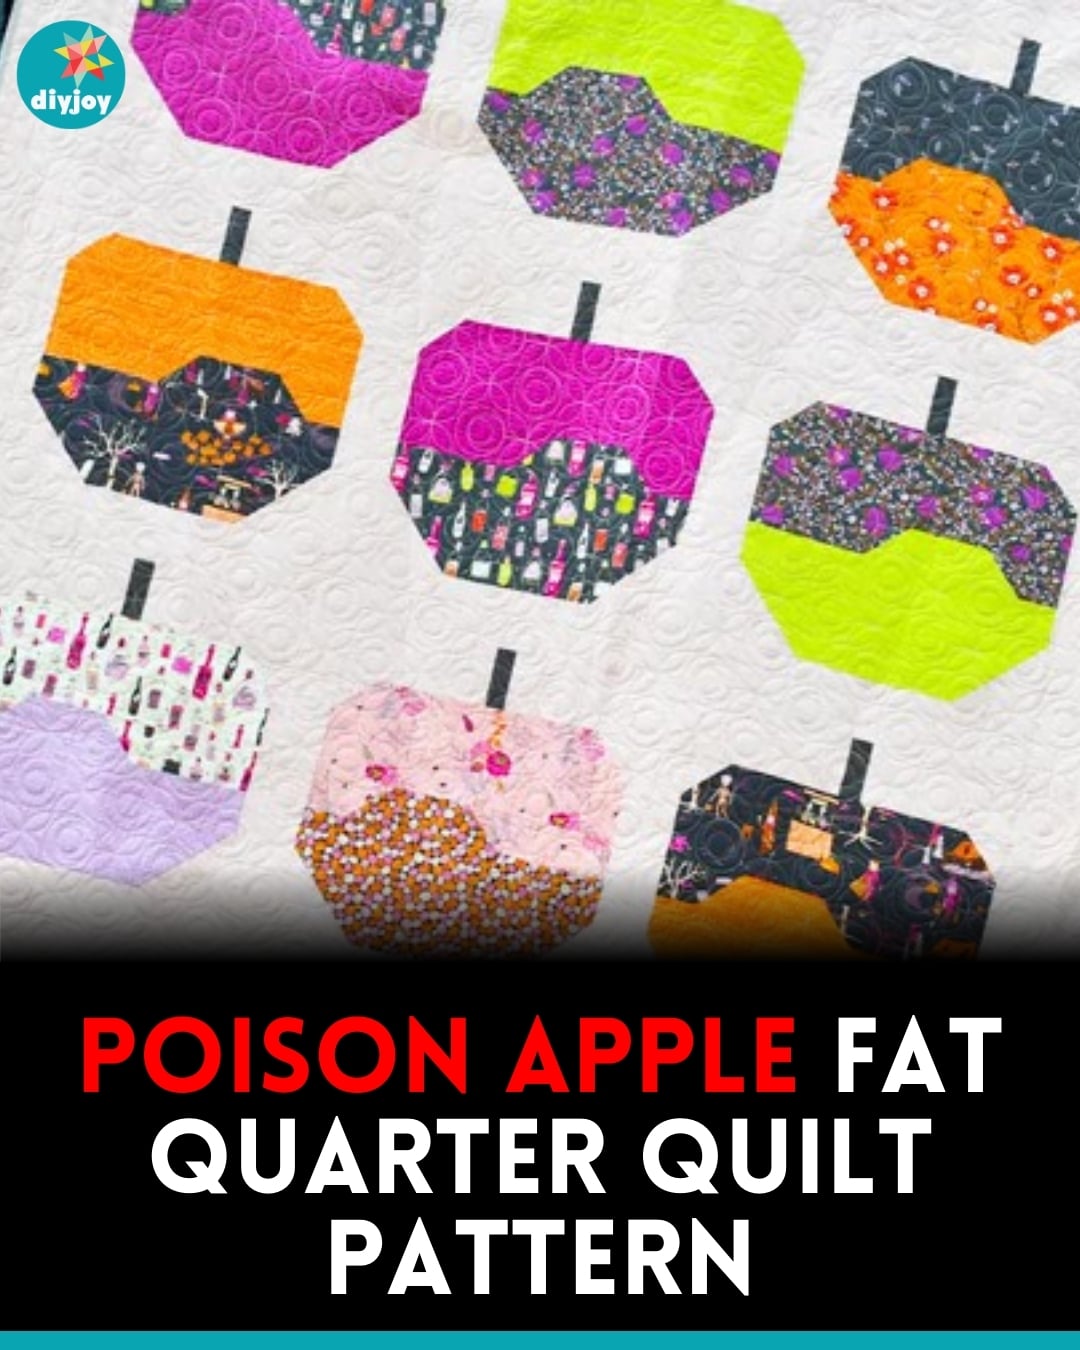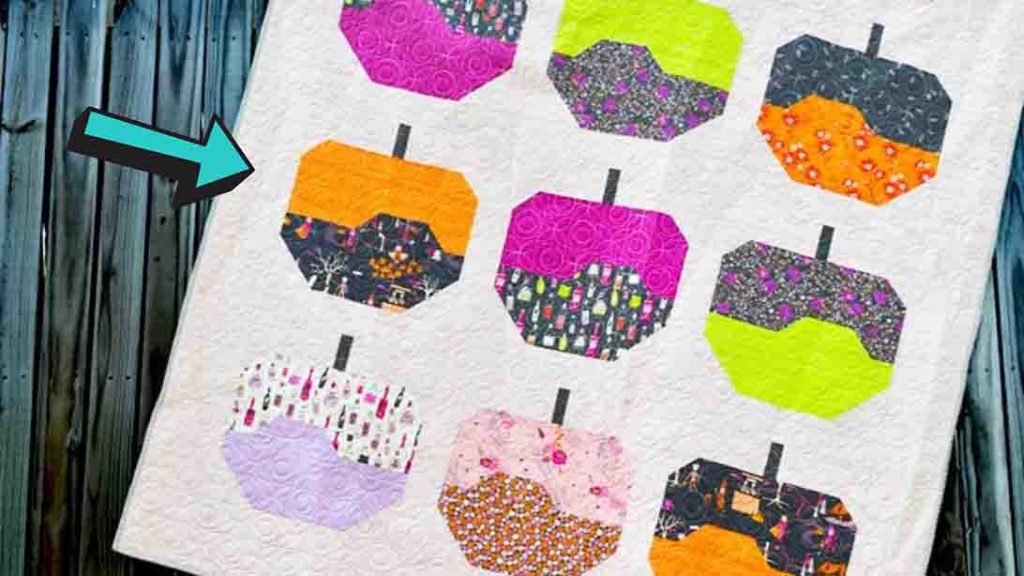
Looking for your next quilting project? Try making this poison apple quilt from Moonkin Stitchery on YouTube. This gorgeous quilt only needs fat quarters to make. It’s quick and easy and even though it looks complex, it’s actually beginner-friendly. It’s the perfect quilt to make if you’re planning to gift it out.
RELATED: Capri Breeze Fat Quarter Quilt Pattern
In this step by step instructions, Moonkin Stitchery will teach you how to make this quilt from start to finish. Gather your quilting materials today and start quilting! Watch the video tutorial below to learn how.
Materials:
- click here for a free PDF pattern
Directions:
Step 1
With each fat quarter, subcut one 5 1/2″ x 16 1/2″ rectangle, one 6 1/2″ x 16 1/2″ rectangle, two 2 1/2″ x 8 1/2″ rectangles, one 2 1/2″ x 4 1/2″ rectangle. Also, cut 1 1/2″ x 3 1/2″ rectangles in an accent print for your apple stems. Now, make the stem of the apple block. Take two background 8″ x 31/2″ rectangles and one stem 1 1/2″ x 3 1/2″ rectangle. Sew them all together to make a 3 1/2″ x 16 1/2″ rectangle. Set aside. Next, make the apple portion. Take a print 5 1/2″ x 16 1/2″ rectangle and two background 2 1/2″ squares. With those 2 1/2″ squares, draw a diagonal line on the wrong side, then place them, right sides together, on the top right and top left corners. Snowball your rectangle top edges and sew on the line that you drew. After this, trim the excess away about 1/4″.
Step 2
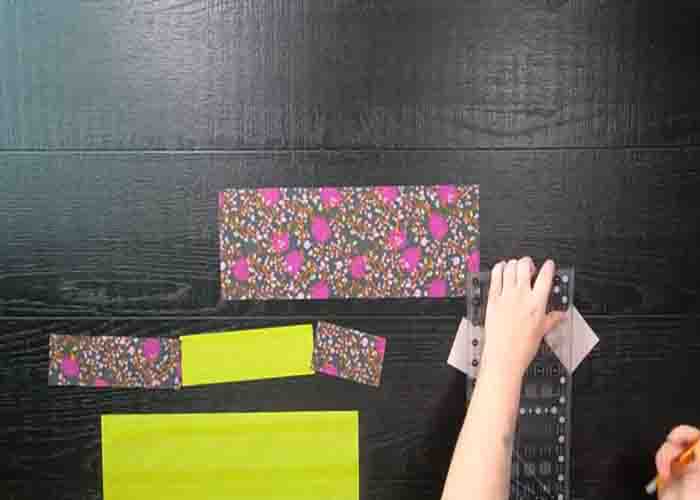
Next, take one 2 1/2″ x 8 1/2″ rectangle and one 2 1/2″ x 4 1/2″ rectangle in the same print as well as one 2 1/2″ x 8 1/2″ rectangle in a contrasting print. Place the two different print 2 1/2″ x 8 1/2″ rectangles, right sides together, then sew them at a 45-degree angle to make a rectangle unit. Next, sew the final 2 1/2″ x 4 1/2″ rectangle on the end at a 45-degree angle, right sides together. Sew this at the top portion of the apple block.
Step 3
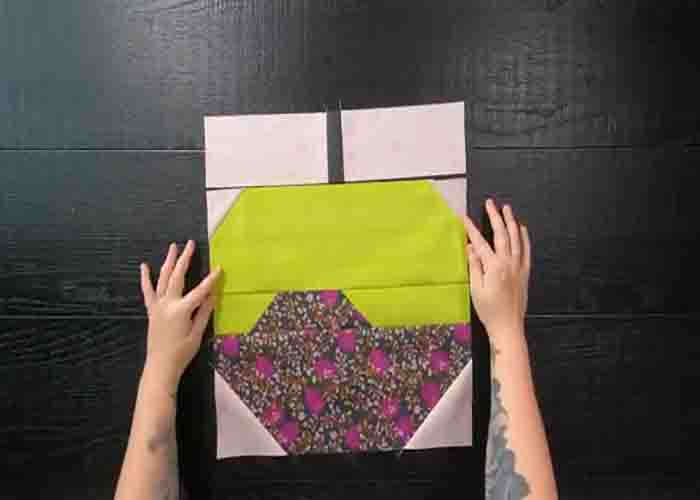
Now, make the bottom portion of the apple block. Take the contrasting print and two 6 1/2″ x 16 1/2″ rectangles as well as two background 4 1/2″ squares. With the 4 1/2″ squares on the wrong side of the fabric, draw a 45-degree diagonal from corner to corner, then place the two 4 1/2″ squares, right sides together, on the bottom right and left corners. Sew on the line that you drew then trim a 1/4″ away. Sew the bottom portion to the apple block, then add the stem to the top, and you’re done.
Poison Apple Fat Quarter Quilt Pattern