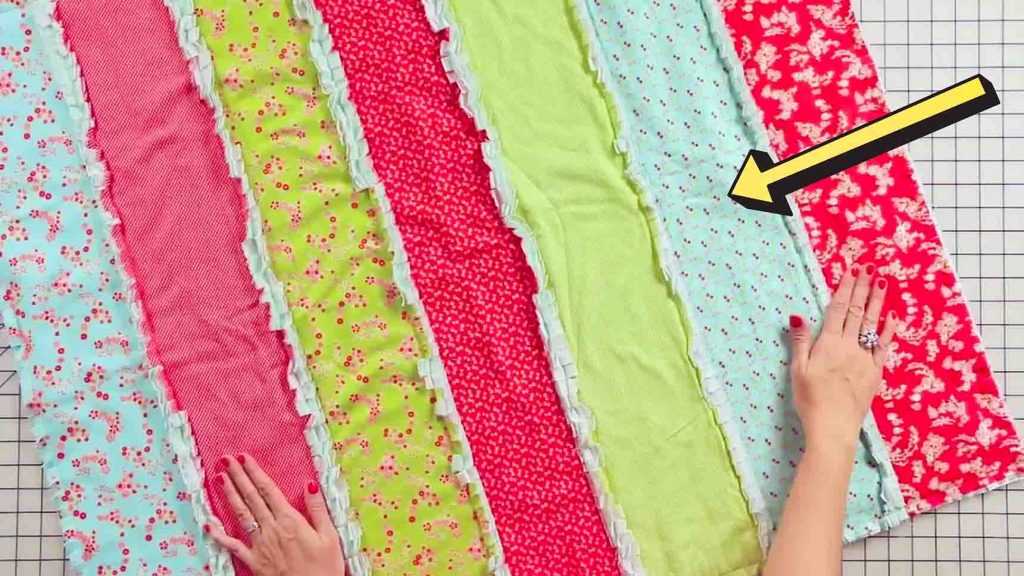
This one-hour flannel rag quilt from Fat Quarter Shop on Youtube is so simple and easy that even a beginner can do it. It’s the perfect weekend project, and this makes the perfect gift for your friends or family. Learn the step-by-step instructions by watching the video tutorial below.
Materials:
- flannel fabric strips
- ruler
- rotary cutter
Directions:
Step 1
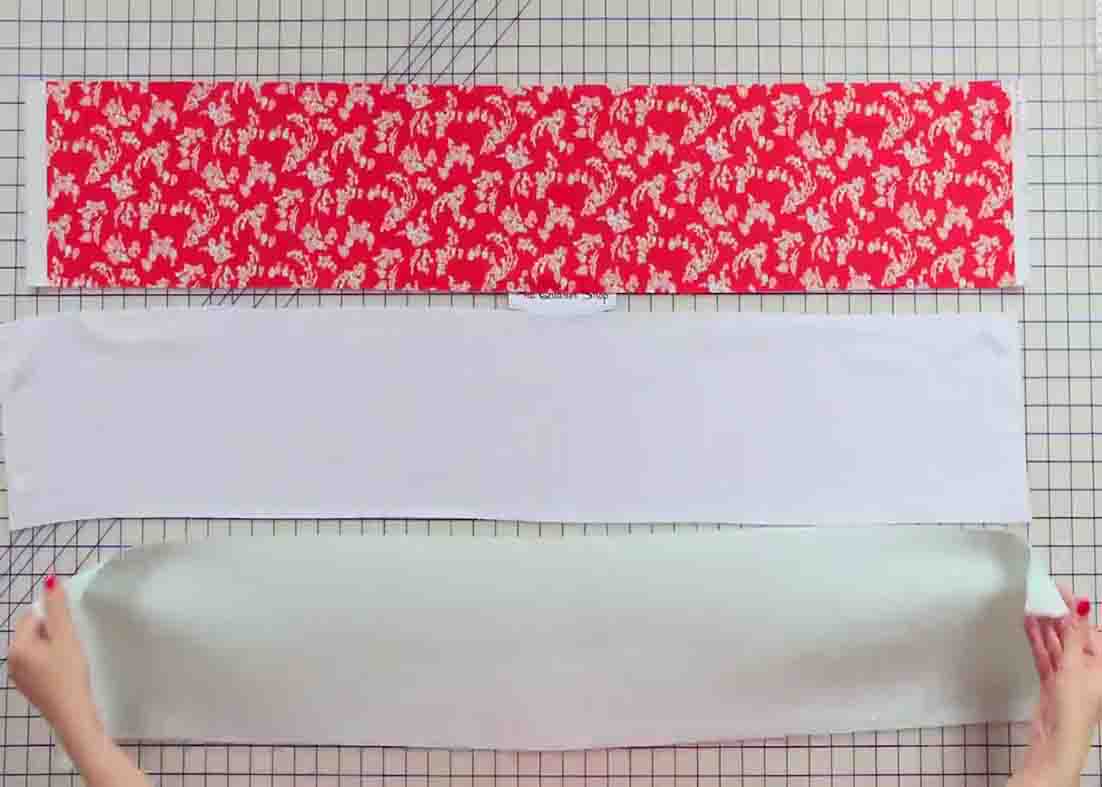
Start by cutting 7 & 1/2 x WOF strips. Cut seven different strips for your front, seven identical strips for the center, and seven identical strips for your backing. Layer your quilt sandwich, put your backing right sides down, and your top right side up. Trim it down to 6 & 1/2 x 34″. Repeat this step until you have a total of seven sandwiches. To assemble your strips, instead of the right sides together, do the wrong sides together. (The easiest way to remember this is back to back.) So put your backing and your backing together, pop in a few pins, and sew with a 1/2-inch allowance.
[social_warfare]
Step 2
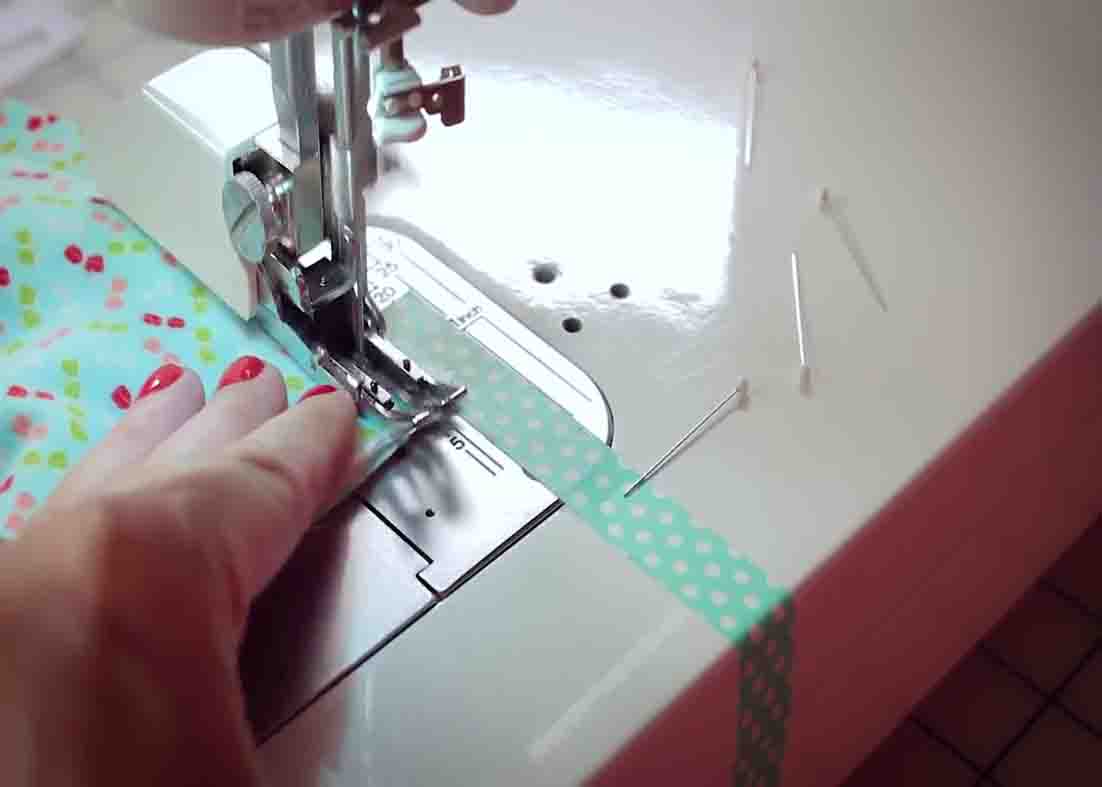
When you start and stop, do a backstitch. Keep adding your rows and remember to piece back to back. After sewing seven of your rows together, instead of binding, take a half-inch seam on all four sides. When you come to the corner, pivot at a half inch and just eyeball it. Leave your needle down and turn. Clip all of the open seams about every quarter inch. After this, wash your quilt in cold water and dry it on low.
One-Hour Flannel Rag Quilt Tutorial


