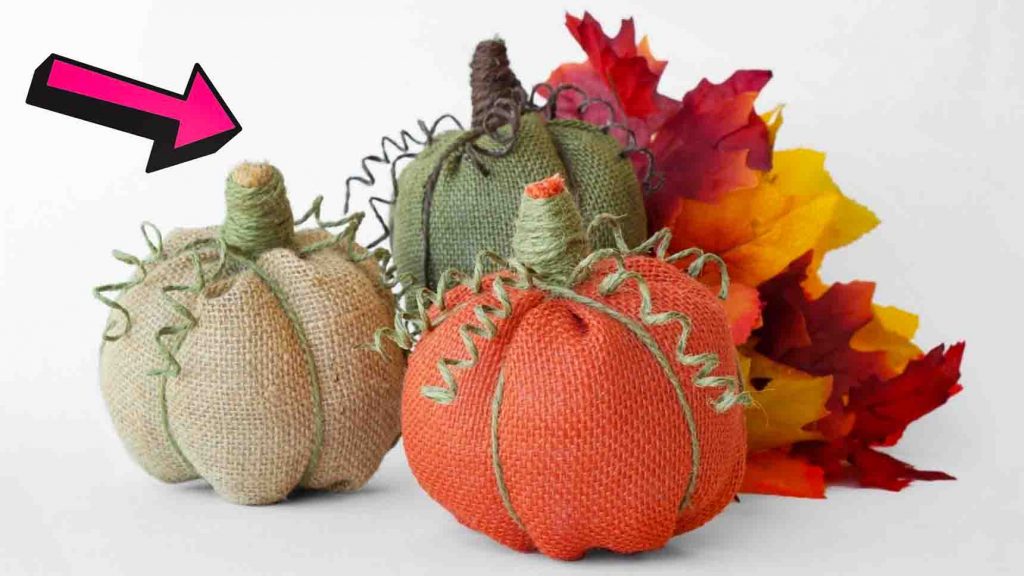
If you still lack the Fall season spirit in your house, these burlap pumpkins from Paper Mart on Youtube are the perfect craft pumpkins to make! This project is super easy to make and only needs basic crafting materials. It’s also a no-sew project! Make this a weekend project with your family and friends by learning the step-by-step tutorial in the video below.
Materials:
- 6 x 10 burlap bags
- colored jute twine
- scissors
- fiberfill
- pencil
- aluminum foil
- glue
- rubber bands
Directions:
Step 1
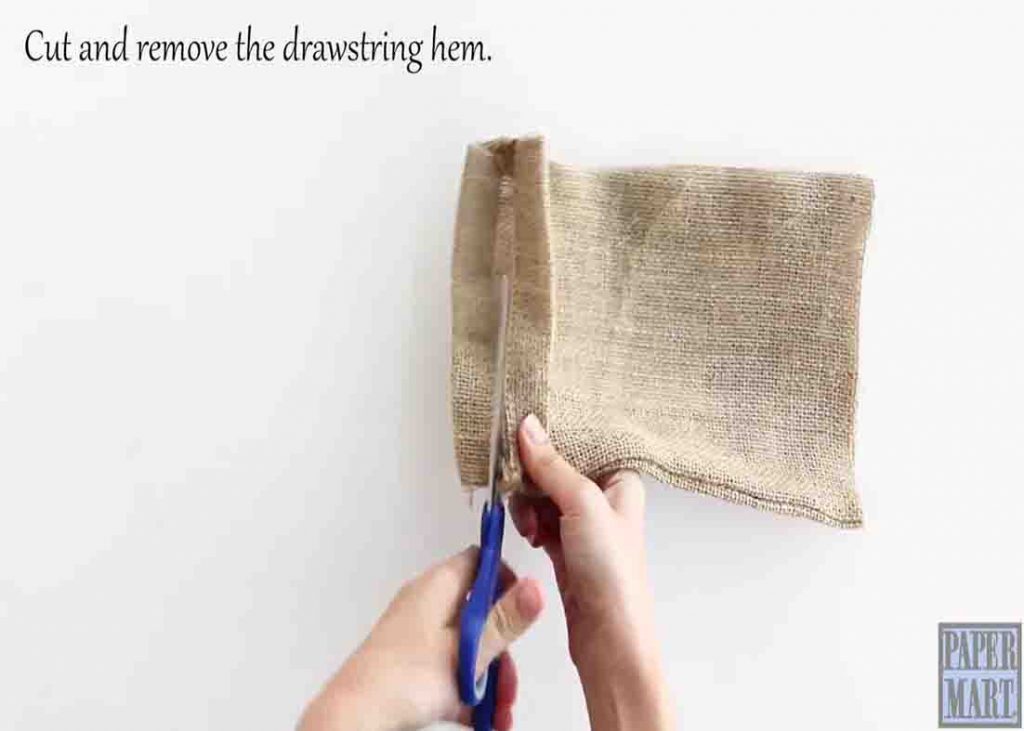
To start, remove the strings of the burlap bag, cut the bottom and the drawstring hem, then flip the burlap bag inside out. Next, cut 6 pcs. 16″ of twine and tie them together to form a knot. Insert the twine through the burlap sleeve so the knot protrudes out of the end. After this, gather the burlap around the knot and secure it with a rubber band. Flip the burlap right side out so the knot is inside.

[social_warfare]
Step 2
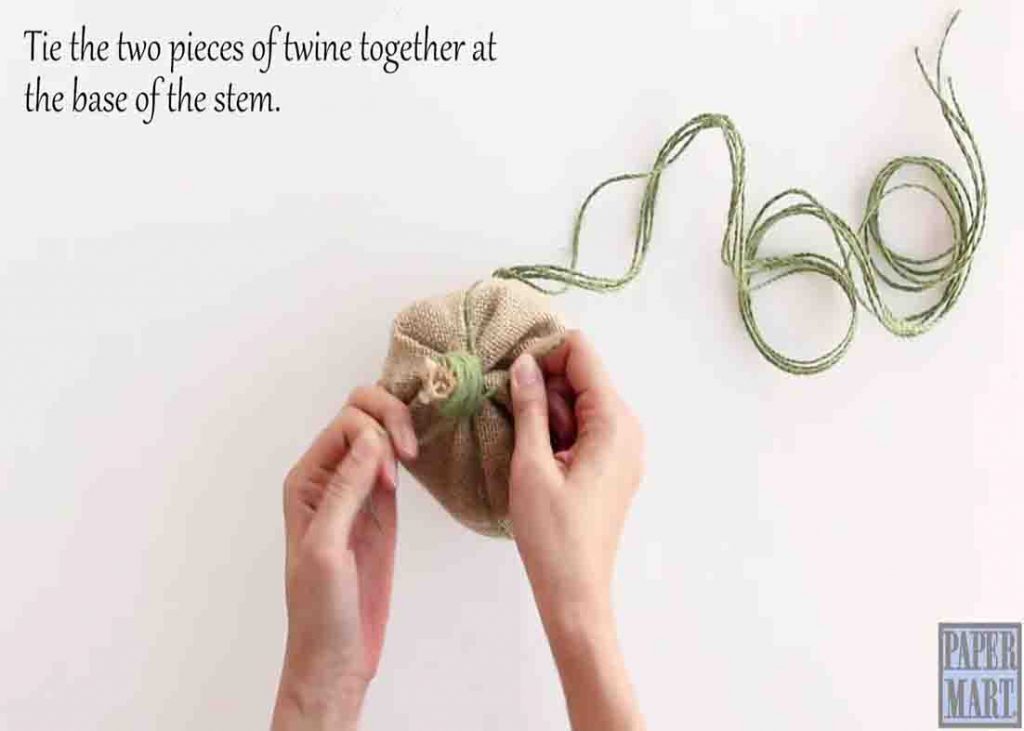
Next, stuff the burlap with fiberfill, then gather the open end and tie it with a rubber band to form the stem. Bring one piece of twine to the top and wrap the stem. After this, bring a second piece of twine to the top and wrap the stem again. Tie the two pieces of twine together at the base of the stem. Now, bring the remaining four pieces to the top and tie them around the base of the stem, then cut the excess pieces of twine to be 6″ long. Cover everything except the stem and the loose twine with foil. Add a thin layer of glue to the loose twine, wrap the twine around a pencil, and allow it to dry for 10 minutes. Once it dries, remove the foil and your pumpkin is now finished!


