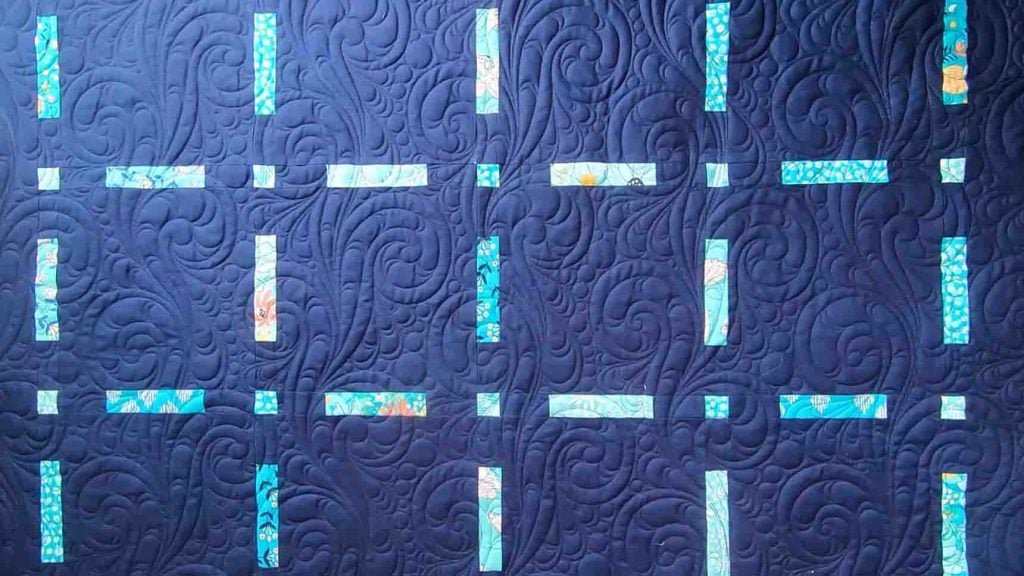
Are you looking for a quilt project for the weekend? Try making this modern window quilt from Moonkin Stitchery on Youtube. Whether you’re a seasoned quilter or a beginner, you will find this quilt project easy and fun to do. It’s also a scrap-buster project, but you can also make this with your favorite charm packs. Watch the video tutorial below to learn how to make this.
Materials:
- charm packs
- background yardage
- rotary cutter
- ruler
- sewing machine
Directions:
Step 1
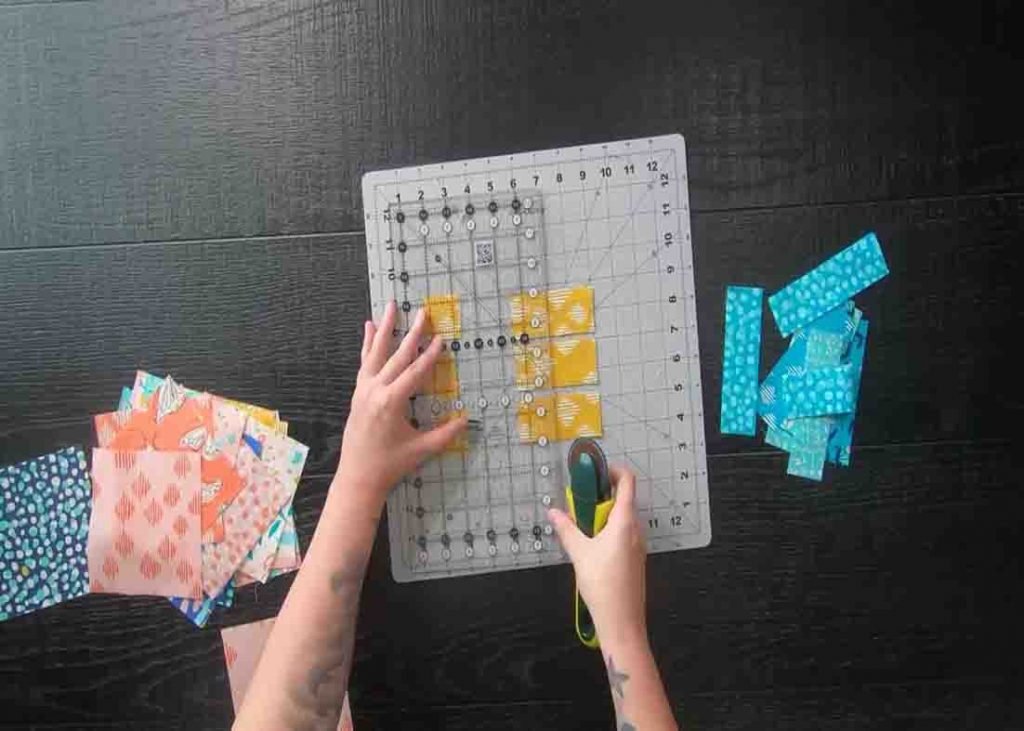
Take the charm packs and cut three 1/2″ x 5″ rectangles per five-inch square. Now, with those 5″ squares, you’re going to cut 1 & 1/2″ squares out and you will get nine 1 & 1/2″ squares per five-inch square. This will become your cornerstones. Once you have all of your print rectangles and squares cut out, you’re going to take some background yardage and cut 9 & 1/2″ squares which will become your blocks and small rectangles that are 1 & 1/2″ x 2 & 3/4″ rectangles. Now, after everything is cut, your sashing is the only block you need to make. Start by taking 1 & 1/2″ x 5″ print rectangles, then sew a 1 & 1/2″ x 2 & 3/4″ background rectangle to the right side with a 1/4″ seam allowance. Repeat the same thing to the left side and you’re done.

[social_warfare]
Step 2
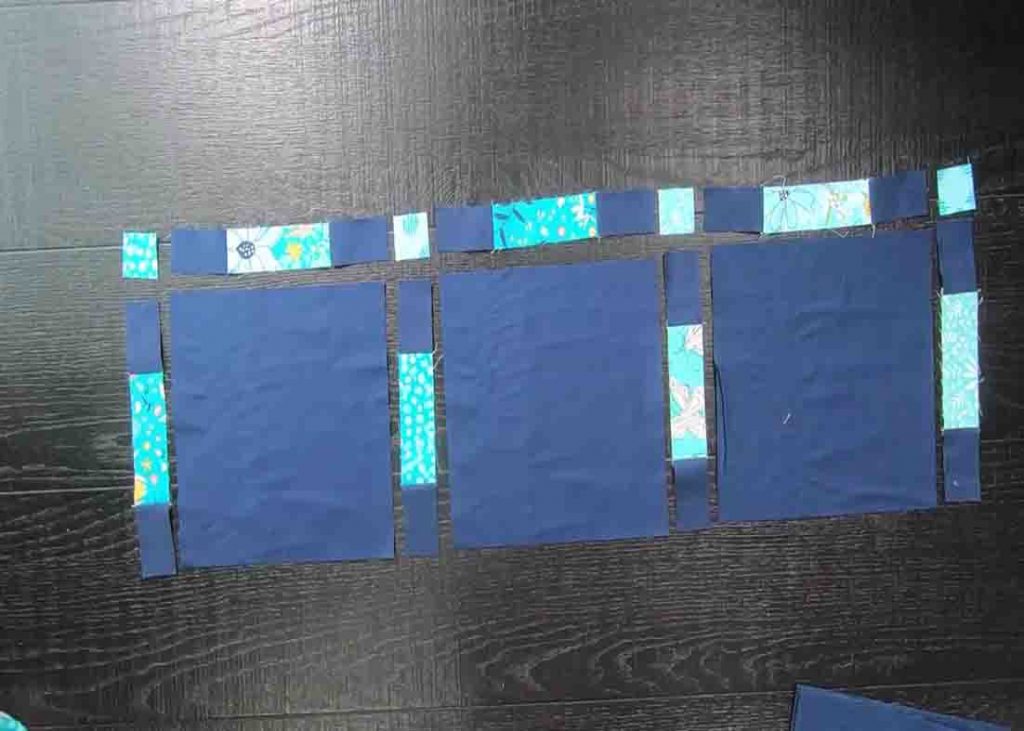
Now, go ahead and take your pile of print rectangles and background rectangles and start chain-piecing them one right after the other. Rotate them around once finish and chain-piece the other side. This will help build the quilt out quickly. Once all your sashing blocks are completed, it is time to start laying your quilt. Your 9 & 1/2″ black round squares will be called your blocks and between each block, you’re going to be adding your sashing. For the first sashing, start with a cornerstone, then a sashing block. Repeat this three times, ending the row with a cornerstone. After this, start laying your 9 & 1/2″ background quilt blocks and add your sashing going vertically. Repeat these steps for the quilt size you are making, then sew your blocks and sashing together to form rows. Lastly, sew those rows together to almost complete your quilt top. After you finish your quilt top, add a 2 & 1/2″ wide border to your quilt. Cut your borders to the sides of your quilt. That way, when you piece it all together, you will square your quilt top up.


