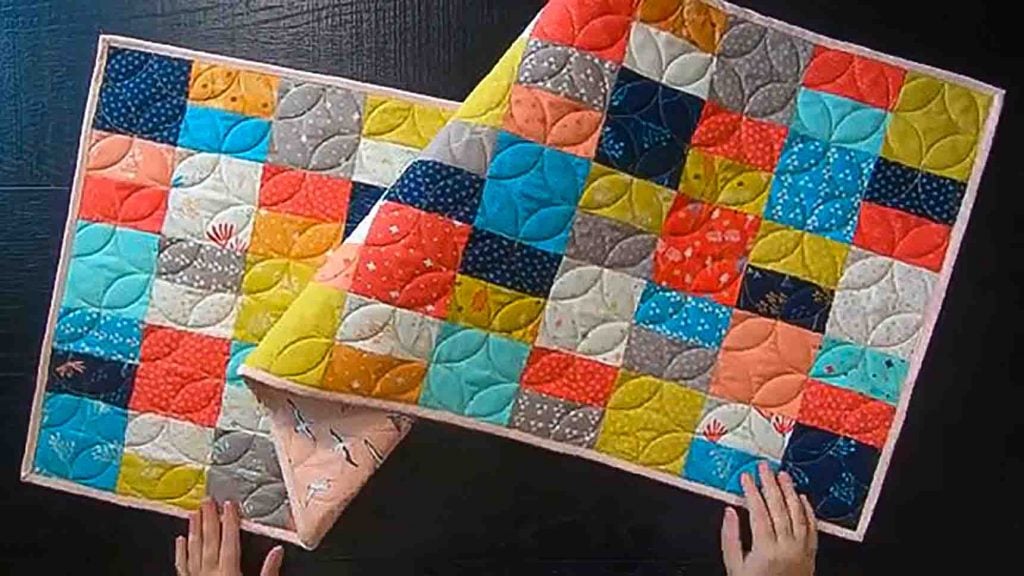
Whether you use a whole stash of charm packs or your leftover scraps, I’m sure you’ll enjoy making this quilted table runner from Moonkin Stitchery on Youtube! It’s super easy to make, beginner-friendly, and you can make it whatever size you like! Learn the step-by-step instructions by watching the video tutorial below.
Materials:
- 65 – 5″ squares (or charm packs)
- backing – 26″ x 60″ rectangle
- binding – 1/4 yard
- batting – 26″ x 60″ rectangle
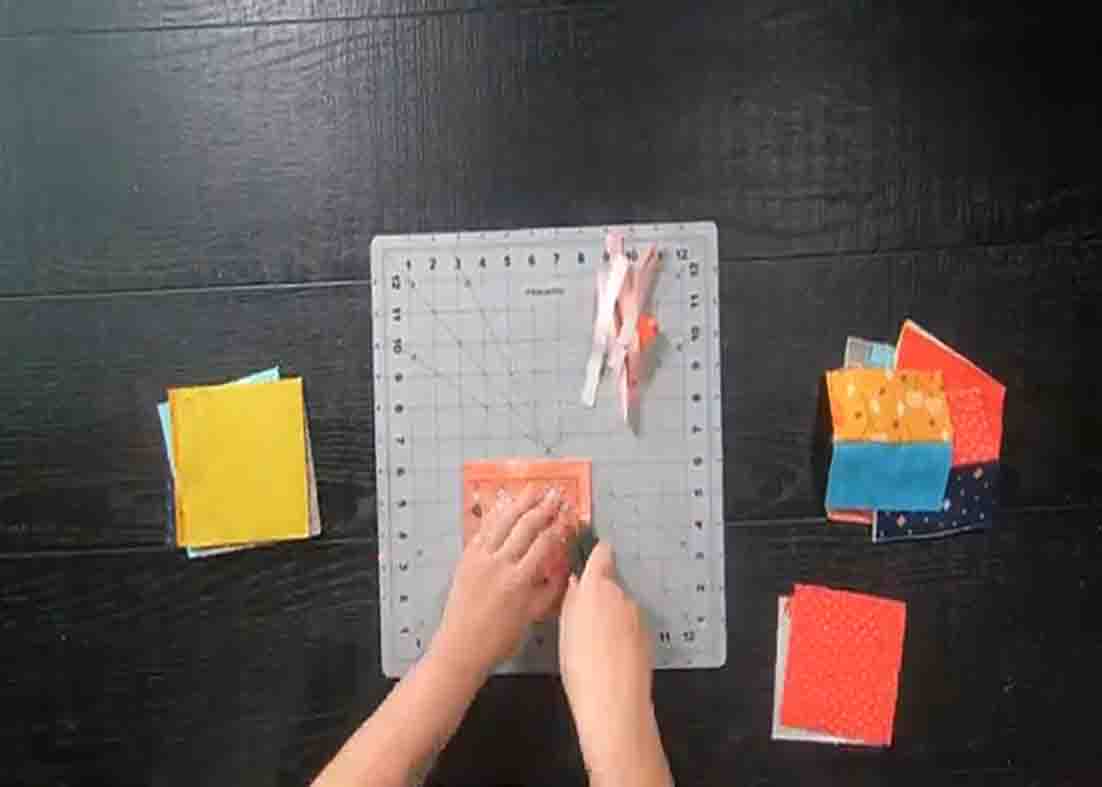
Cutting:
- subcut 32 – 5″ squares into 64 – 2 & 1/2″ x 5″ rectangles
- select 33 – 5″ squares and trim them to a 4 & 1/2″ square
Directions:
Step 1
After you cut out all the rectangles, take two different prints and sew them together with a 1/4″ seam allowance. Make a total of 32 blocks. Once all your blocks are made, trim them down to a 4 & 1/2″ square. Trim down those 33 – 5″ squares to a 4 & 1/2″ square as well. Once everything is all trimmed down, start laying out your table runner.
[social_warfare]
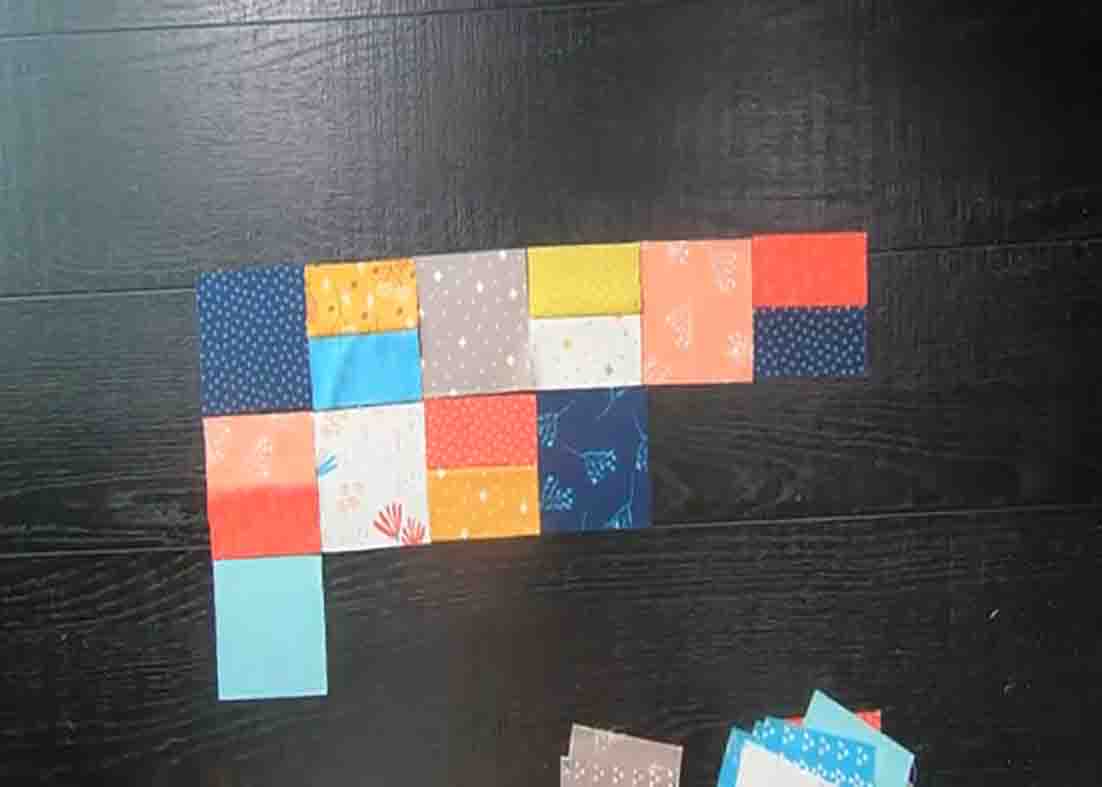
Step 2
Start with a print 4 & 1/2″ square followed by a piece 4 & 1/2″ square. Alternate between these two. Make a total of five rows with 13 blocks in each row. After this, sew all your blocks together to form rows, then lastly, sew all those rows together to complete your table runner.
Mini Single Slice Table Runner Tutorial


