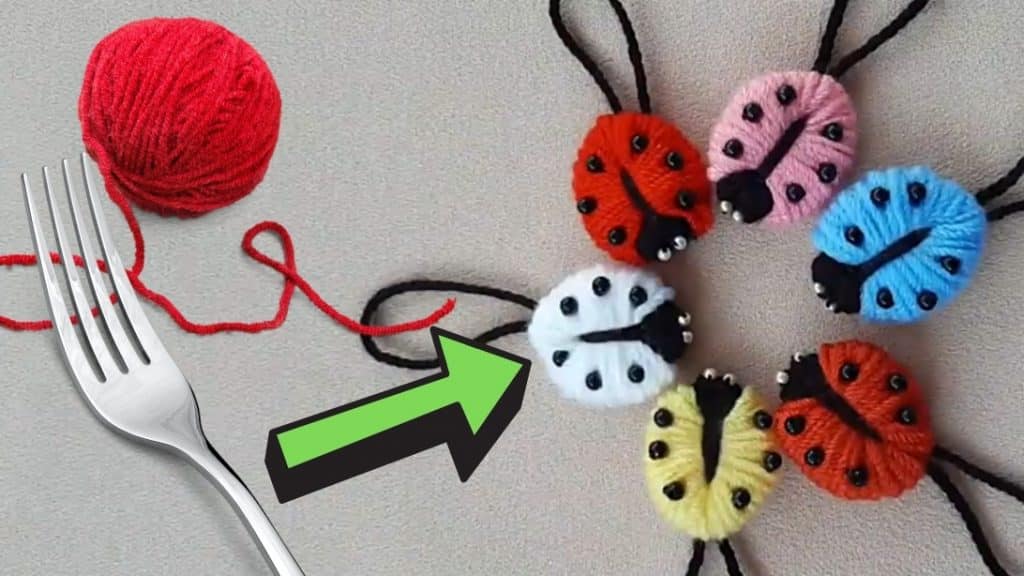
I have found the perfect DIY project for you! Have you tried using a fork for your art projects before? Sounds fun, right? If you have a bunch of yarns and beads at home, you can already start with this craft! It is called, as seen in the title, “make a ladybug keyring using a fork” by meryemle her telden on Youtube. This is an awesome way to show your creativity! Read on to learn the steps.
Materials:
- fork
- black and red yarn
- scissors
- needle
- thread
- 6 black round beads
- two small round white beads
[social_warfare buttons=”Facebook,Pinterest,Twitter,WhatsApp”]
Instructions:
Step 1:
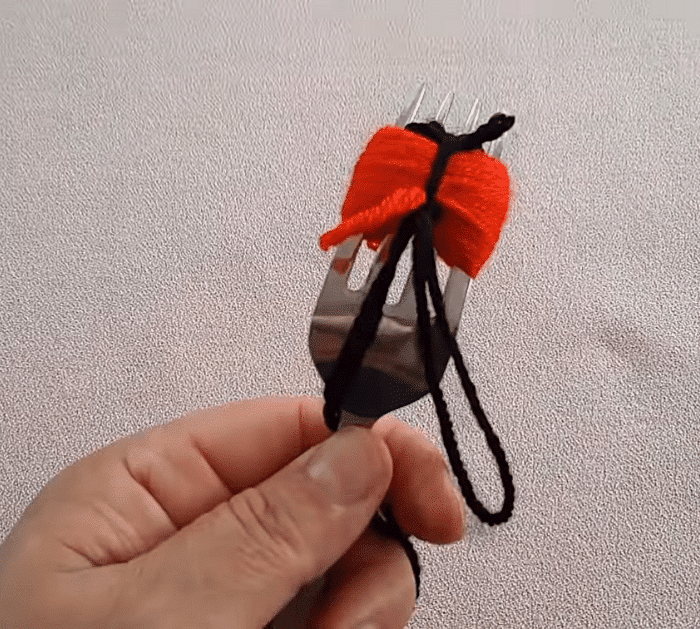
Get your fork and the black yarn. Now, fold a length of yarn in half and hold it on the fold. Then insert it in the middle of the fork with the fold at the back. Hold both ends using your left hand. Next, get the red yarn and start covering the fork from the root to the middle of the tine. Once done, loop it all around down, then cut it.
Step 2:
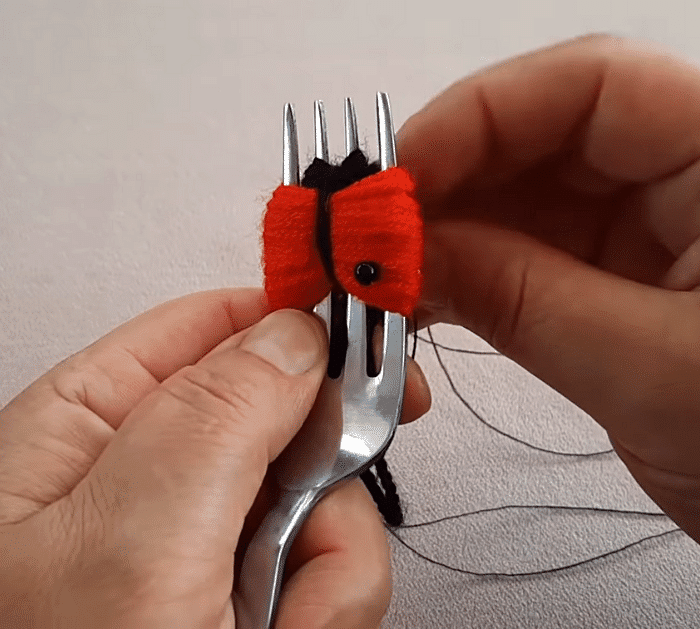
Get the black yarn and start looping it around the two middle tines of the fork. After you have formed the head of the ladybug, cut the black yarn. Next, get the front end of the black yarn in the middle (the one you are holding in your left hand), then put it to the back of the fork and tie it together tightly. Cut the excess except for the handle of your ring.

Step 3:
Get your needle, thread, and beads. Then start placing them on the wings of the ladybug. Add three black beads to one wing, then secure the middle of the yarn by passing the needle several times. Next, add the remaining three black beads for the other wing. Once done, it’s time to put the eyes on. Get the white beads and sew them on the black yarn on the top.


