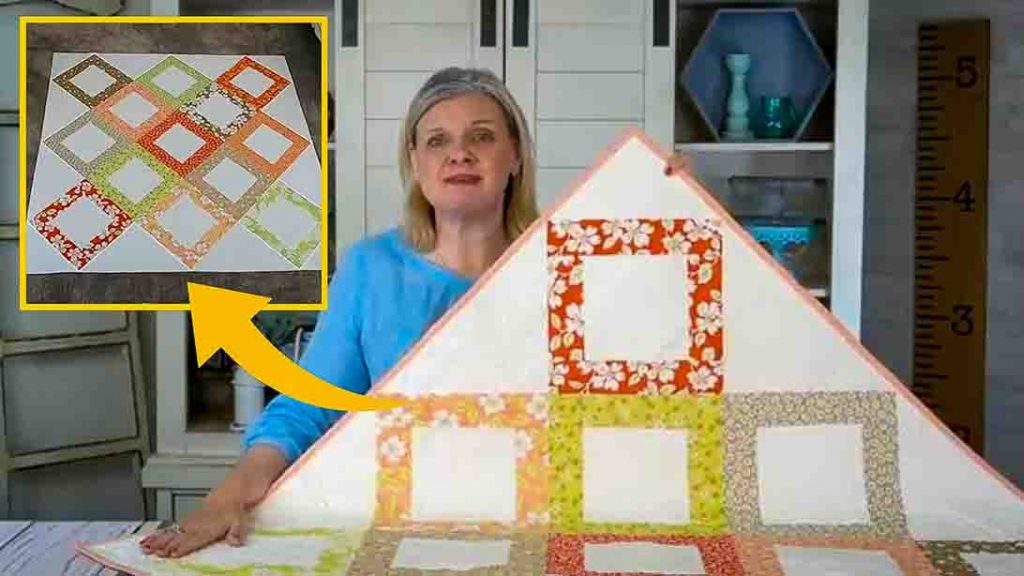
Turn your extra jelly roll strips into this beautiful jelly roll scrap quilt from Fat Quarter Shop on Youtube. This quilt project is perfect, especially if you have a lot of jelly roll strips from your stash. It’s super easy to make, beginner-friendly, and just gorgeous! Watch the video tutorial below to learn the step by step instructions.
Materials:
- 13 jelly roll strips
- background fabric
- 10.5″ square ruler
- scissors
- rotary cutter
- cutting mat
- iron, for pressing
- iron board
For each jelly roll scrap quilt block:
- 1 jelly roll strip (2.5″ x 40″ strip)
- 1 – 6 1/2 squares” square (can be the same fabric or different)
For setting triangles:
- 2 – 16.5″ squares (side triangles)
- 2 – 9″ squares (corner triangles)
Directions:
Step 1
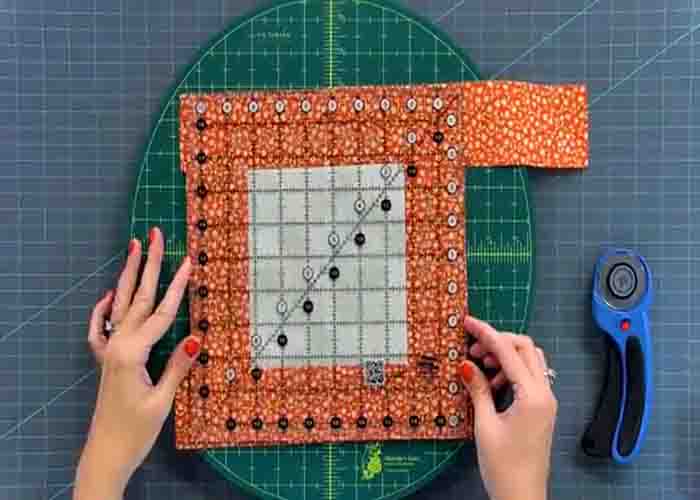
To start, cut thirteen 6 1/2″ squares. Next, put one square and one jelly roll strip, right sides together, line the edge, then sew with a scant 1/4″ seam. After sewing, cut the excess jelly roll strip, then go to the other side and attach the strip. Cut the excess, then press open towards the jelly roll strip. After this, trim the edges off. Now, do the same thing to the remaining sides of the square, layering the jelly roll strip slightly past the seam.
[social_warfare]
Step 2
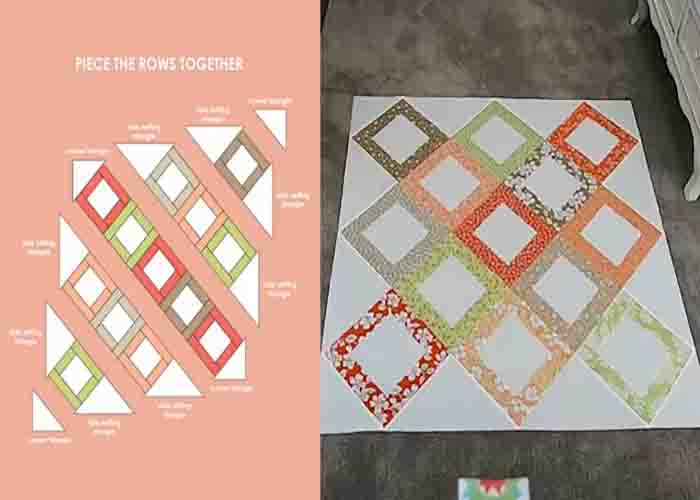
After sewing, lay the 10 1/2″ square ruler on top and trim the block. Repeat the process until you have thirteen blocks for your quilt top. Moving on to the setting triangles, cut two 16 1/2″ squares of your background, and cut it diagonally twice. Next, cut two 9″ squares, then cut diagonally once. Now, lay them out and piece everything into rows and press each row in opposite directions. (Refer to the image below for the positioning.) After you sewed all pieces together, trim all sides 3/4″ away from the points. Your jelly roll scrap quilt is now finished!
Jelly Roll Scrap Quilt Tutorial