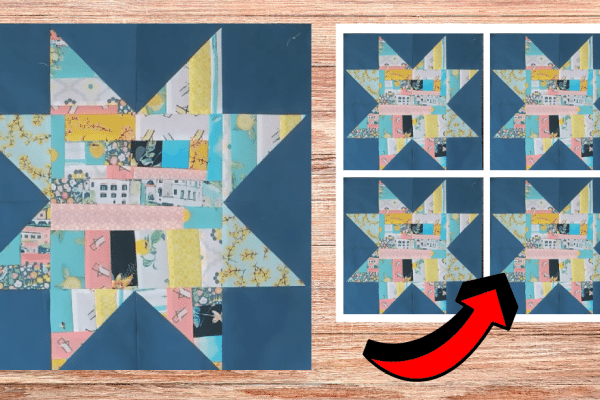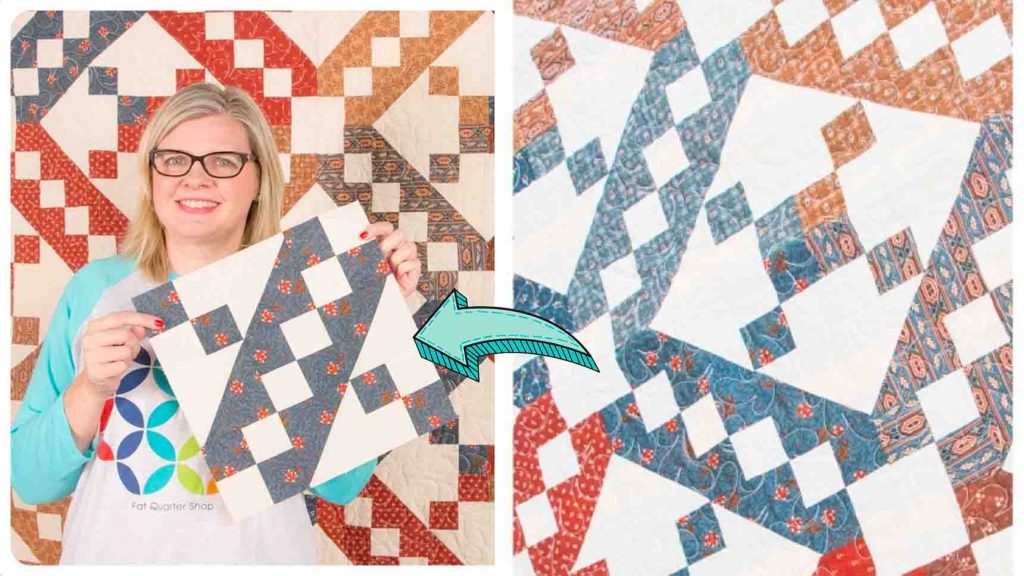
I love vintage quilt patterns, especially Jacob’s ladder. So when I came across this tutorial that shows how to make a modern twist on this classic pattern, I knew I had to try it. All thanks to Fat Quarter Shop on Youtube for this amazing pattern! Check out the video tutorial below and make yours today.
Materials:
Print fabric:
- 2 – 4 & 7/8″ squares (A)
- 2 – 2 & 1/2″ x 15″ rectangles (B)
Background fabric:
- 2 – 4 & 7/8″ squares (C)
- 2 -2 1/2″ x 15″ rectangles (D)
- click here for the free pattern
Directions:
Step 1
Take a fabric B strip and a fabric D strip. Stitch them together using a 1/4″ seam allowance, then press open. Make two of these strip sets. Next, grab your ruler and trim one edge, then from each strip set, cut five 2 & 1/2″ x 4 & 1/2″ rectangles. Make ten of these. To complete the four patches, place two units right sides together and pin them right at the intersection. Stitch with a 1/4″ seam allowance, then press open. Make five four patches.

[social_warfare]
Step 2
Now to make four half-square triangles, take a fabric A square and a fabric C square and place them right sides together. Pin in two opposing corners, and draw a line in the center from point to point. Stitch a 1/4″ away from the center on both sides. Cut on the center line, then press open.
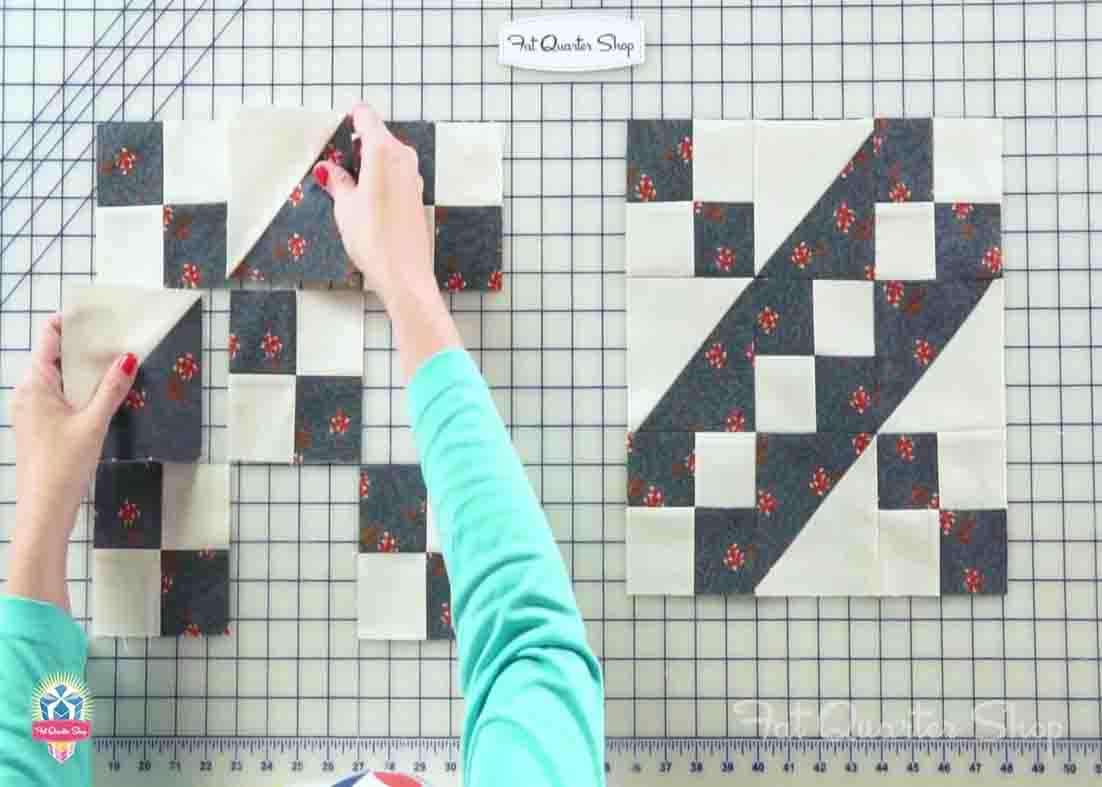
Step 3
Now, in assembling the blocks, lay out all of your four patches. All the darks go in the same direction, and the lights also. Then put the half-square triangles in between the four patches. Sew these together and press according to the pattern and when you make your quilt, all your seams are going to nest.
Jacob’s Ladder Quilt Block Tutorial