Wrapping presents can sometimes be a challenge and takes time for some people to master the skills to create a seamless and perfect gift for your loved one. I experienced this the first time I wrapped a present, most of the time the paper was too short for the object, and there were times when the seams were just too messy to look at.
RELATED: Easy & Genius Life-Changing Gift Wrapping Hacks
This was until I discovered this video tutorial by HGTV Handmade on YouTube, this gift-wrapping trick is so simple to do and the instructions are very easy to understand. Now, this is the only way that I’m wrapping gifts, the seams are perfect and almost invisible, and this video tutorial also comes with bonus instructions on how to wrap odd-shaped objects.
Materials Needed for Wrapping a Present:
- Sturdy wrapping paper
- Scissors
- Regular tape
- Double-sided tape
- Ribbon
How to Wrap Gifts Perfectly:
How to Wrap Box-Shaped Presents
Step 1
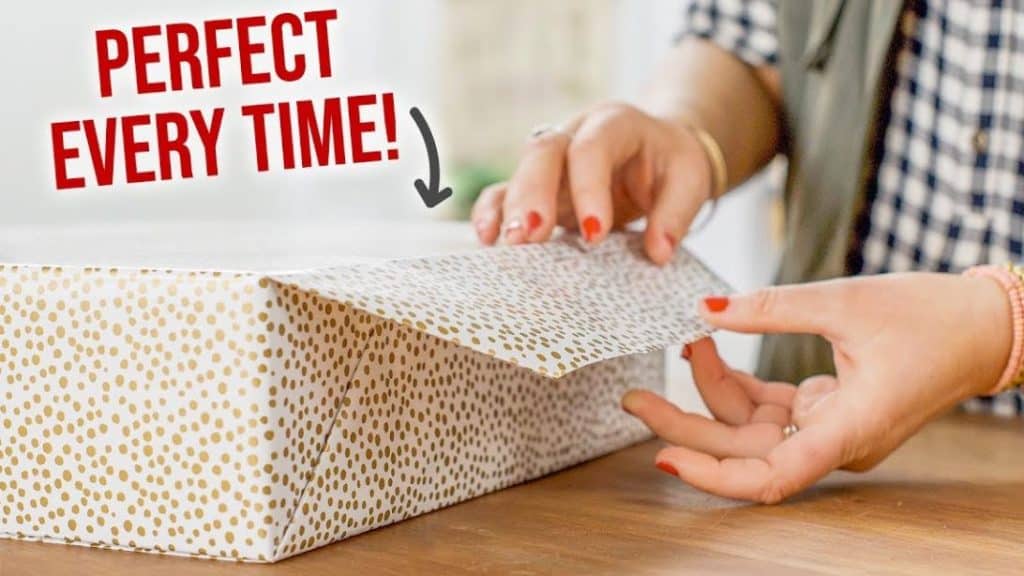
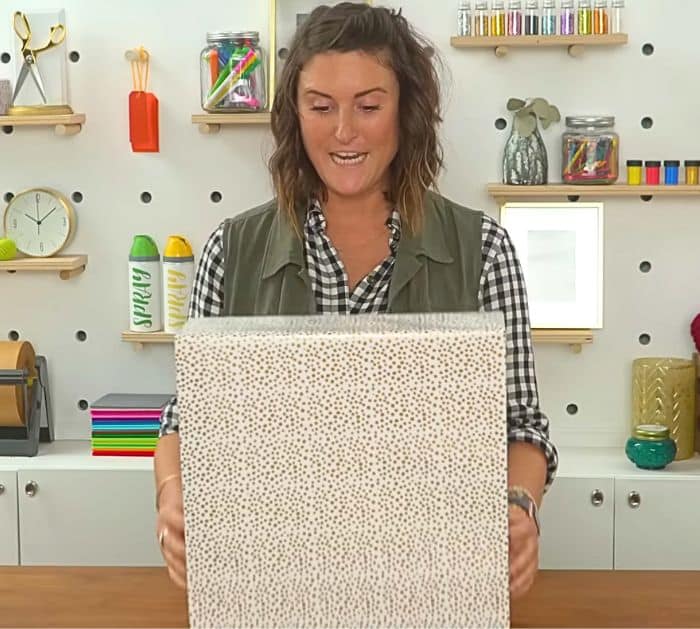
Lay the wrapping paper right side down, then place the box on top, and fold the longer side over and across the box until it meets the paper on the other side of the box. Cut about 2-3 inches beyond that mark, then leave enough paper on the ends to extend about ¾ the height of the box, and trim the opposite side to match.
Step 2
When you’re ready to begin wrapping, flip the box over so that the bottom side is up, then fold the short side in about 1-2 inches over the edge of the box, and use regular tape to secure it to the box.
Step 3
Pull the seam snug and crease the edge, then pull the longer side of the paper over, pull it snugly, and crease the edges. Tuck the seam under and sharply crease the edge, then use double-sided tape to secure the edge, on the edge, fold a triangle shape pulling it tightly before creasing the edge.
Step 4
Repeat on the other side, then fold the top part down, and fold the bottom part up. Secure them with double-sided tape, then repeat on the other side of the box, and give it a quick seam securing the last flap at the same time.

[social_warfare]
Bonus: How to Wrap Odd-Shaped Presents
Step 1
Use the present and lay it on top of the paper to determine how much paper you need, then fold the two halves of the paper into the center, and secure them with regular tape up the seam.
Step 2
Hold the middle down and crease the ends, then fold the bottom about 6-8 inches up, and crease the seams again. Create a diamond as shown in the video, fold each point toward the center so that they meet, and tape them together.
Step 3
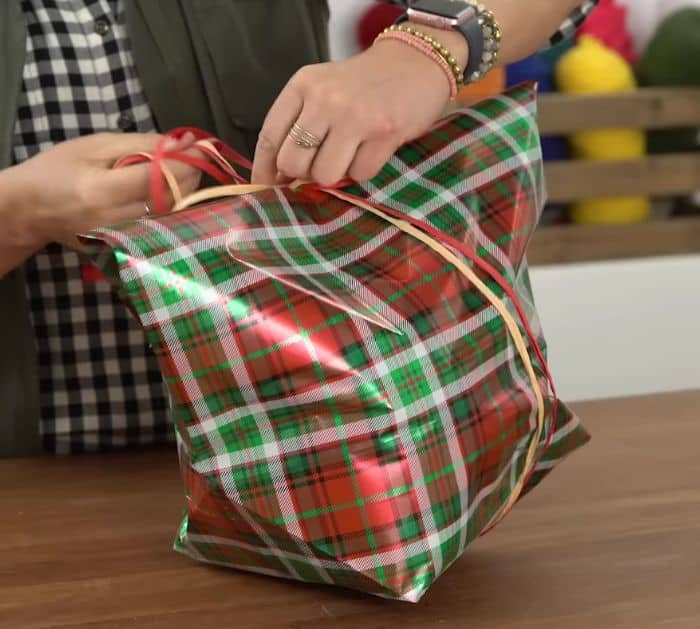
Insert the present inside, then trim the excess paper at the top, and fold the edges down at an angle. Fold the flap down and secure it with tape, then wrap a ribbon around the present, and add make a cute bow over it.

*All image credit belongs to HGTV Handmade via YouTube. Follow and subscribe to their channel for more!


