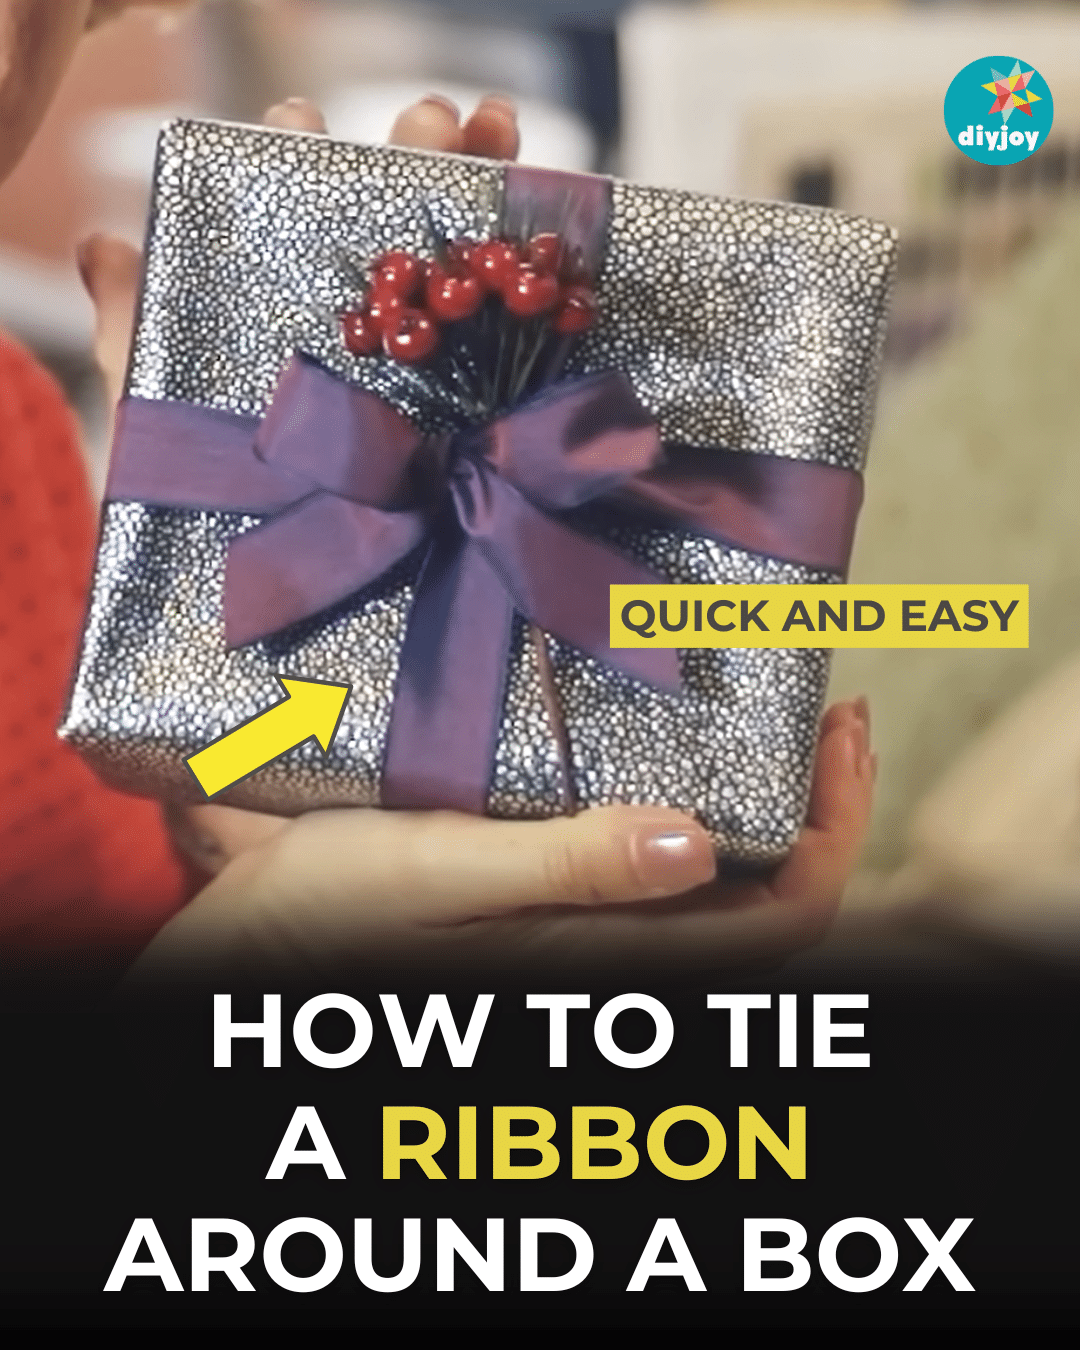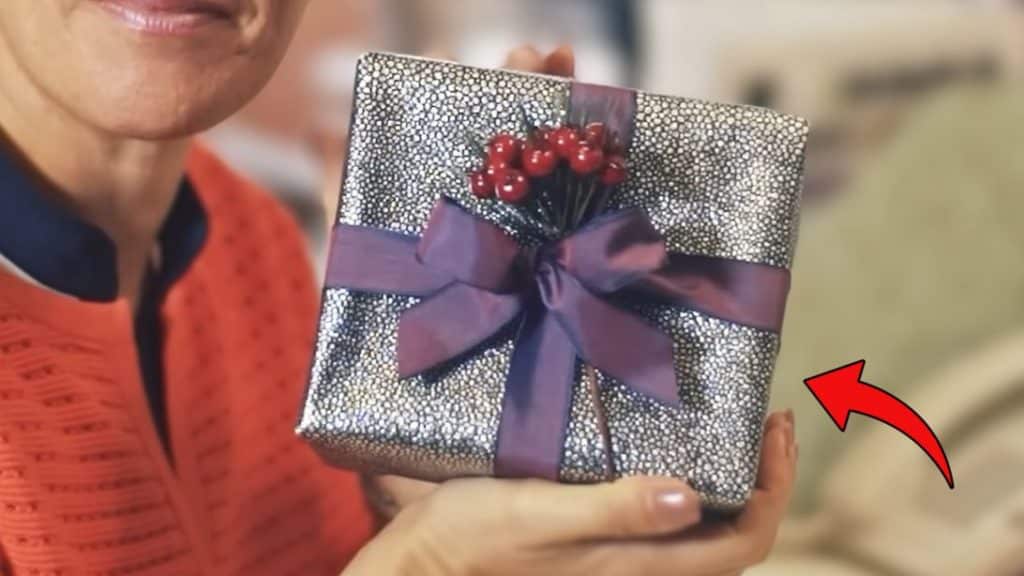
Do you want to level up your wrapping skills this year? Here’s a simple tutorial by Jane Means that will teach you how to tie a ribbon around a box. It may look easy, but getting the perfect bow can be tricky sometimes.
RELATED: DIY Bow Scrunchie
Bows give a nice touch to your presents. They make them look more presentable and more well-thought-out. I wrapped my gifts last weekend, and it took me a couple of tries before the bow turned out nice. It does require some practice. Before wrapping your gifts, I suggest watching the video tutorial below, as it can save you a lot of time! Make sure to check that none of the ribbons are twisted when wrapping them around for a clean finish.
Here’s another tip for you: How to Wrap Gifts With No Tape
How to Tie a Ribbon Around a Box
Step 1:
Start off with a small piece of ribbon hanging on the side of the box, then wrap it around bringing it back to the top.
Step 2:
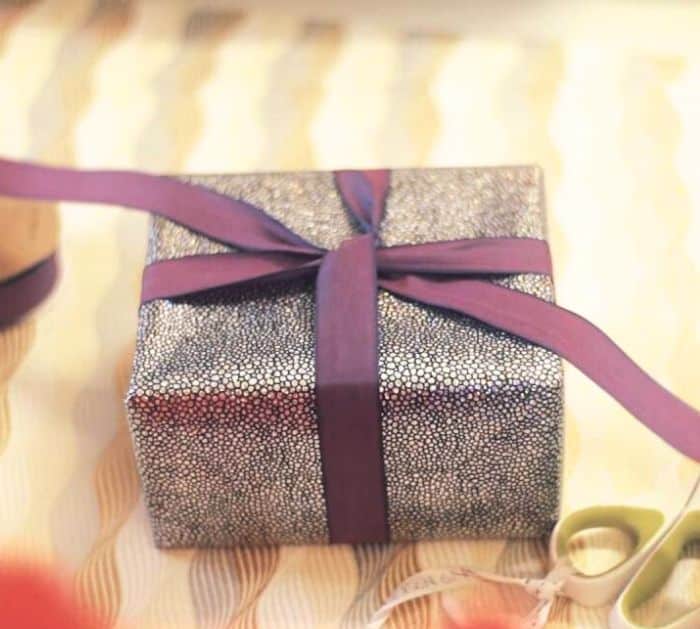
Cross the ribbon over. Hold the short end, then continue wrapping the working ribbon around the box, bringing it back to the center.
Step 3:
Measure the small piece with the working ribbon, and cut with that measurement.
Step 4:
Tuck the end of the ribbon under the cross and pull it back.
Step 5:
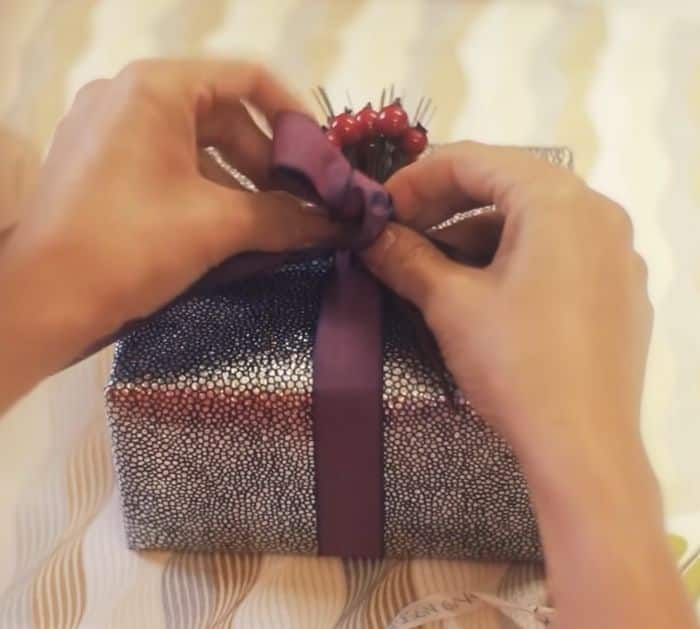
Add decoration on top if preferred, then tie it with the ribbons. When making a bow, imagine the letter X. Fold one end of the ribbon, wrap the other end around it, and then insert it into the loop. Before you pull the bow tight, just take a pause and make sure you have the letter X. Pull the bow tight. Make adjustments if needed. Cut the ends at an angle.
