Every seamstress has experienced having dull scissors from using them too much over time, it’s the same with rotary cutters, they need to be properly maintained from time to time to keep their sharpness. There are a lot of sharpening tools especially made for the blade of a rotary cutter, however, you might find it too much of a hassle to take the cutter apart to remove the blade, and then put it in the sharpening tool. There are more simple options that you can do which involve any polishing or sharpening block. Also, you can do it without removing the blade of the cutter itself. Thanks to Leathercraft Masterclass- Online Video Courses on YouTube for this helpful tutorial.
Materials:
- Polishing block
- Rotary cutter
Directions:
Step 1
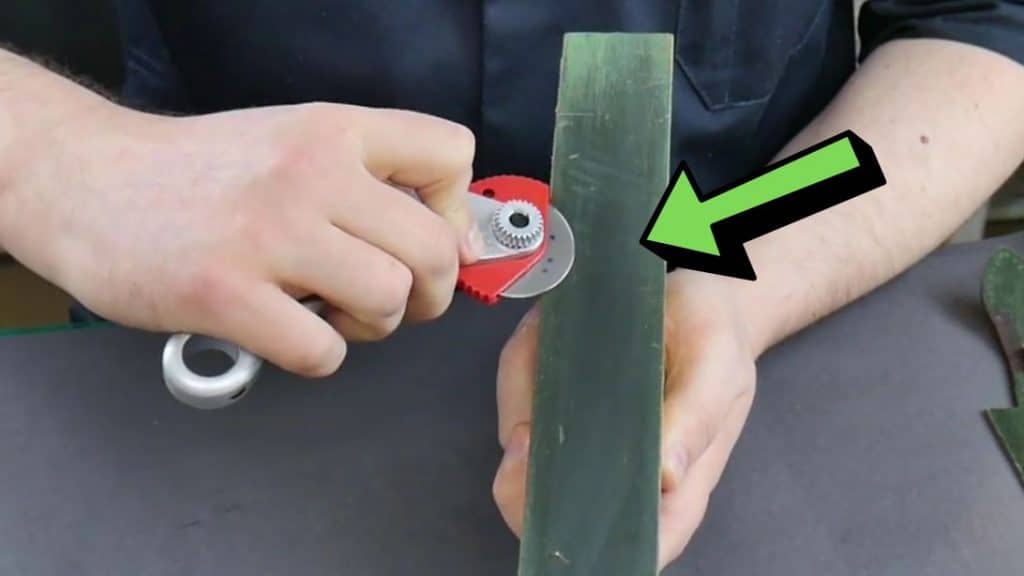
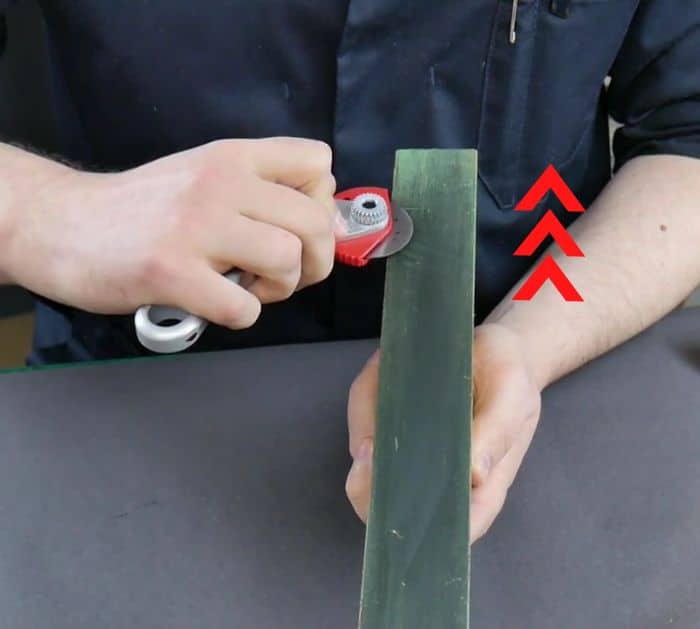
Get your polishing block, you can use either leather, diamond, or any sharpening stone, but in this tutorial, a leather polishing block was used. Grab your rotary cutter, then place the blade flat against the green compound of the polishing block, angle it up, then tilt it forward, and pull it towards you. Make a few strokes on that side before working on the other side of the blade.

[social_warfare]
Step 2
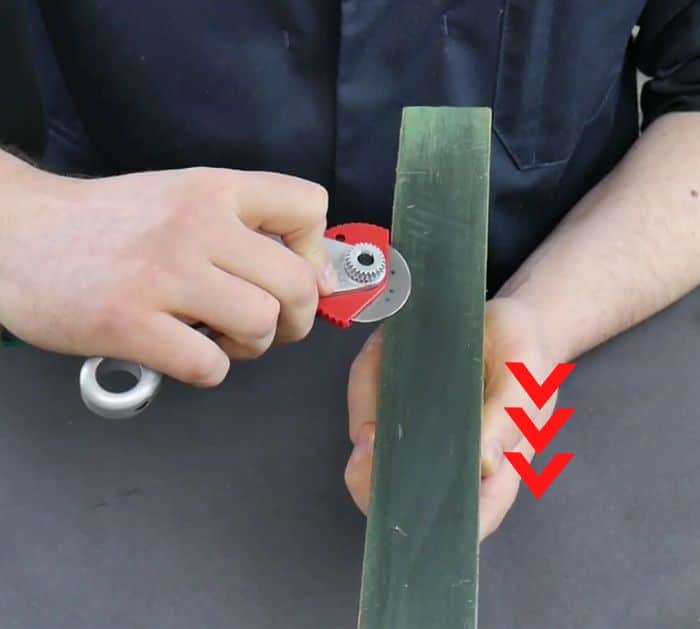
Now, flip the rotary cutter over so that you can work on the blade on its other side, same as what you did earlier, place the blade flat against the polishing block, lift it up, then tilt it towards you. However, this time you’ll change the direction of your stroke, push it forward and away from you instead. This way, the blade will the same direction. Make a few strokes, then test if it’s sharp enough, and repeat the process a few more times if needed.

*All these images are credited to Leathercraft Masterclass- Online Video Courses via YouTube. Give his channel a visit and subscribe for more!


