

Ever look at that pile of fabric scraps you’ve been holding onto and wonder why? Of course not! All of those pieces of leftover fabric are still so pretty and likely useful for something, right? I love finding new quilting ideas that use the fabric scraps I’ve held on to because those fabrics are often tiny pieces of some of my favorite projects and fabric patterns.
This quilt block tutorial is an easy step by step instructional that can be used to make a log cabin quilt or any other block quilt patterns. This easy sewing project is a perfect sewing idea for beginners and experts alike. Put those pretty pieces to use and learn how to make this quilt block, which I think makes a really lovely quilt. See for yourself and check out the step by step Youtube sewing tutorial that shows you how to make this quilting project.
Every quilter knows how bothersome it is to have those extra pieces of fabric strips hanging around. With this tutorial, you can give those scraps some re-purposed life to make fabulous patterns to start your own quilt!
How to Make A Quilt Block From Fabric Scraps
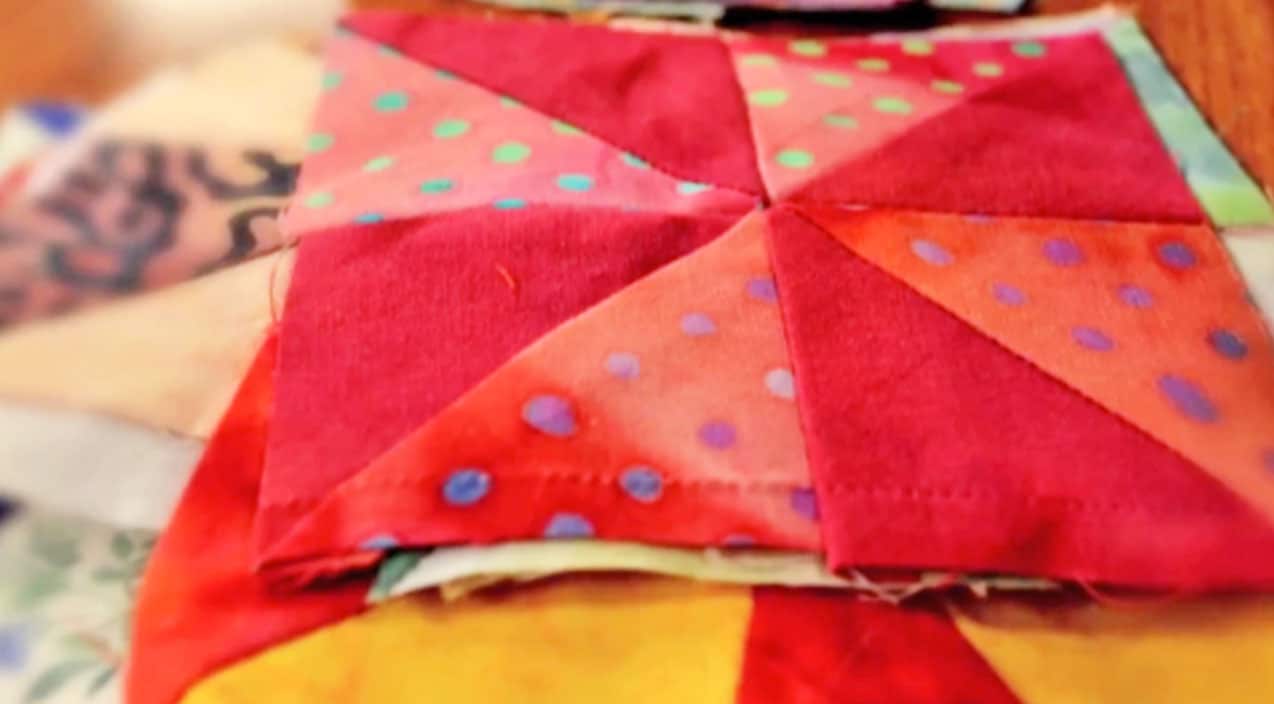
Supplies Needed for Fabric Scrap Quilt Blocks:
Cutting Board for fabrics
Rotary Ruler
Rotary Cutter
1/4″ Quilting Foot (it’s very important you use a 1/4″)
Pins
Flat Iron
Several 2″ wide strips of fabric (the length does not matter)
Sewing Machine
One 3″x 3″ Scrap
Scissors
Step 1
Start with with your 3″ x 3″ square piece and use a pin to indicate which way is the right side up.
Step 2
Take one of your 2″ strips and flip it over so the back of the fabric is showing. Line the strip up with the top edge of the square piece making sure that the strip overlaps a little on either side of the center fabric and pin it to keep it in place.
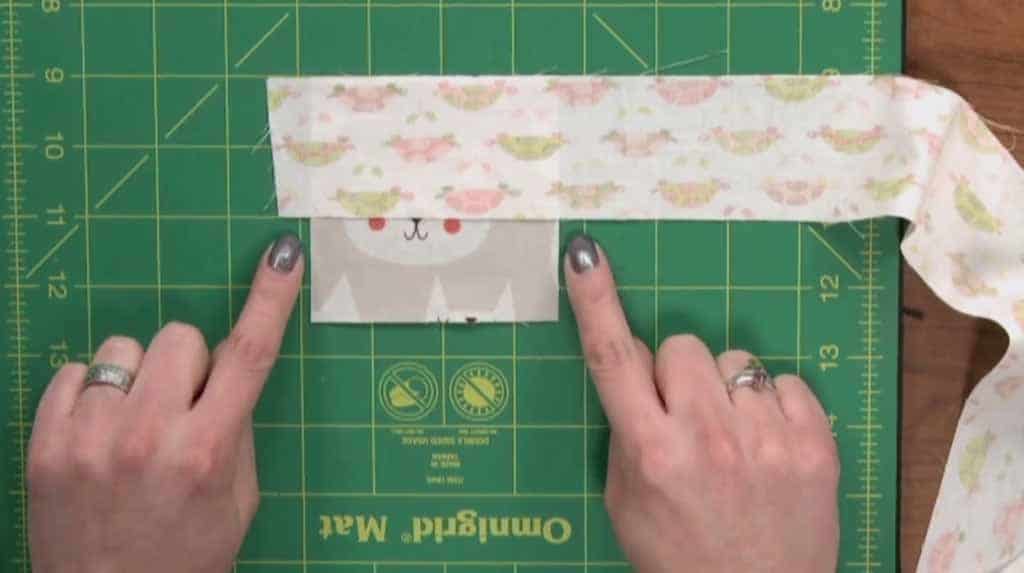
Step 3
Sew the two fabrics together along the edges using a 1/4″ Quilting Foot making sure you sew a few stitches before and after where the fabric overlaps to ensure you’ve sewed the two pieces together.
You do not need to back-stitch.
Step 4
After you are done sewing trim the extra threads with scissors. Lay the fabric flat and use the flat iron to press the crease of the two fabrics.
Step 5
Line the rotary ruler up along the edges of center fabric and cut the extra pieces of your 2″ strip off with the rotary cutter.
Step 6
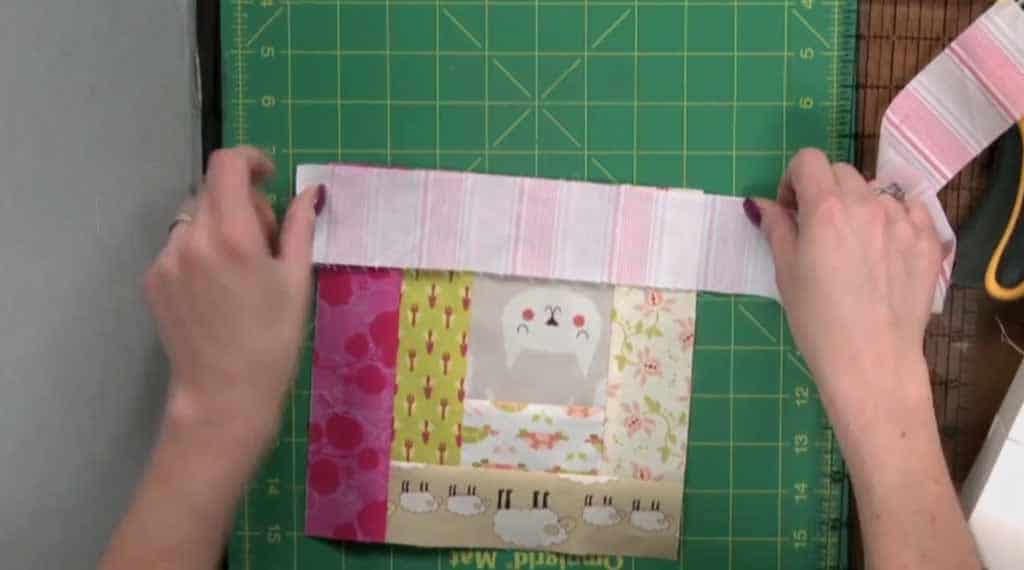
Turn your piece counter clockwise until it is sideways. Take your next 2″ strip and flip it over flat again and line up the top edges like you did in Step 2. This time when you pin make sure you pin the seam you made with your last strip.
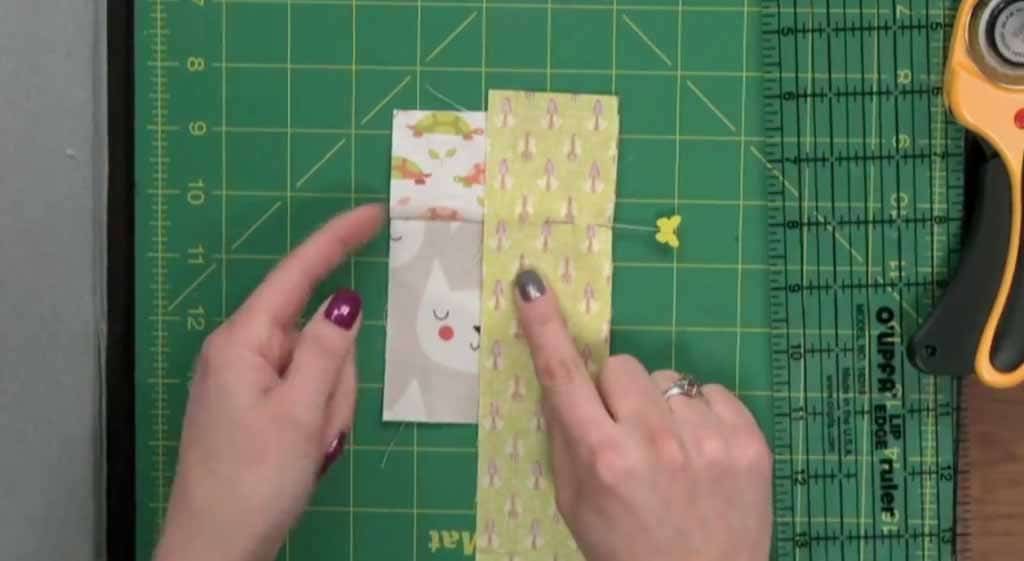
Step 7
Repeat Step 2 making sure you pull out the pins as you sew.
Step 8
Use a flat iron to press the seams and line the edges up and cut using the rotary cutter and ruler.
Step 9
Turn the entire piece counter clockwise again and repeat this process until your entire center piece is bordered by the 2″ fabrics.
Make sure you pin each seam before you sew.
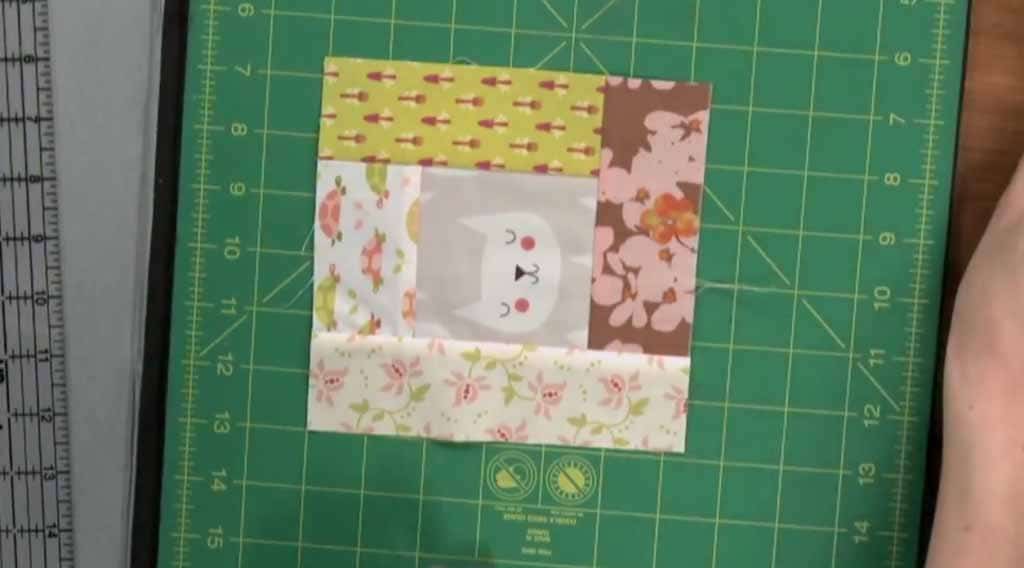
Step 10
After you center piece is bordered by your strips you either stop or continue Steps 2-4 until you get your quilt square as big as you’d like.
Step 11
Once you get your quilt square to the desired size use your rulers to make sure all the sides are even.
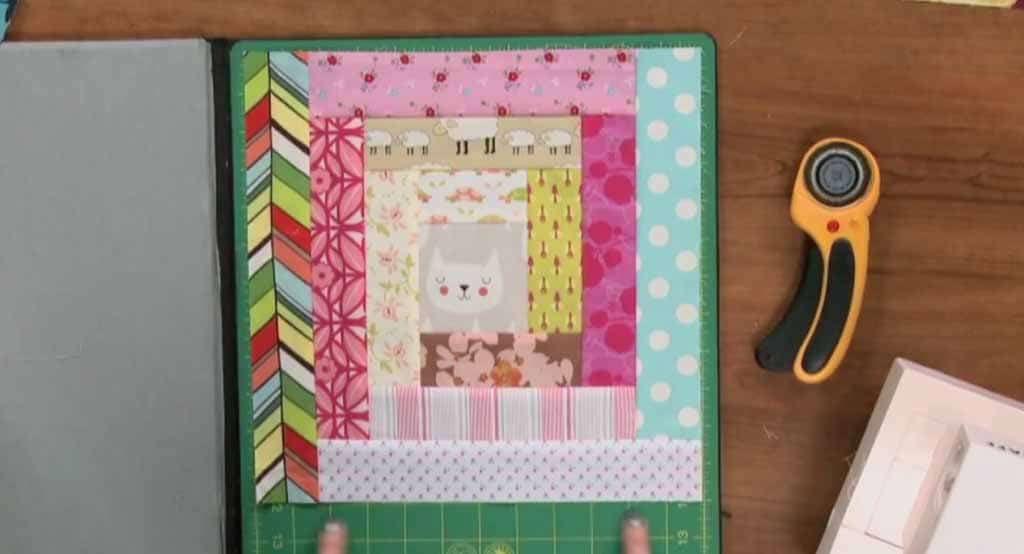
And now you’ve made the base for your cozy fabric scrap quilt block!





