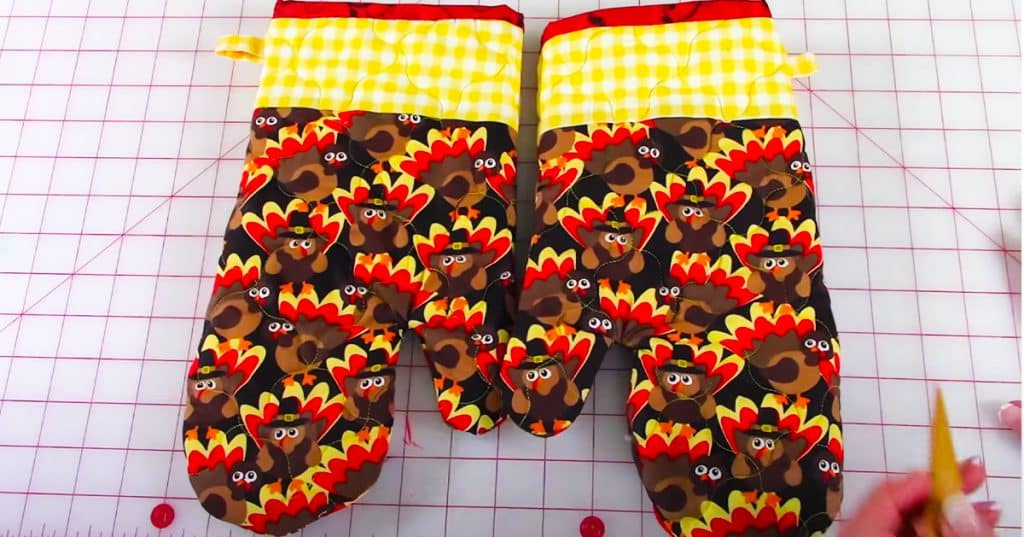
This sewing tutorial by The Sewing Room Channel shows how to make cute fall oven mitts for the kitchen. Her tutorial is so detailed and has great instructions on how to create these at any size based on your hand. This gives me motivation for me to sew these oven mitts for my kitchen instead of buying them because I could choose the pattern depending on the season. I love the turkey pattern for Thanksgiving and the acorns with fall leaves. This tutorial is great for a base because you can choose other patterns that’s Halloween or Christmas-themed.
Materials:
- outside fabric
- lining fabric
- optional border
- binding strip and loops
- cotton batting
- Insul-bright
- cut optional border
- cut binding
- cut loops
Directions:
First, watch The Sewing Room Channel tutorial on YouTube for the full instructions to figure out the measurements for your fall oven mitts.
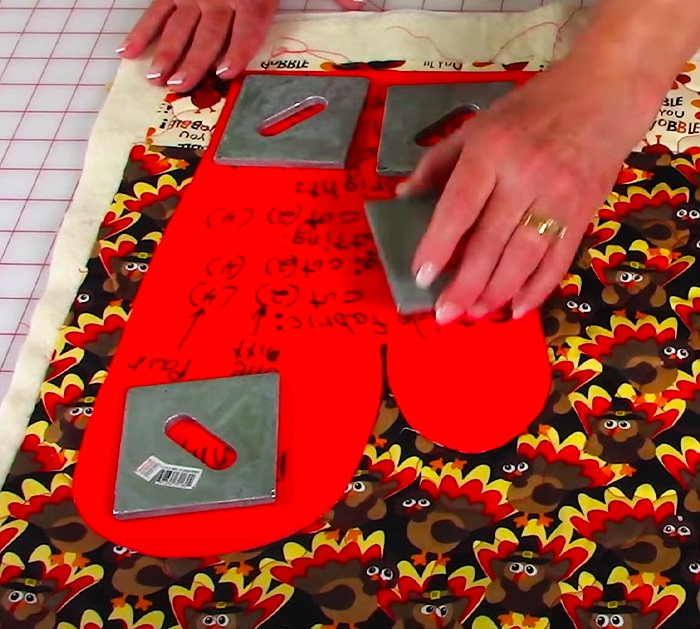
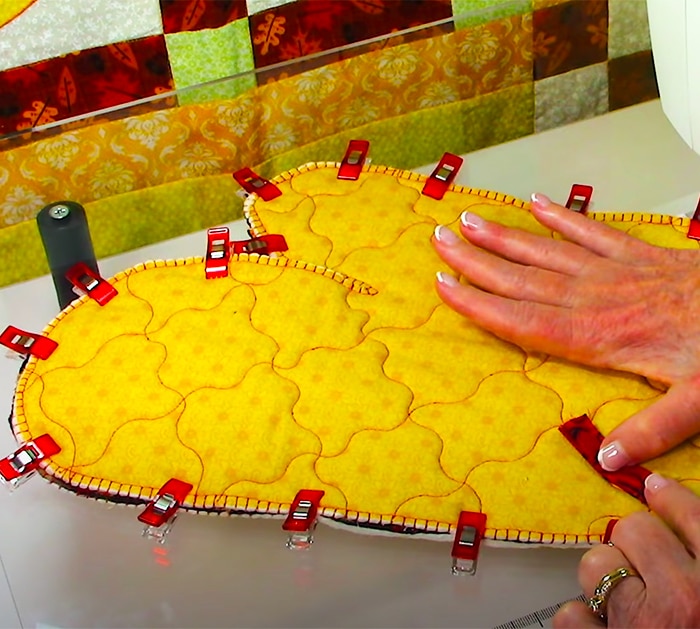
Next, bring the two front sides together of the mitts to match the seams of the border. Then, take your loop fabric piece and fold it in half. Take the folded edge, insert it inside, and line it up with your raw edges. Also, use the sewing machine to stitch 1/4″ seam all around the oven mitt leaving the bottom as an opening for your hand.
In conclusion, these fall oven mitts are festive for the fall season and holiday. This inspired me to work on this sewing project with me and my friends because this would be a great gifting gift to make. I love the color combination and fabric that’s used. She makes this tutorial simple and easy to understand and I think it is beginner-friendly if you watch the video and listen step-by-step. Plus, there’s a lot of attention to detail in this tutorial.


