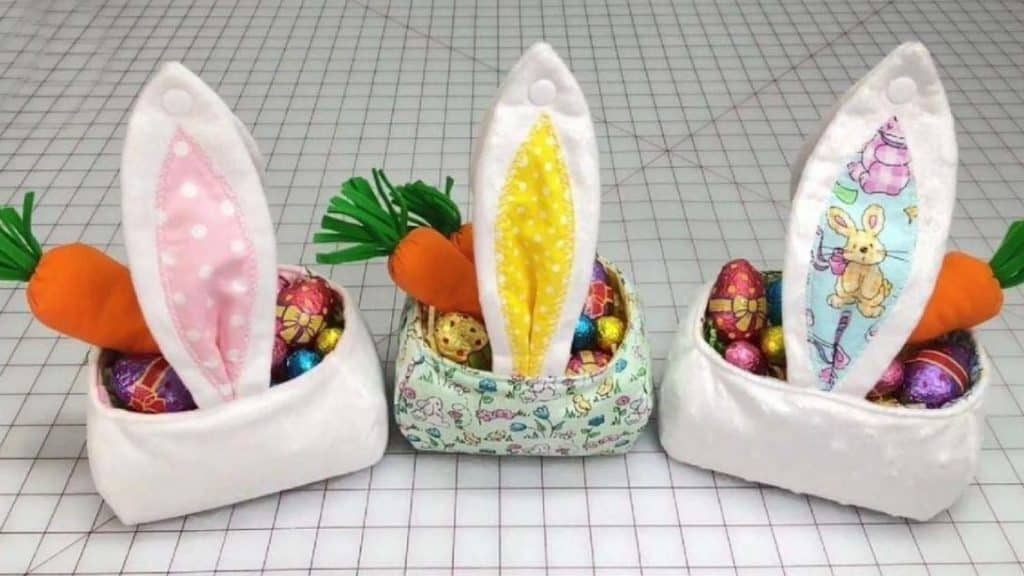
Instead of buying baskets to fill with your treats this Easter, put your sewing skills to the next level by making your own fabric baskets! Learn how to sew an adorable fabric bunny basket through this video tutorial by Notches Sewing on YouTube.
Materials:
- Main fabric (Polyester Minky polar fleece, embossed microfiber, or quilting cotton)
- Lining fabric (Polyester Minky polar fleece, embossed microfiber, or quilting cotton)
- Fusible batting (for the main ear)
- Medium weight non-woven fusible interfacing (for the inner ear)
- Iron
- Fabric scissors or rotary cutter
- Pins and clips
- Marking pen
- Tape
- Button snaps
- Pattern (click here to be redirected and to download the pattern)
Directions:
Step 1
First off, print out the pattern and cut out 4 of the main pieces and 4 of the lining pieces. Join the sides and tape them together, then cut out the pattern piece for the ear and the inner ear too. Using the main pattern piece, cut one out of the batting and also the outer fabric, with the glue side up, place the wrong side of the fabric on top of the batting, then press them together. Take the lining pattern and trace it onto the interfacing then just roughly cut so that it’s slightly bigger, place the glue side down onto the wrong side of the lining fabric then press, now precisely cut both layers. Trace out 4 of the bunny ears onto the interfacing and cut it out as 1 single piece, grab your main fabric and lay it down with the wrong side up, place the glue side of the interfacing on top and press them together, then cut them all out.
[social_warfare]
Step 2
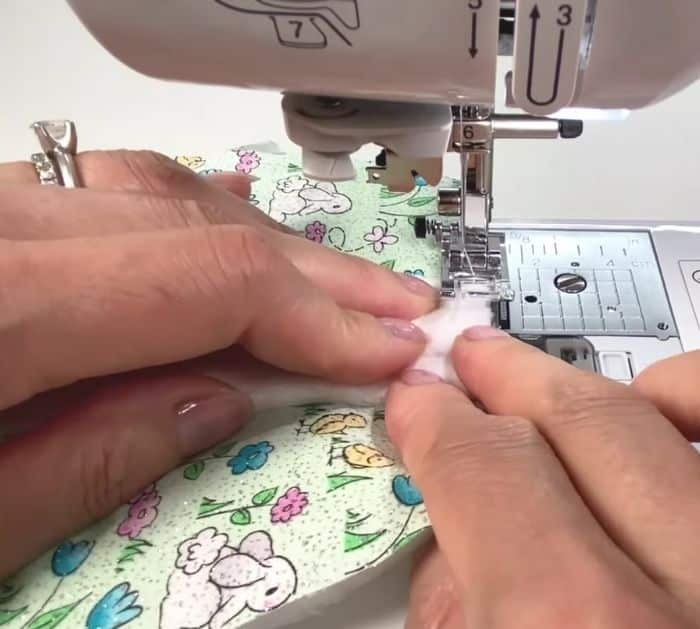
Cut 2 of the inner pieces out of fabric only, then center them on top of two pieces of ears with the interfacing pieces, and pin them together in place. Sew them together with any decorative stitch you want, now place the other pieces of ears with their right sides together then pin, sew it with a straight stitch and a ¼ inch seam allowance leaving the bottom unsewn. Slightly curve and notch the sides near the pointy edge, then turn it right side out, gently push the point out. Make sure that the fabric is flat, fold the bottom half with the inner ear together, then stitch 1 inch down near the center. Fold the wider sides of the main piece and main fabric together, then cut tiny notches on the center, with their right sides together, center the ears on the notch, and stitch ¼ inch from the edge.
Step 3
Sew the curved sides together with ¼ seam allowance, repeat for all sides as well as the lining fabric piece. Turn it right side out and place inside the outer basket piece matching the top edges as well as the side seams, stitch all around the top leaving an opening on the narrower side. Pin them together and sew with a 3/8 inch seam allowance. Flip it right side out then sew on top of the lining with a 1/8 inch seam allowance including the gap. Attach button snaps on top of the ears so that you can join them together
*All image credit belongs to Notches Sewing via YouTube. Follow and subscribe to her channel for more!
How To Sew A Fabric Easter Basket