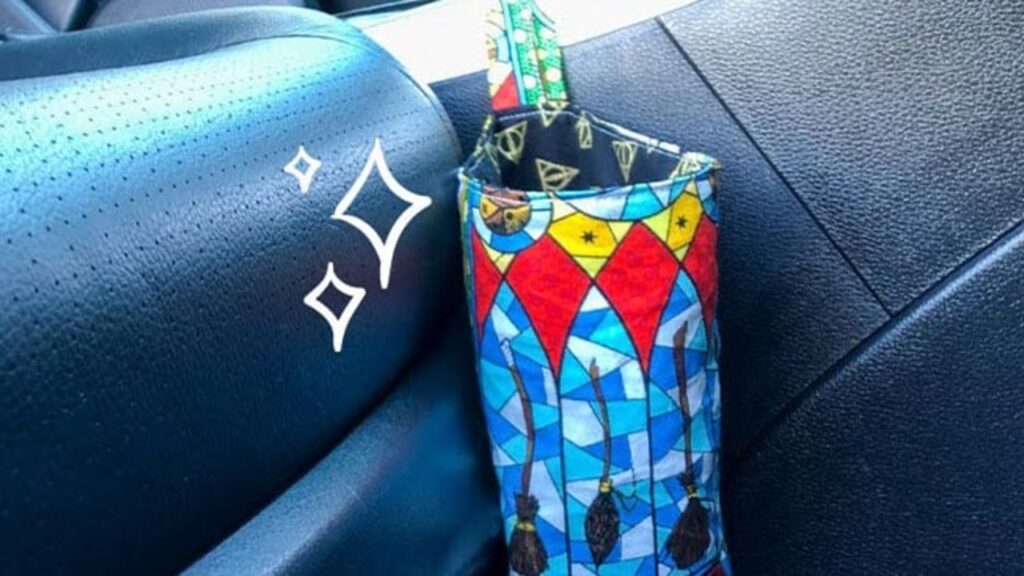
If you are like me, you constantly are finding straw wrappers and receipts on the floor because you’ve just thrown them in the floor because you had nowhere else to put them. The car trash has gotten even worse the past year because now the car floorboards get filled with old masks and hand wipes too. This DIY by Drink and Sew Things is a game-changer for organizing your car.
Materials Needed For This Project:
- Fabric Scraps or Fat Quarters
- Sewing Machine
- Thread
- Fabric Scissors
- Straight Edge
Directions:
Step One
Cut your fabric to 10 inches tall and 6 1/2 inches wide. you will want two outer pieces and two inner pieces. Cut a 3 inches wide, 16 inches long strip of fabric to use for your strap.
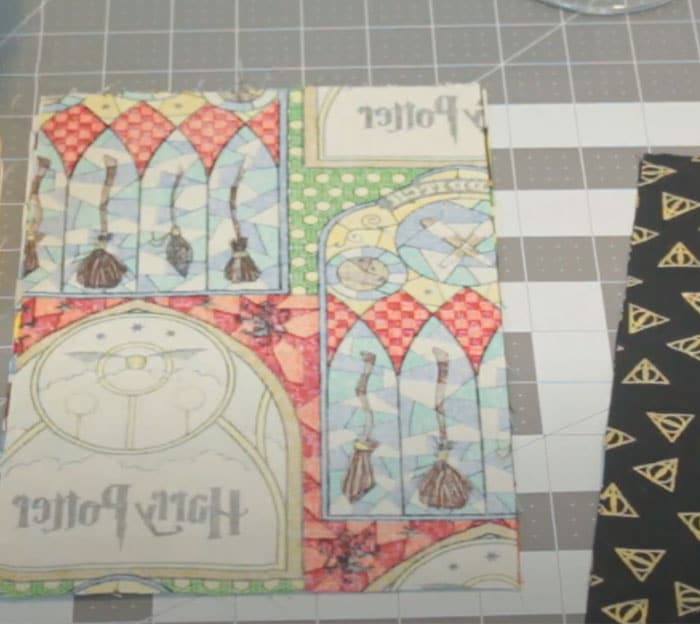
Image by. Drink and Sew Things via YouTube video.
Step Two
You will be making two separate bags. One is a liner and one is going to be the outside of your bag. Press and in your fabric for each bag
Step Three
Line the strap up to the 1/8 presser foot seam allowance on your sewing machine. Allow a 1/4 inch seam allowance when sewing your bags. If you want a boxed bottom this is where you will box the fabric out.
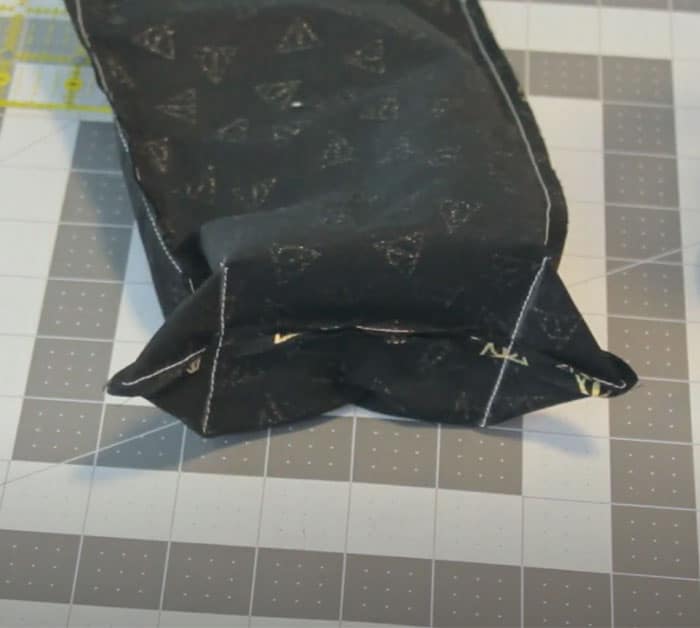
Image by. Drink and Sew Things via YouTube video.
Step Four
Take the lining bag and turn it inside out. Place the lining bag inside your outside bag. The outside bag should be turned inside out. Place your strap in-between the outer bag and the lining, then clip around the edges of the bags.
Step Five
Remove the arm of your sewing machine. Sew where you just clipped with a 1/4 inch seam allowance. Be sure to leave a hole so you can turn the bag right-side out. Once you are done, push the lining fabric into the bag fabric and topstitch the hole together.


