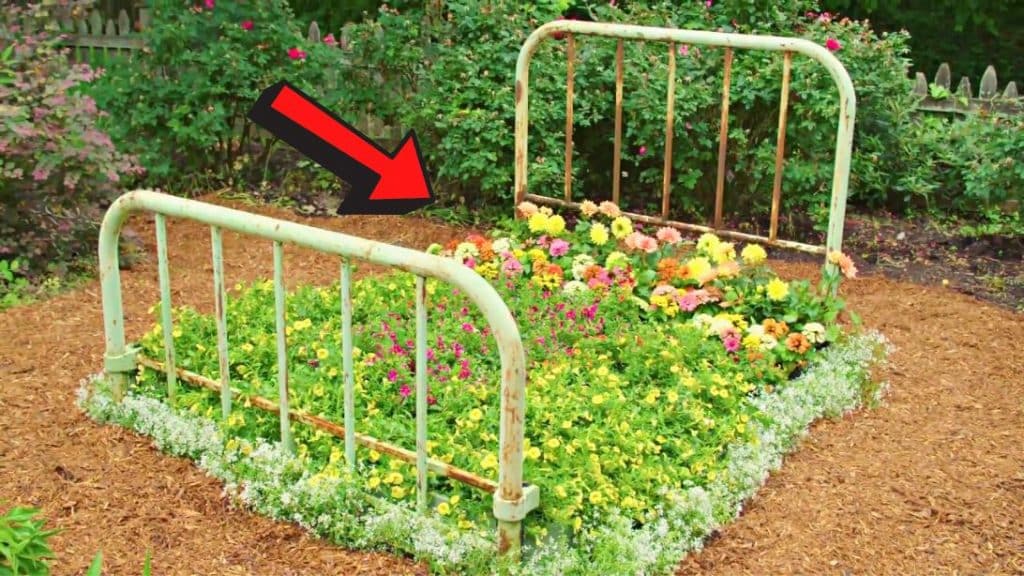
Take your garden to the next level by creating a literal garden bed for your flowers! This unique, playful, and whimsical DIY project idea by DIY Network on YouTube is perfect if you have an old bed frame that you are planning to get rid of or don’t know what to do with yet. It is super easy and fun to make, try this in your garden and share with us the results.
Materials:
- An old metal bed frame
- Round steel bars
- Scrap wood or any lumber
- Cardboard boxes
- Scissors or cutter
- Potting soil
- Rake
- Flowers
Directions:
Step 1
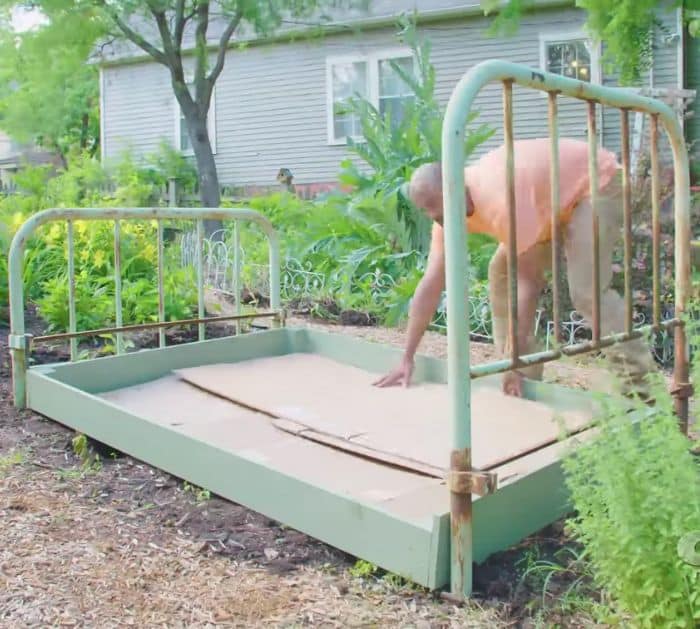
Decide where you want to place your flower bed and how you want to arrange it as well as whether you’re using the whole bedframe or just the headboard and footboard. If the frame of your headboard and footboard are like pipes with hollow centers, install some steel bars on the ground before placing them and inserting them on the steel bars, this will make sure that they will stand right up and serve as a support. But, if you are using the whole bed frame, then you might want to cut the excess feet so that they lie flat on the ground. Next, cut the cardboard boxes open, then lay them all over the empty ground or space between the headboard and footboard.
[social_warfare]
Step 2
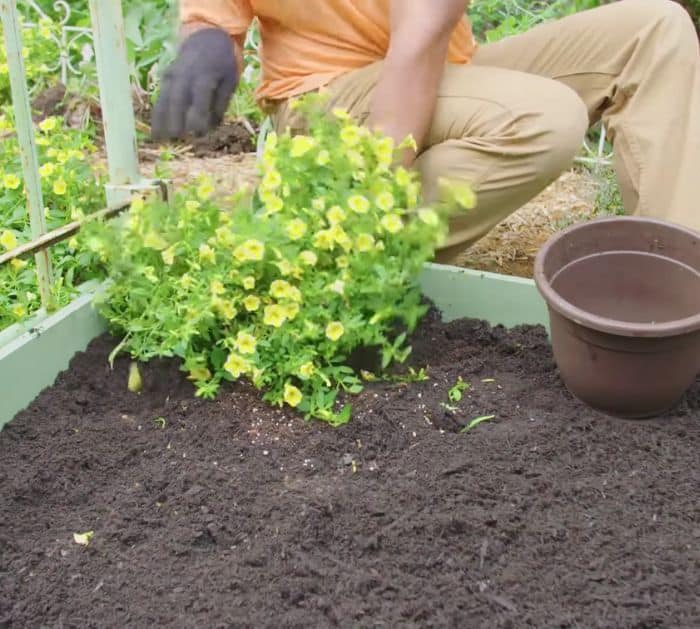
If you’re not using the whole bed frame, measure the distance between the headboard and footboard and get the total sizes from all four sides, then build a simple wooden bed frame, and place it at the center between the footboard and headboard. Cover the wood with paint if you want, then let it dry completely before covering it with cardboard boxes. Add some potting soil until the cardboard boxes are completely covered and thick enough to plant the flowers, then rake it until nice and even, and start planting your flowers. You might also want to plant a different type of flower around the border of the bed to give it shape.
*Thanks to DIY Network via YouTube for all images used here. If you loved this project idea, then you’ll surely love their other video tutorials too, so give their channel a visit and subscribe!


