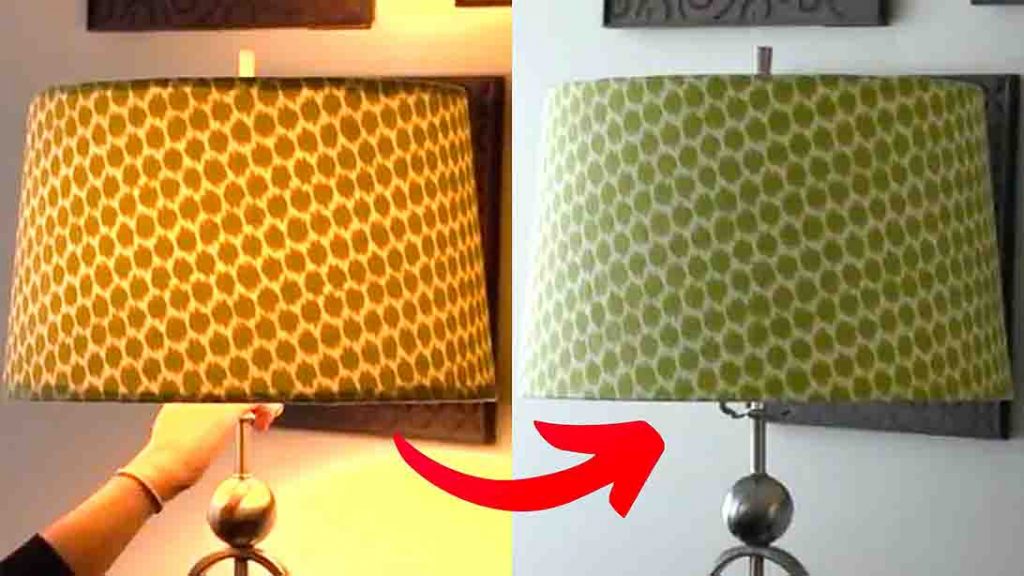
Give your lampshade a new look with this video tutorial from Sailrite on Youtube! Re-covering your lampshade with a new fabric will definitely elevate your space. So if you’re looking for a small DIY project to add a vibe to your room, this video is perfect for you. Watch the video tutorial below to learn the step by step instructions. Thanks to Sailrite for this awesome video tutorial.
Materials:
- 1 yard of upholstery fabric
- old lampshade
- rotary cutter
- cutting mat
- spray adhesive
- large sheet of tracing paper
- pencil
- yardstick
- scissors
Directions:
Step 1
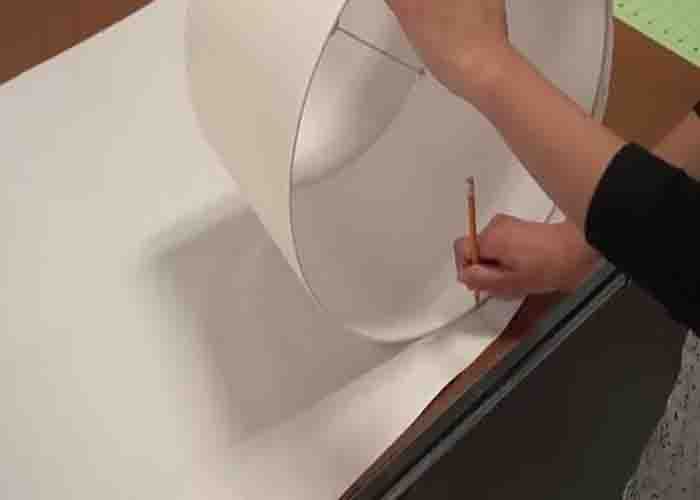
To start, make a pattern first so you can cut the fabric out in the right shape. For this, set the lampshade on its side over the tracing paper, then trace along the edge as you slowly roll it across the paper. (Keep a 1/2″ away from the pattern’s edge.) Repeat the same step on the top of the lampshade. Square off the edges with a yardstick and pencil, then add about 1/2″ to each long edges of the pattern and 1″ to one of the short sides. Cut out the pattern once done. Next, flip your fabric upside down, then trace the paper pattern.

[social_warfare]
Step 2
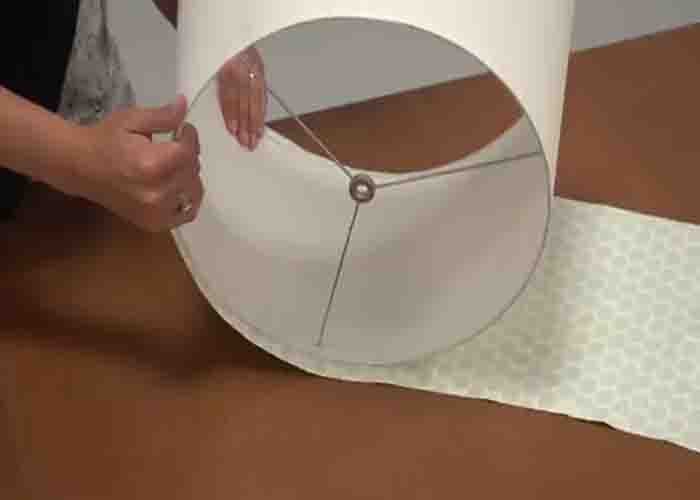
After this, take the fabric over the cutting mat, and cut out the shape using a rotary cutter. (If your fabric is wrinkled, iron it out at this point before applying glue.) Next, spray the wrong side with spray adhesive generously. After this, fold over one short edge of the fabric to create a small hem, then spray it. Now, start attaching the sprayed fabric to your lampshade carefully, smoothing it out as you roll. Once done, roll over the extra fabric on top and bottom inside and you’re done.


