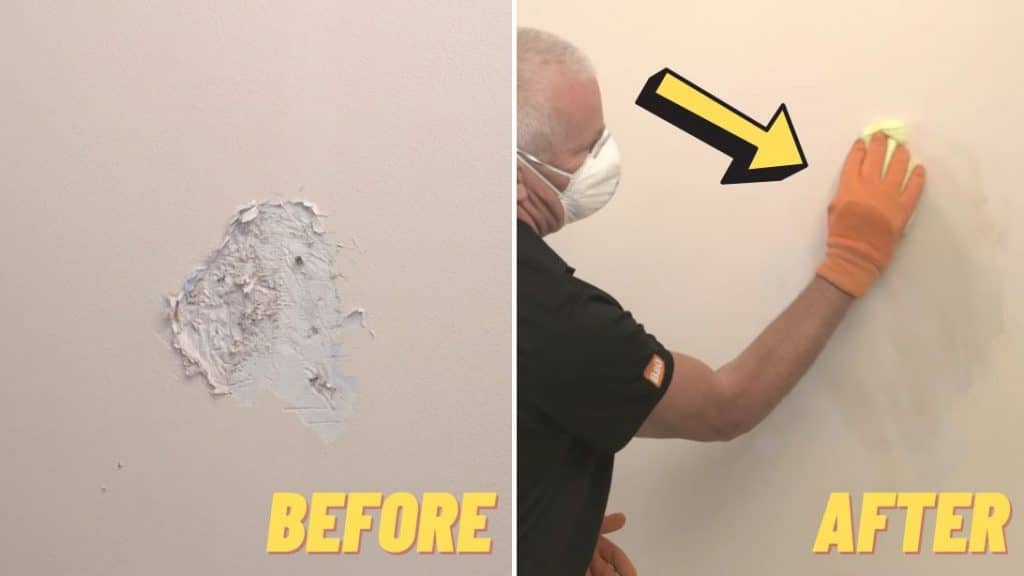
You can now fix or repair a hole in your wall easily with this tutorial by B&Q on YouTube! It is surprisingly simple and easy to learn even if you’re a beginner, if you want to learn how to do it, then proceed to read down below for the full instructions and watch the video tutorial as well while you’re at it.
Materials:
- Dust sheet or dust cloth
- Utility knife and scraper or hammer and cold chisel
- Cable and pipe detector
- Spirit level
- Steel rule
- Flat plastering trowel
- Ready use plaster repair and skim
- Coarse grade sandpaper
- Medium-grade sandpaper
- Diluted PVA adhesive
- Plaster repair, if the depth of damaged area is greater than 3mm
Directions:
Step 1
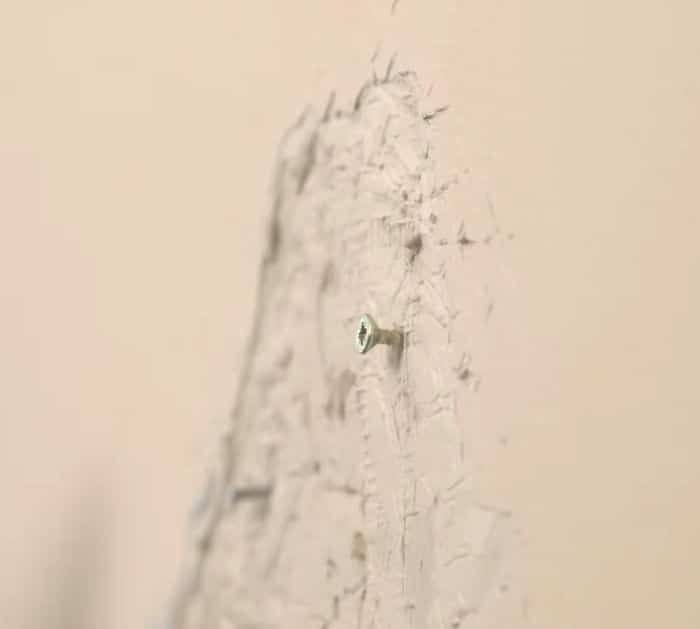
First off, place a dust sheet on the floor and inspect the damaged area to see if there’s any loose or crumbling plaster, if there is, use a utility knife and scraper or hammer and cold chisel to cut this back until you reach down the plaster ensuring the hole is not deeper than 3mm. Remember to use a cable and pipe detector to check for hidden pipe and cables before cutting into a wall, if the surface is glossy, you’ll need to sand it first using coarse-grade sandpaper. Brush the damaged area to remove any dust and check that there is no dampness or grease, if there is grease then clean the area. If you suspect dampness then you might need to seek expert advice. If there are any fixing needed such as nails or screws in the repair area, make sure that the heads are well below the surface of the wall and any that protrude should be removed.
[social_warfare]
Step 2
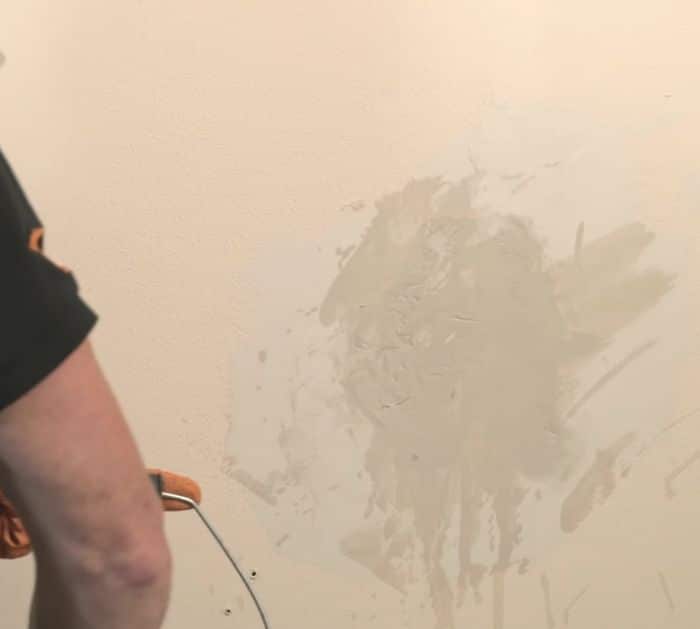
Now, prime the area with diluted PVA to give the plaster adhesion for the new plaster repair to stick to it. Using a steel ruler and a spirit level, check the depth of the damaged area before you start applying the repair and the skim, if the depth is greater than 3mm use a plaster repair to reduce the depth, this can be applied in layers up to 12mm thick, but if it’s around 3mm, then you may only need 1 layer. Apply the filler directly to the wall, then smoothen and flatten it as much as possible, and let it dry completely. Once the plaster has begun to set, wet the plastering trowel and use it to smooth the plaster, then when it’s dry, lightly rub over the surface using medium-grade sandpaper, and wipe over the sanded surface with a damp cloth. If you’ll paint, wallpaper, or tile the repaired area, don’t forget to coat the new plaster with an appropriate sealer first.
*These amazing images are all credited to B&Q via YouTube. Check their other content and follow for more!

