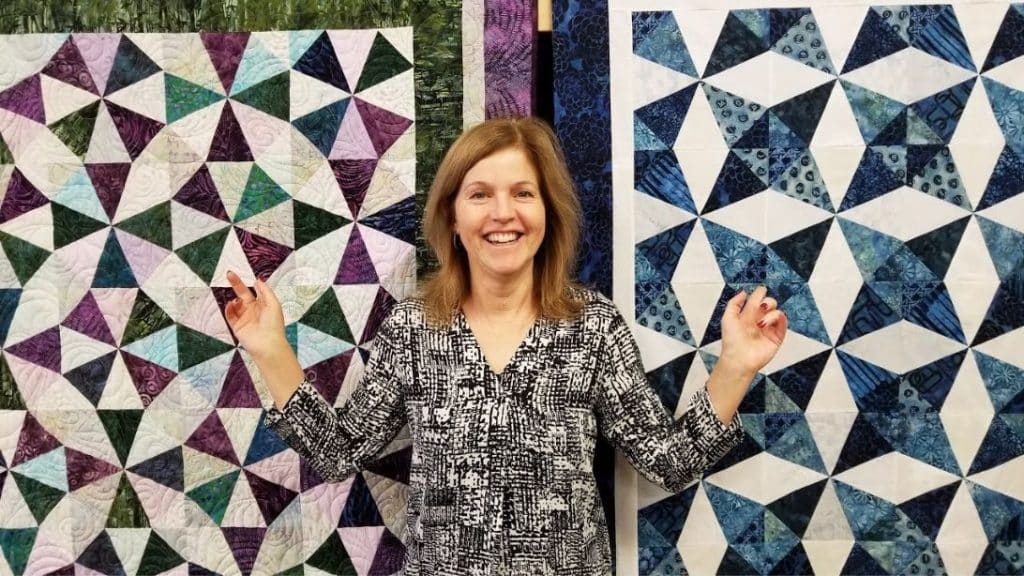
Quilting is so fun to do and I always make sure to try learning different kinds of techniques or projects every now and then. What I love about quilts is the fact that you can design them however you want and you can play with the patterns to your heart’s content, but the best feeling of all is when you see the finished project and it just looks absolutely stunning and satisfying at the same time, knowing that you made that by hand. So, whether you’re a seasoned quilter looking for something to try this week or you’re a beginner who wants to level up their quilting skills, this project by Jordan Fabrics on YouTube is perfect for you!
Materials:
- Print fabrics
- Background fabric
- Kaleido ruler
- Marking pen, pencil, or chalk
- Needle and thread
- Iron, for pressing
- Sewing machine
Directions:
Step 1
Pick out the fabrics that you want to use, then iron them before you start, and then begin cutting them to size. After cutting some of the print fabric and background fabric into 5-inch strips, sub-cut them into large triangles using the Kaleido ruler, and set them aside. For the remaining print fabric for the corners, cut them into squares first, then sub-cut them into triangles, and set them aside. Once done cutting the fabric pieces, grab the large background and print triangles, then assemble them together as shown in the video, and start sewing them by pair first.

[social_warfare]
Step 2
Press them open with the seam going towards the darker fabric, then sew the pairs together, and press them flat. Place the small triangles on each corner to turn it into a square, then sew them in place, and press them open. Trim off the excess fabric and straighten the edges of the block, then proceed to piece together the rest of the fabrics, and once done, lay out the blocks forming whatever pattern that you want as shown in the video. Next, sew the rows together, then the rows to each other, and add the borders, backing, binding, and quilt however you want.

*All image credit belongs to Jordan Fabrics via YouTube. Follow and subscribe to her channel for more!


