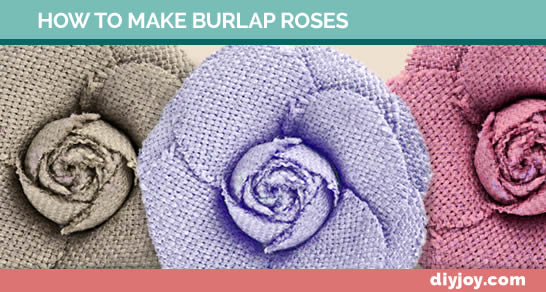
Want to learn how to make burlap roses but think it might be too difficult? Think again, or rather, watch this easy step by step video tutorial to learn exactly how easy it is to make these beautiful roses for accents to your country crafts and decor. Instructions for making the petals and layering the rose are included in this super DIY tutorial video. Fun and easy crafts idea you can make in about 5 minutes. Perfect for adding to a DIY gift!
DIY Tutorial for Burlap Roses
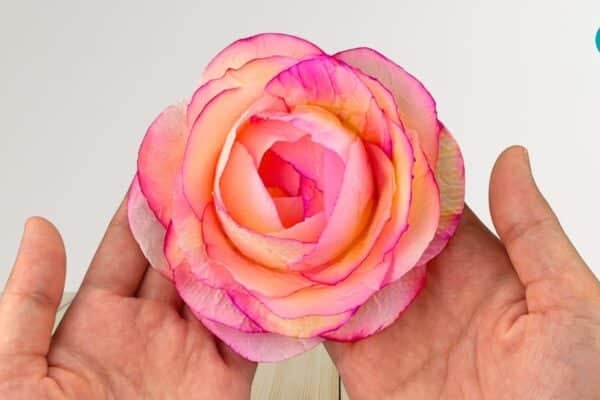
These burlap roses are easy craft projects that can be used to brighten up your room decor or add a homemade touch to any of your other DIY projects.
Step 1. Use Mod Podge to stiffen burlap

Paint a generous amount of Mod Podge onto a piece of burlap. Allow it to dry about 30 minutes or until completely dry and stiffened.
Step 2. Cut 3 equally sized six-petaled flowers from the burlap

Step 3. Cut the bottom layer for your burlap rose

Choose one of the burlap flowers and cut a straight line between two of the petals to the center of the flower. Cut off the rounded part of the petal to the right of your center cut.
Step 4. Glue the fabric in place

Apply hot glue to the triangle created by the cuts in the flower and press the back of the petal to the left of your cuts against the glue for about 30 seconds or until the glue is dry.
Step 5. Cut the second layer of the rose

Cut out an entire petal all the way to the center and set it aside to use later as part of the center of the flower. Like the first flower, cut the rounded tip from the petal to the right of your other cuts.
Step 6. Repeat step 4 to glue the flower in place properly

Step 7. Cut the third layer for your burlap rose

Cut out two petals from the flower so that the piece removed is shaped like a heart. Set aside this piece for later. Again, cut the rounded tip from the petal to the right of your cuts on your third flower layer.
Step 8. Glue the third layer in place by repeating step 4

Step 9. Cut the center of the rose

Use the two cuts from the flowers you set aside to create the center by scalloping the ends of each petal. Cut the tips off so that the center of the rose does not become too bulky.
Step 10. Roll the center of the rose together

Roll the larger petal loosely around itself to create the center of the rose and glue the end in place. Glue the smaller petal around the outside of the rolled petal to create a larger center for your rose.

Step 11. Assemble the layers to create the rose

Snip the ends from the second and third layers of the rose, keeping only the center of the bottom layer completely in tact. This will keep your rose from becoming too bulky. Use hot glue between each layer, allowing a couple of seconds for the glue to dry while assembling it.
Step 12. Curl out the ends to make the rose look more natural

Use your fingers to bend the ends away from the center of the rose. The Mod Podge you applied to stiffen the burlap will help keep it in place.
Now all that’s left to do is admire your homemade burlap rose or find some creative ways to integrate it with your other DIY projects and crafts!

Do you have any tips or tricks for making these handmade burlap roses that we missed? Tell us what you thought of this DIY tutorial in the comments section below!!