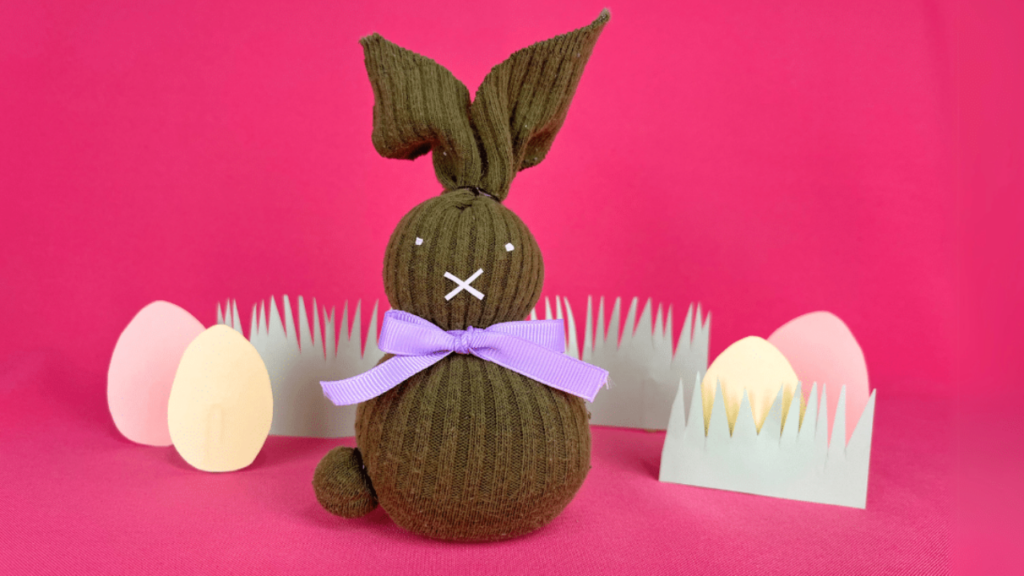
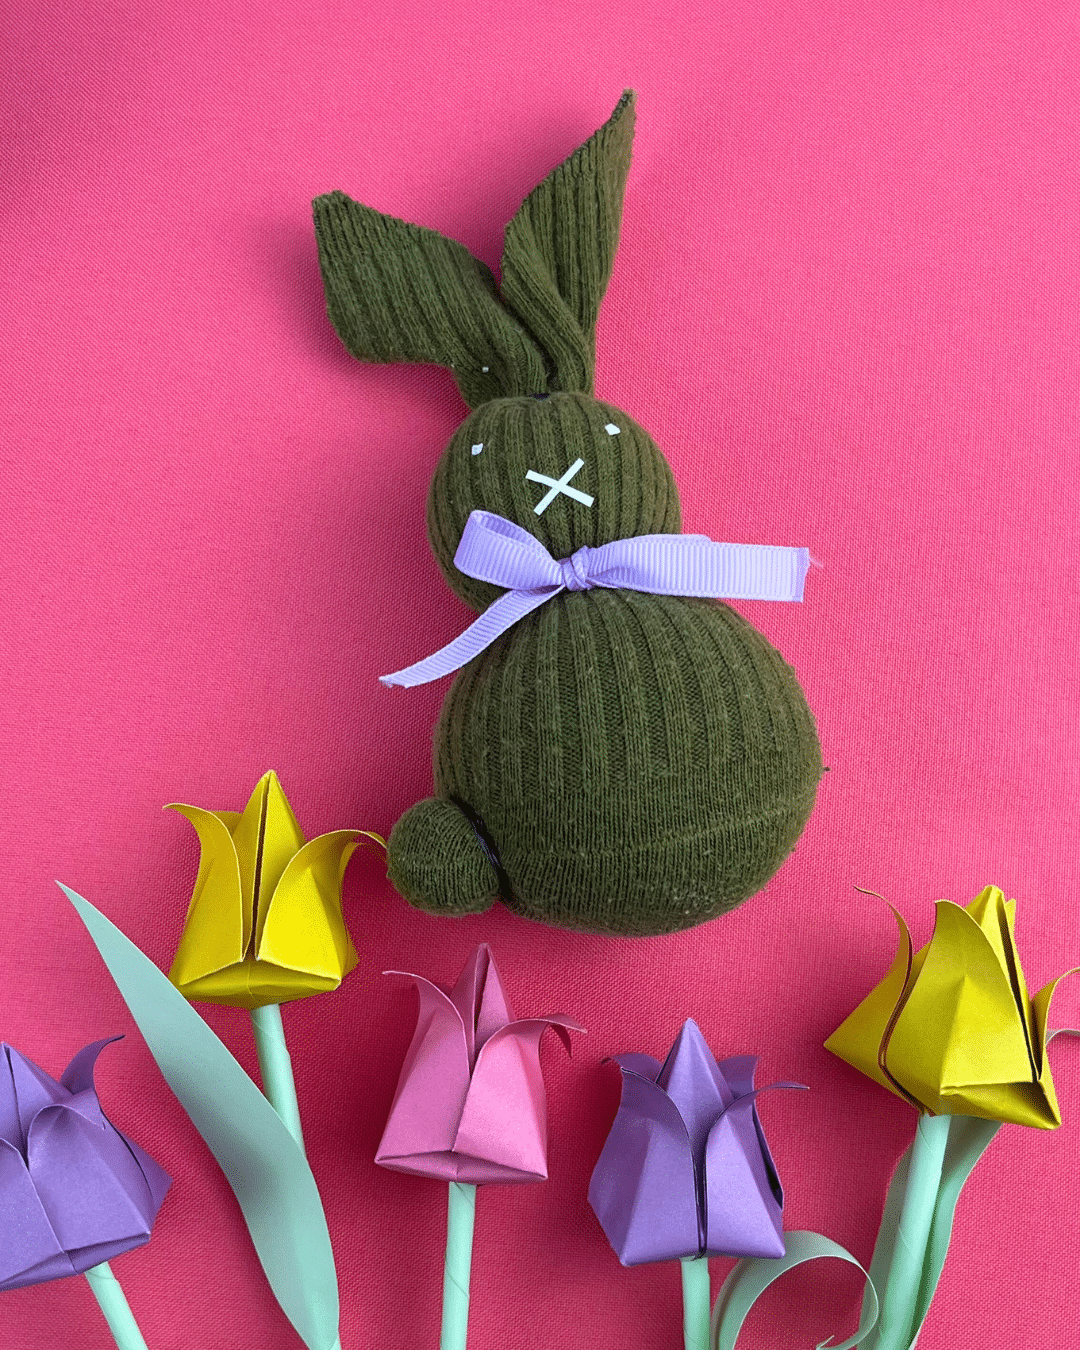
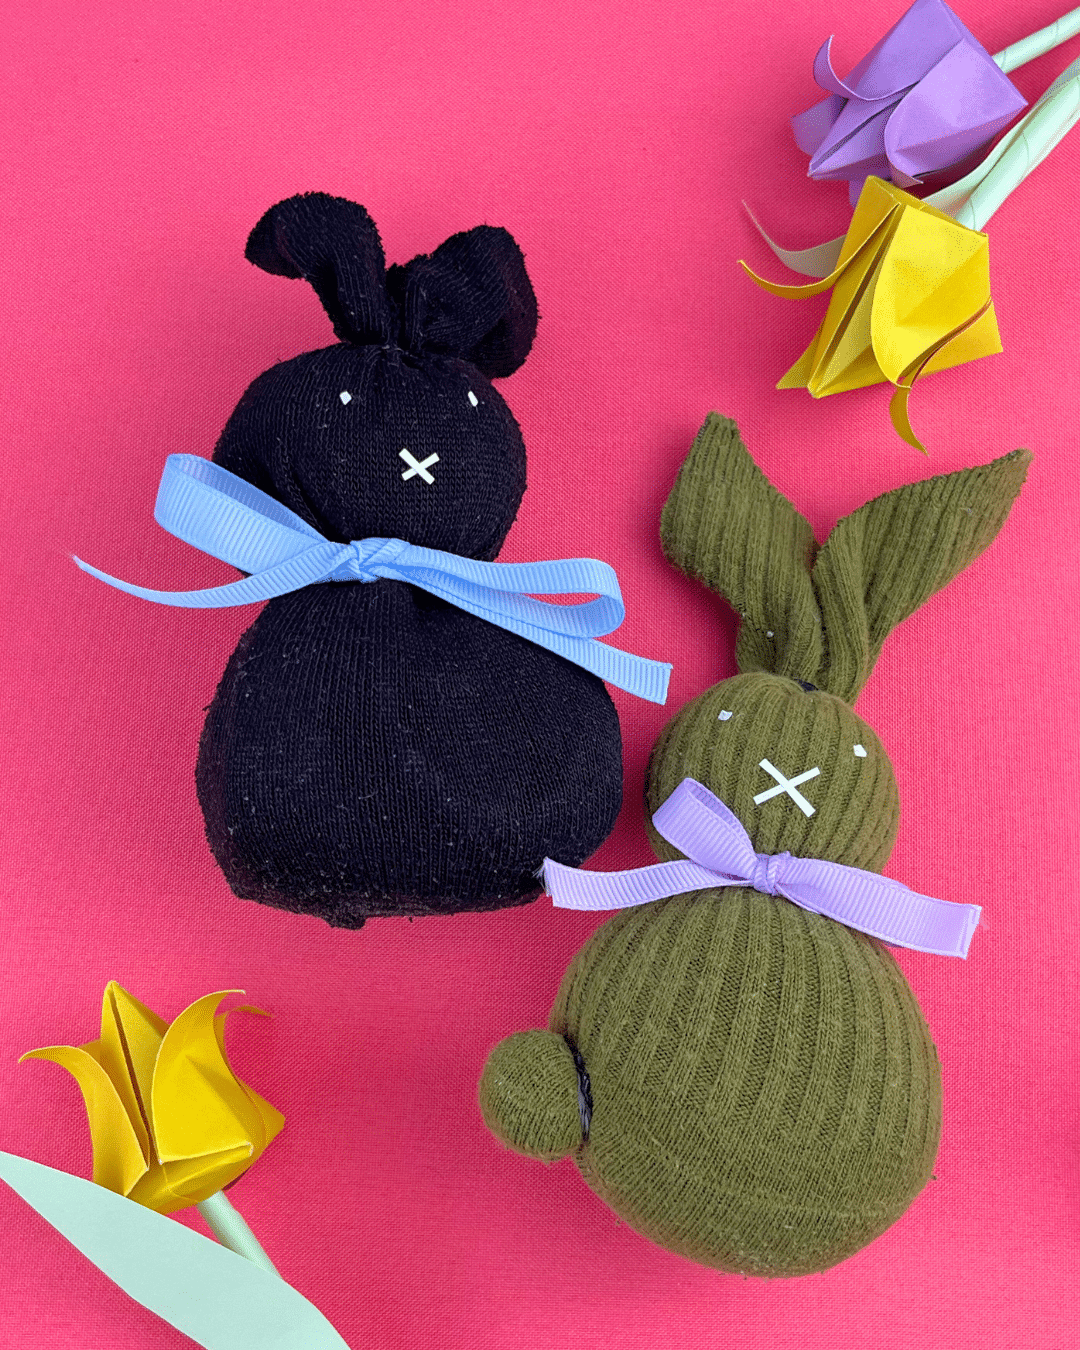
Easter is one of the most fun events that I look forward to every year. If you are looking for a fun art activity that adults and kids can enjoy, look no further than these DIY sock rabbits! I love making easter crafts, and this one is my absolute favorite. I will show you how to make a sock bunny with this easy step-by-step tutorial.
RELATED: No-Sew Easter Chicken Towel
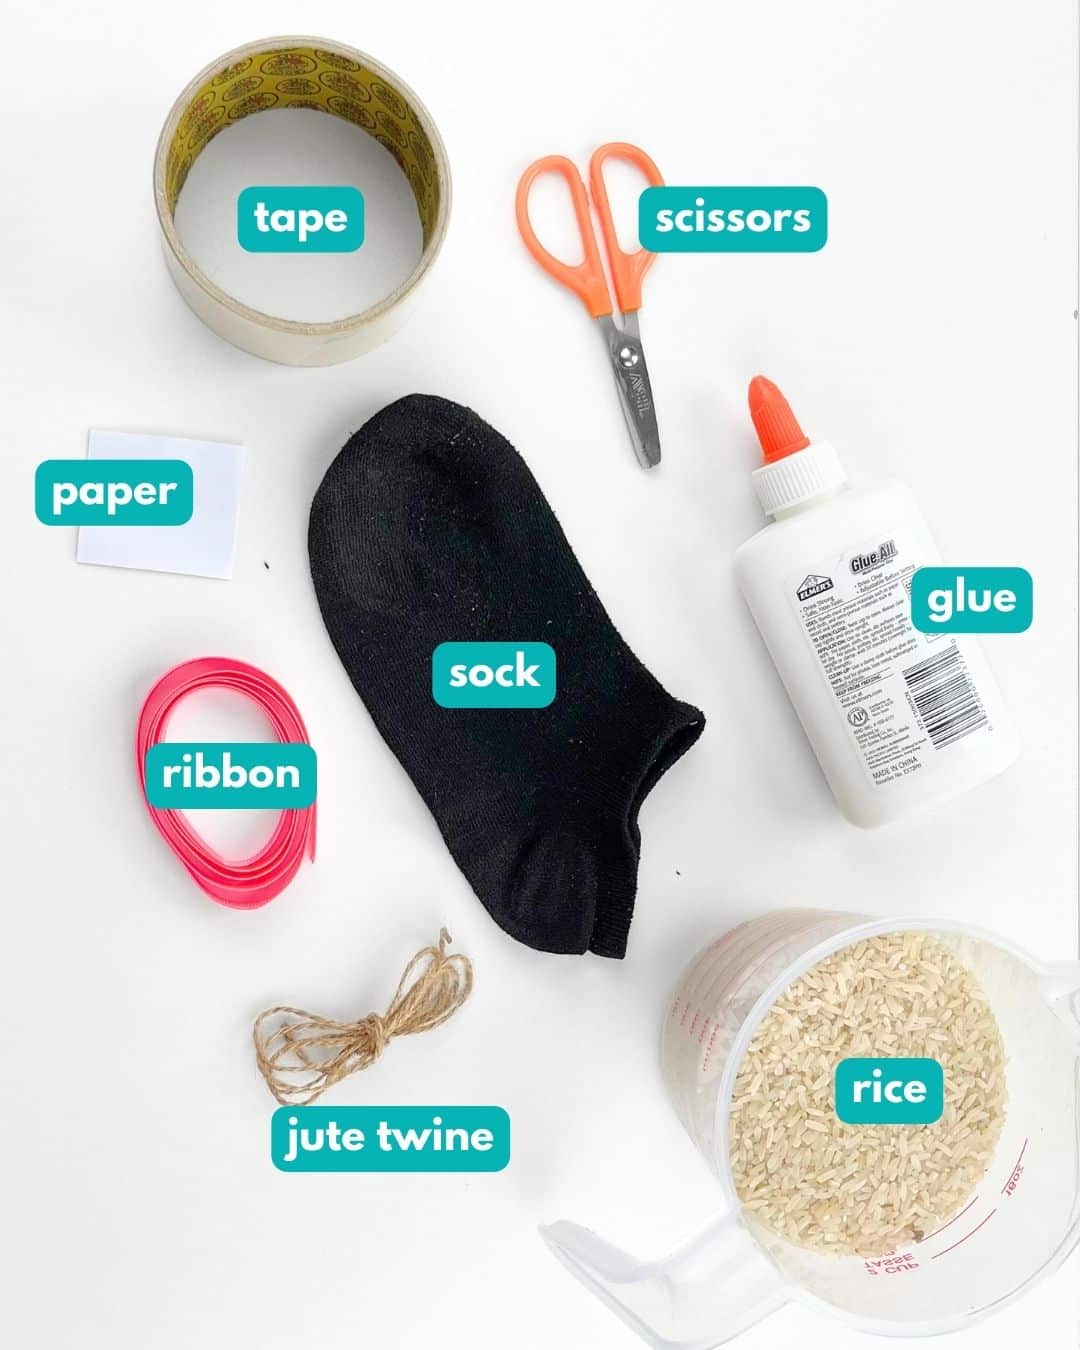
Don’t know how to sew? Not a problem, as this is a no-sew Easter bunny project! Yes, this does not involve needles. It’s super easy to make and comes together quickly in just a few minutes! You only need a sock, rice, jute twine, scissors, ribbon, glue, and paper. If you are using a light-colored sock, there’s no need for paper and glue–just use a marker to draw the eyes and mouth. This DIY easter bunny is a great way to spend time with the family and the perfect decoration for your easter egg hunt party.
Materials for Sock Bunny
- sock
- rice
- jute twine
- paper
- scissors
- glue
- ribbon
- tape (optional)
Instructions for Sock Rabbits
Step 1:
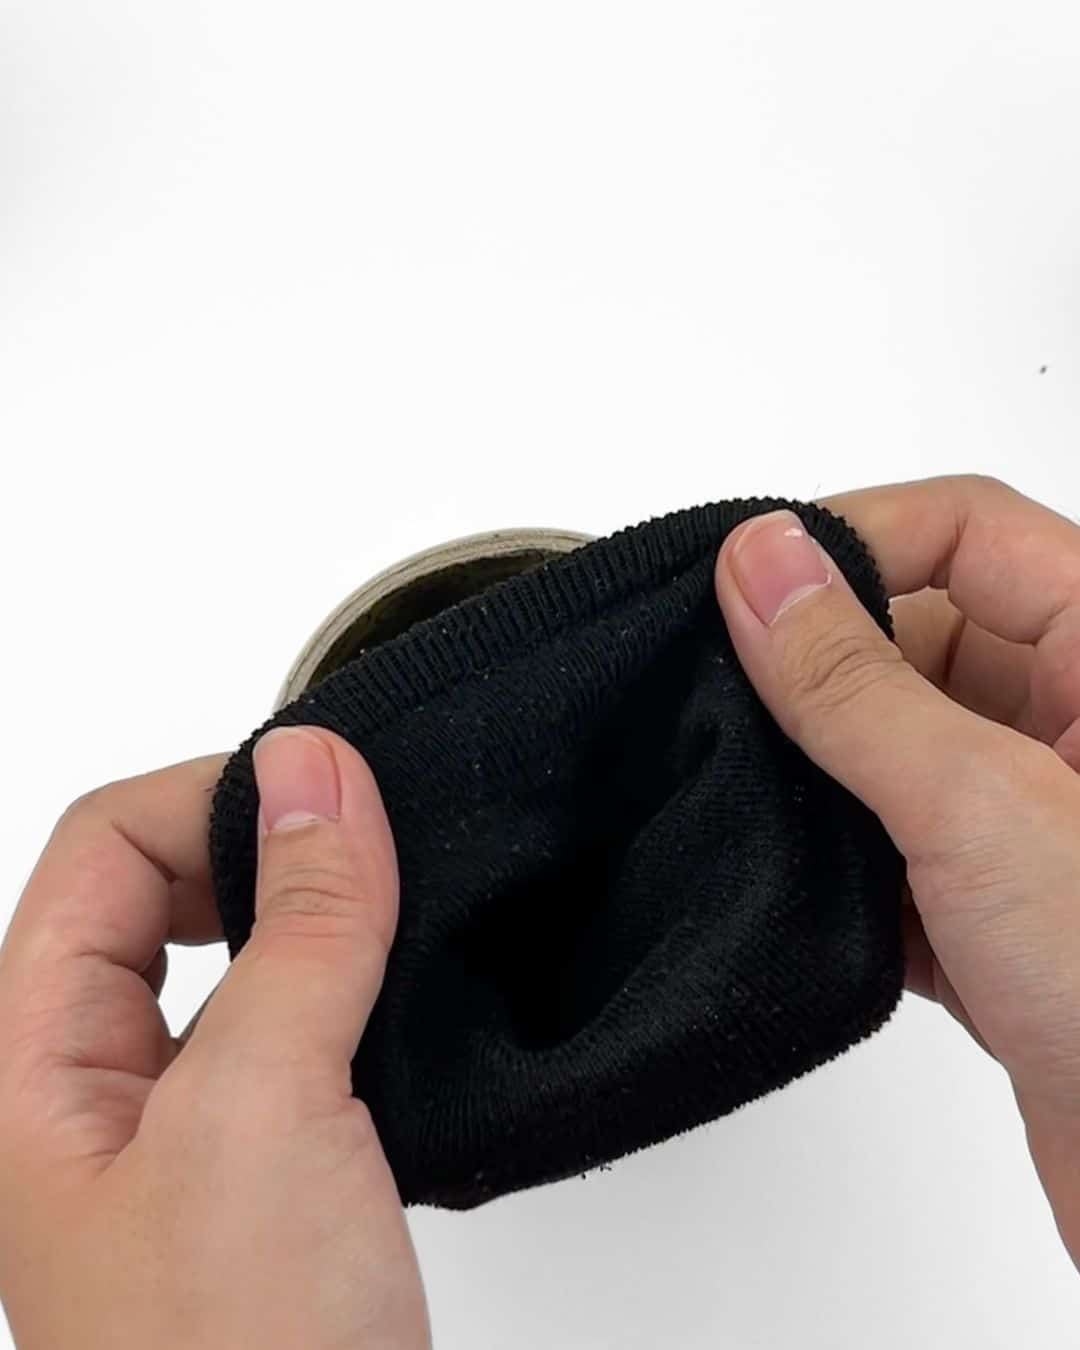
Place the sock inside the tape, then fold the edges over to securely wrap around the tape.
Step 2:
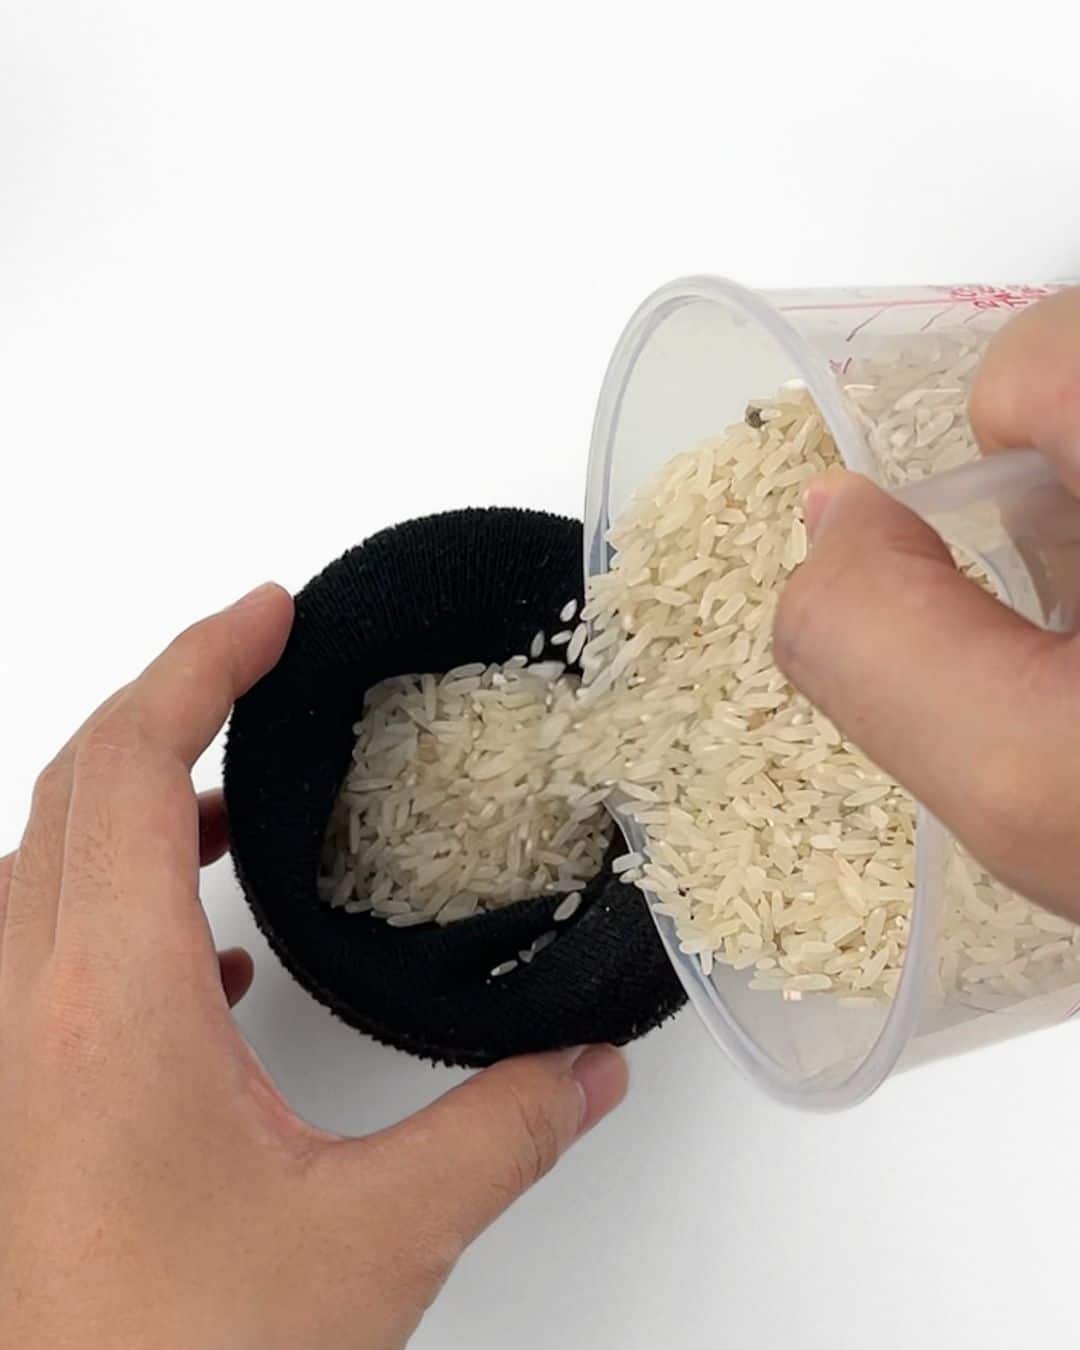
Fill the sock with rice until it has enough to shape the head and body of the bunny. Do not fill it all the way through. Leave some space for the ears.
Step 3:
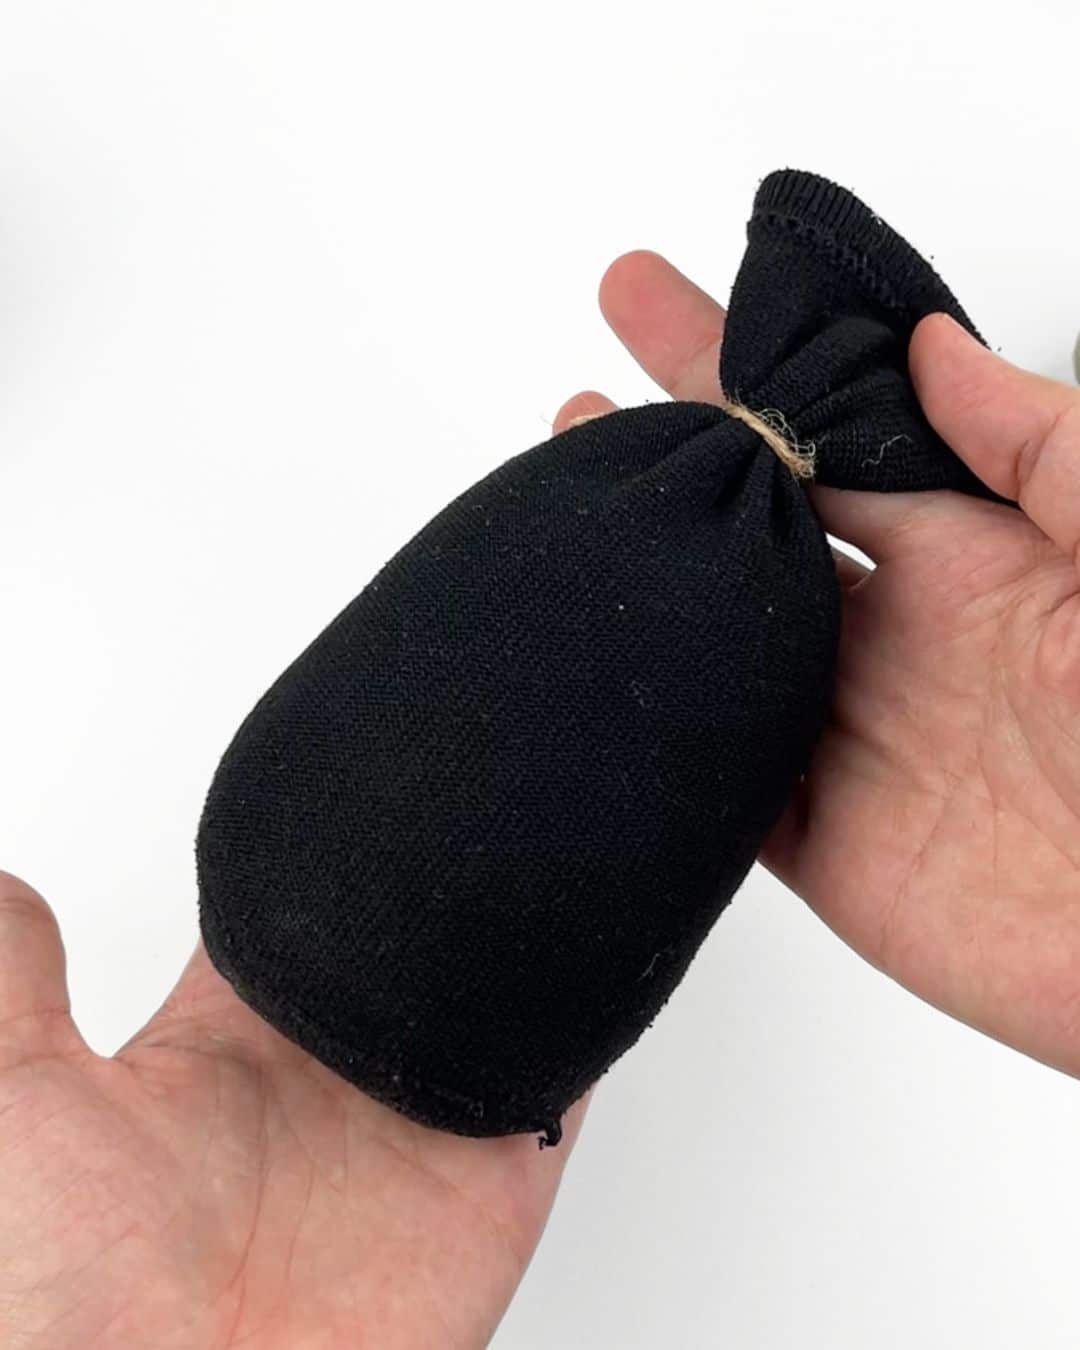
Once filled, secure it with a piece of jute twine.
Step 4:
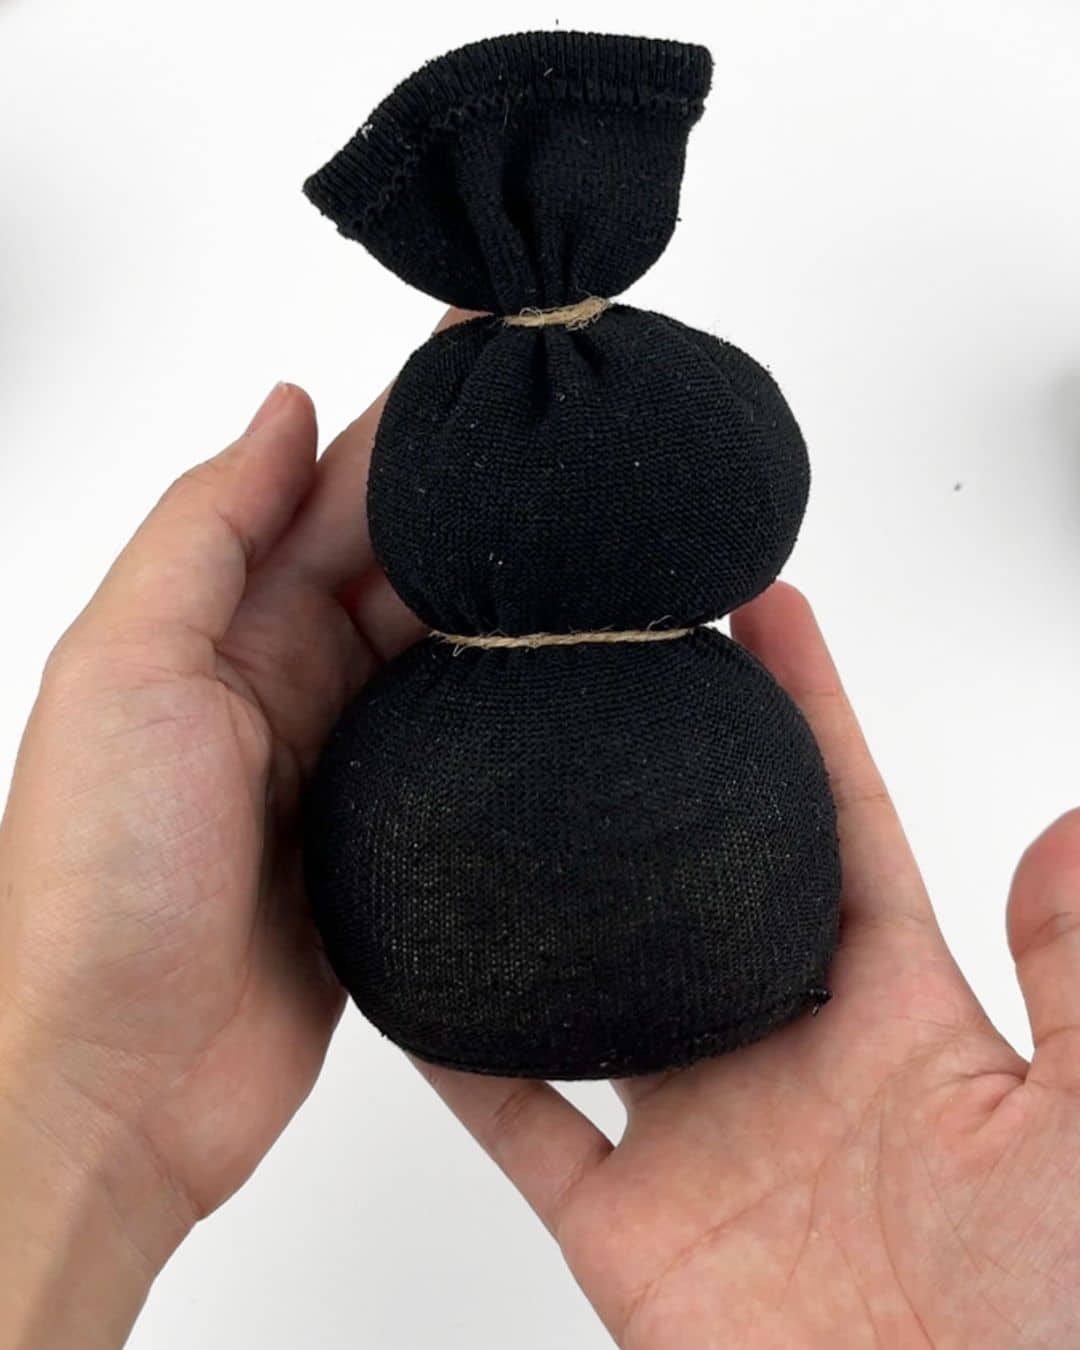
Take another piece of jute twine and use it to form the head and body of the bunny.
Step 5:
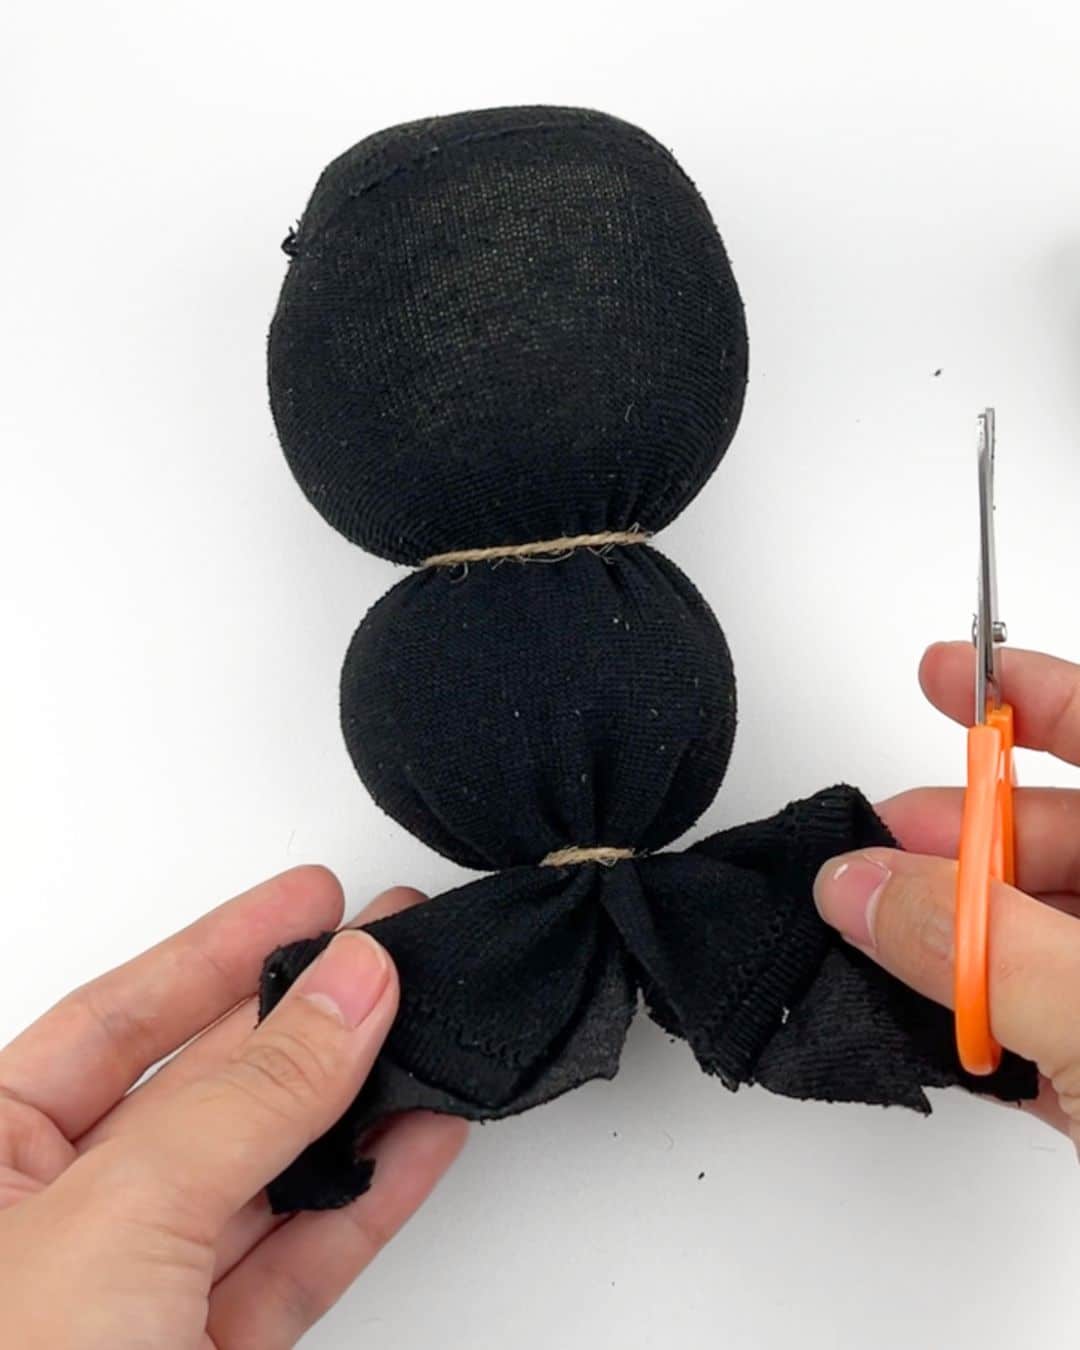
Cut the top part in half just like in the photo below.
Step 6:
Shape them into bunny ears. If you want longer ears, use a longer sock or make the body and head smaller.
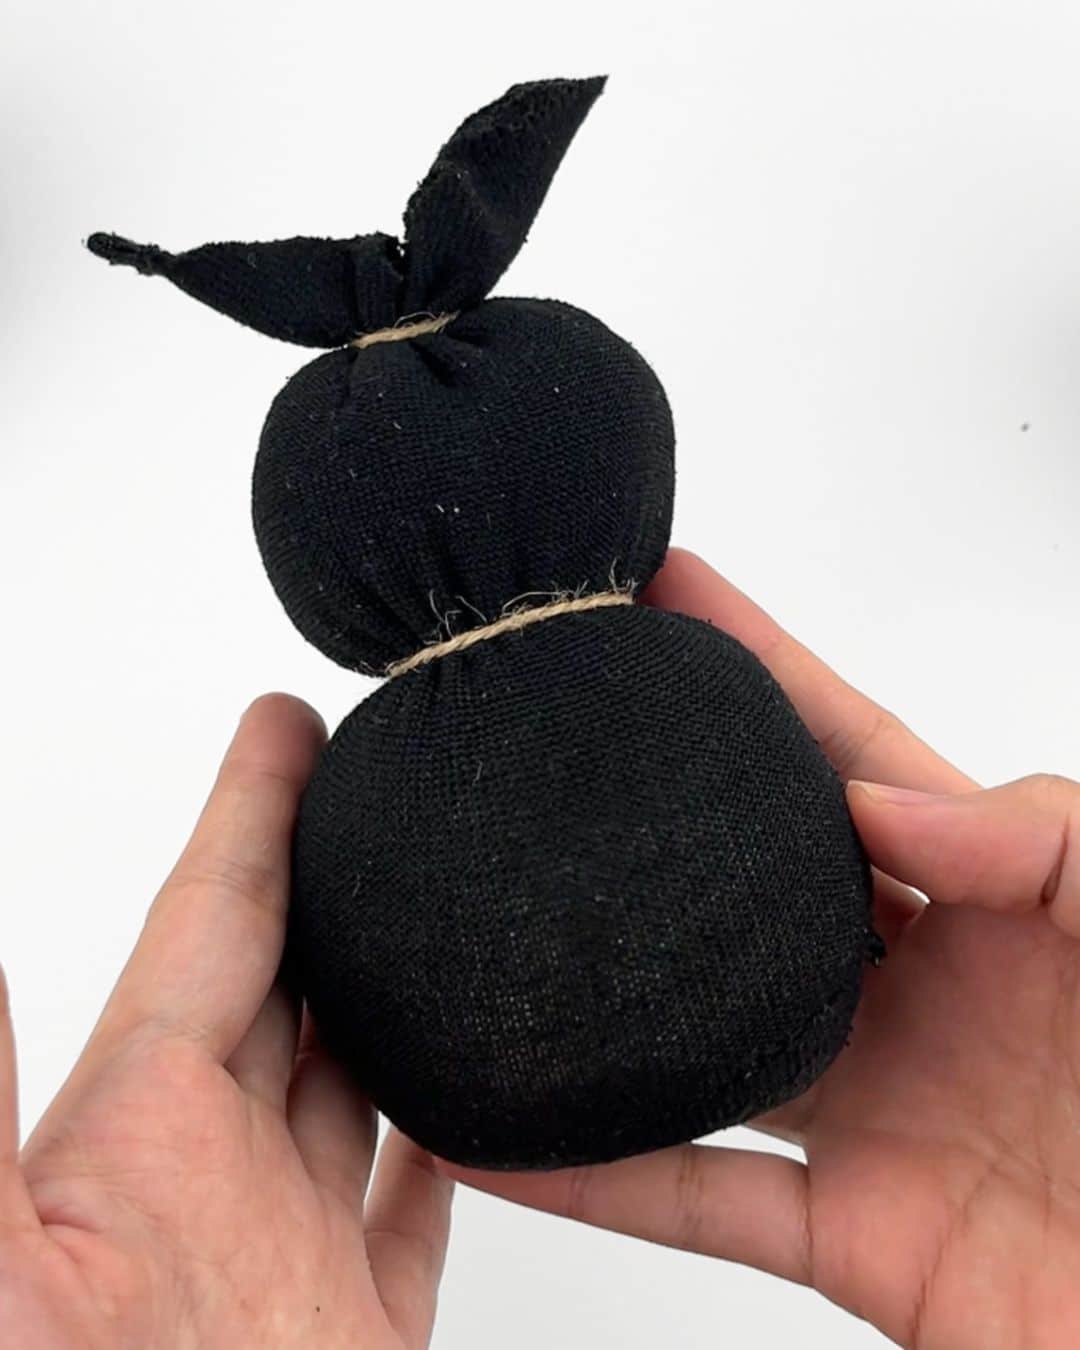
Step 7:
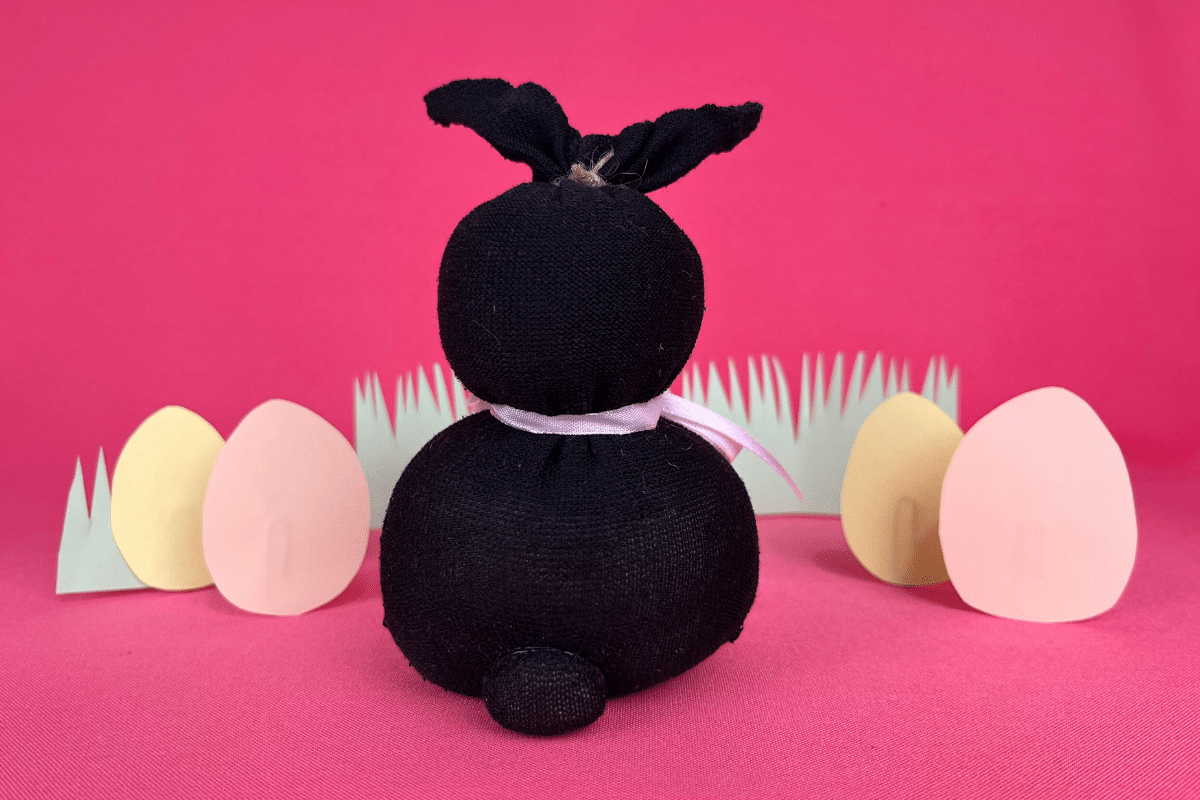
Make the bunny’s tail by pinching a small portion at the back and securing it with an elastic.
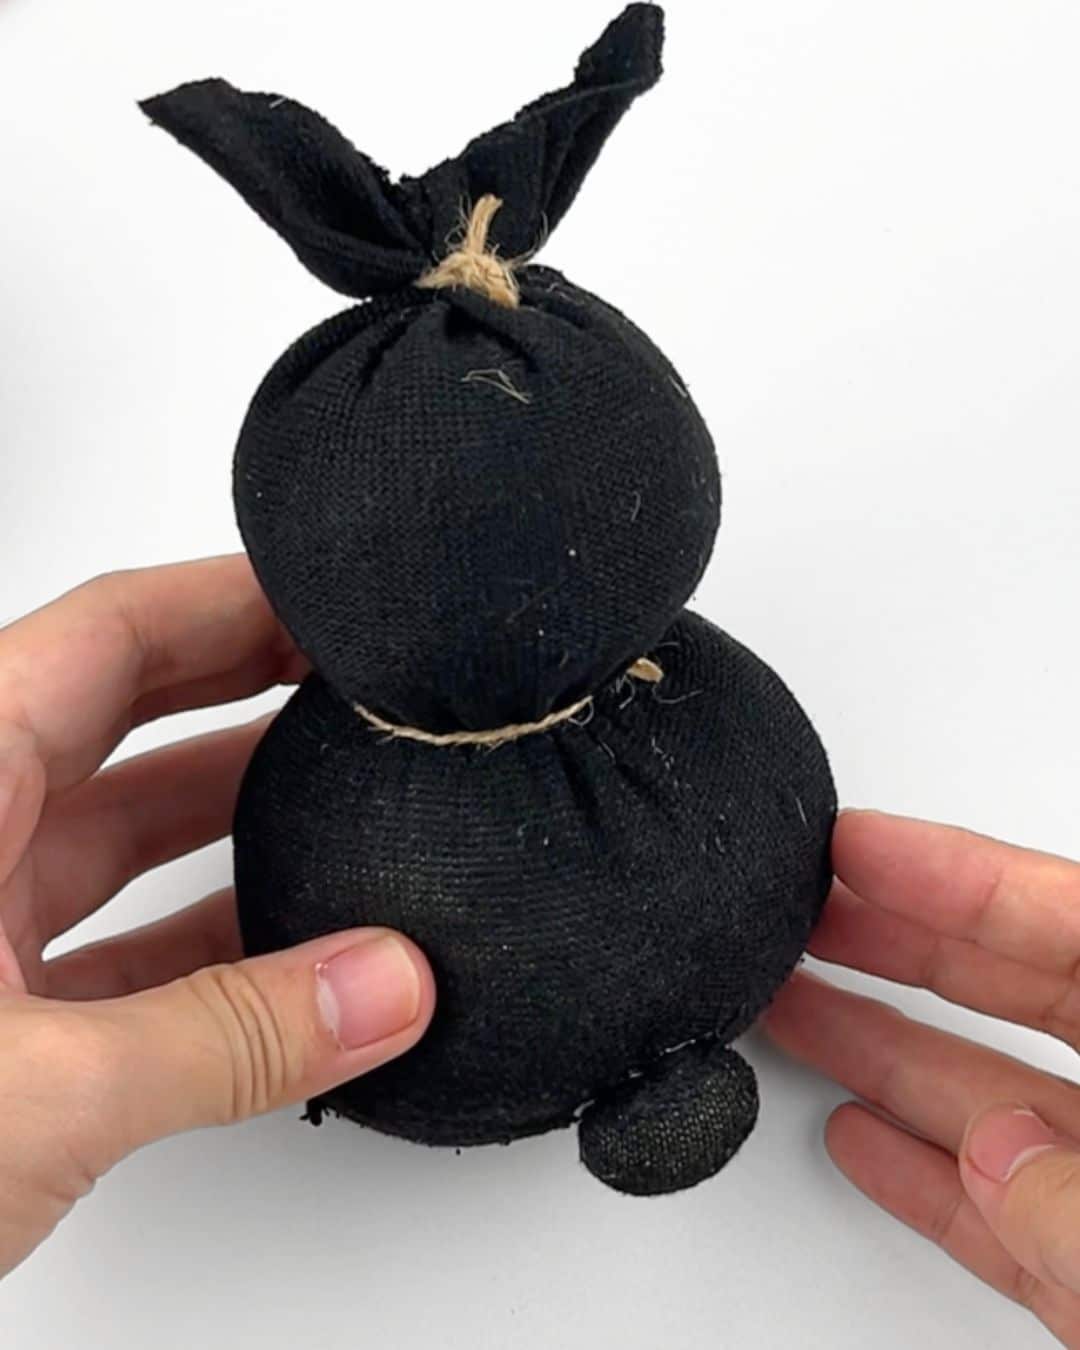
Step 8:
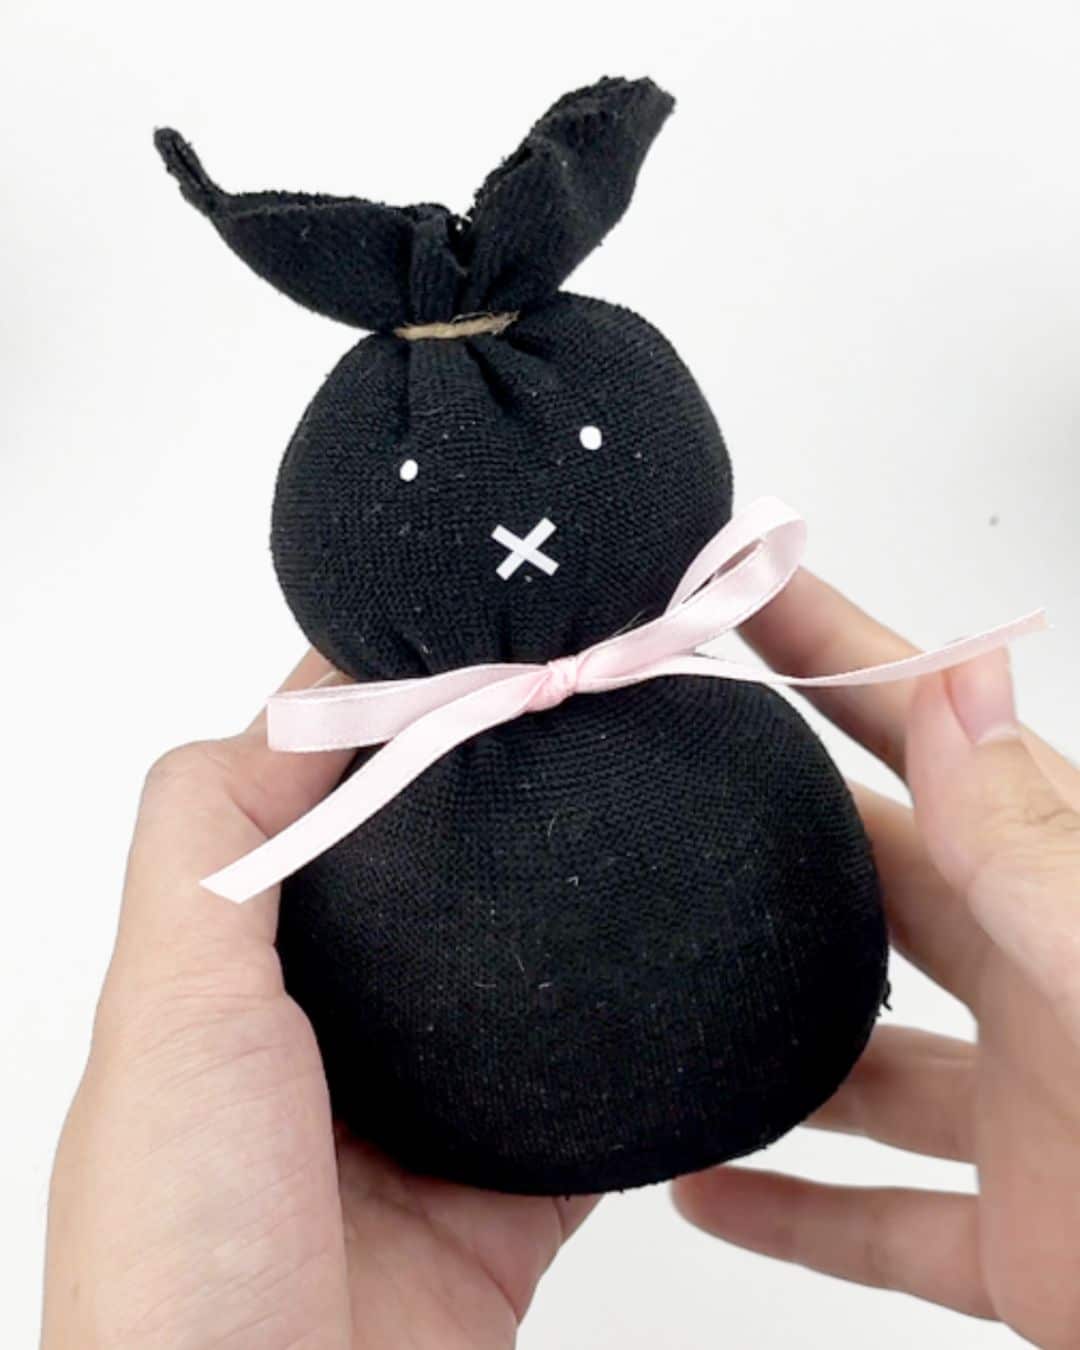
Grab the ribbon and make a bow.
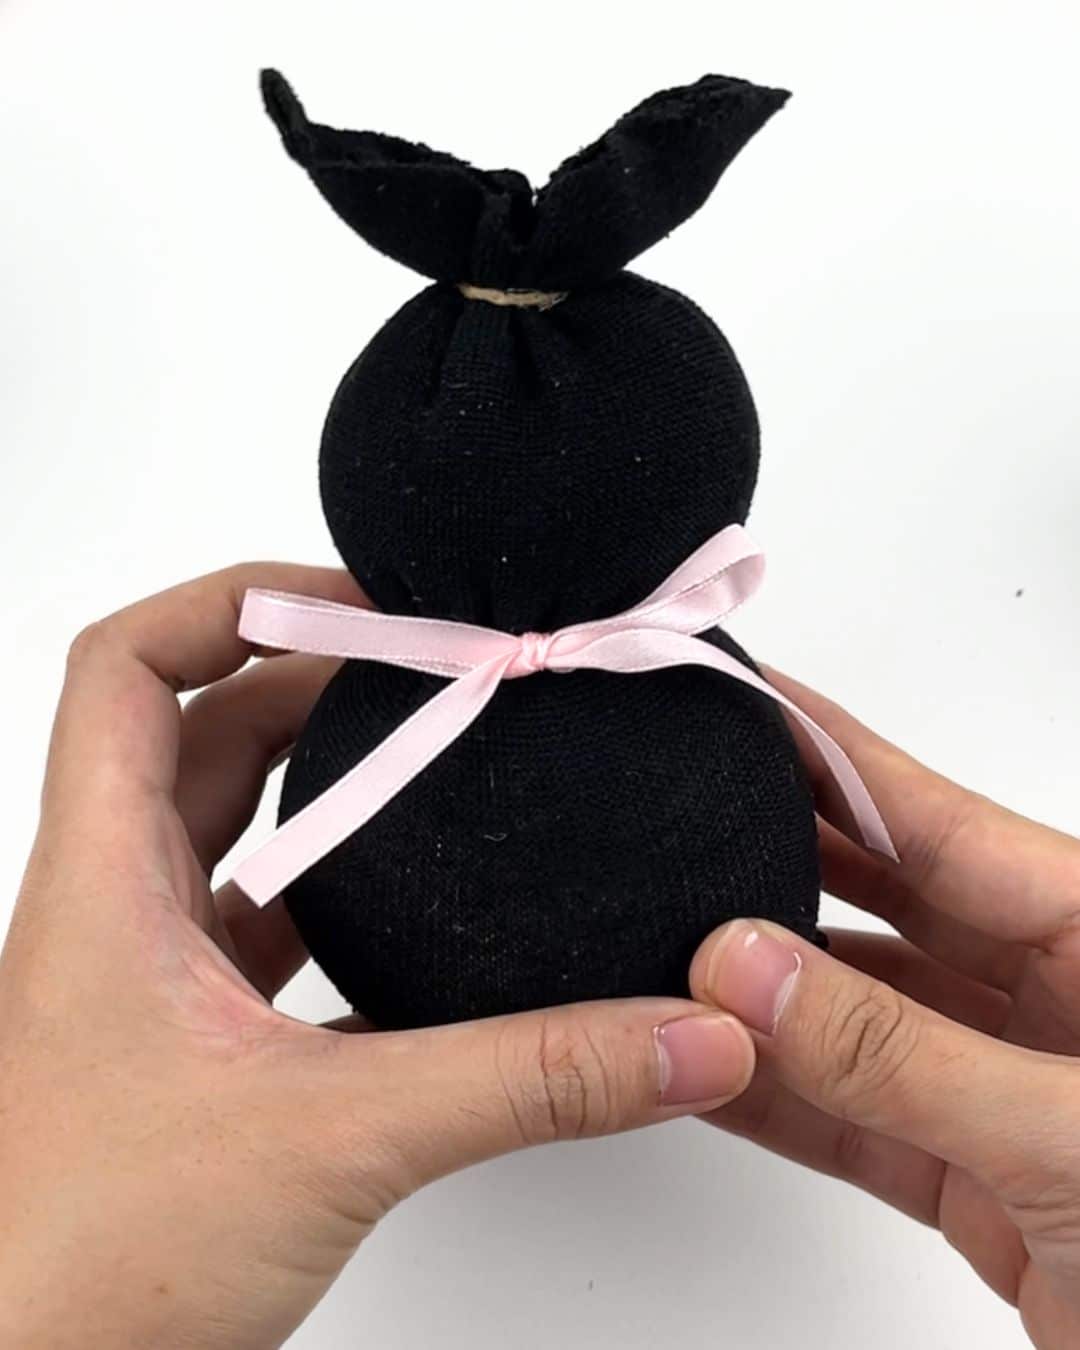
Step 9:
Take a piece of paper and cut out two small circles for the eyes and two small strips for the mouth.
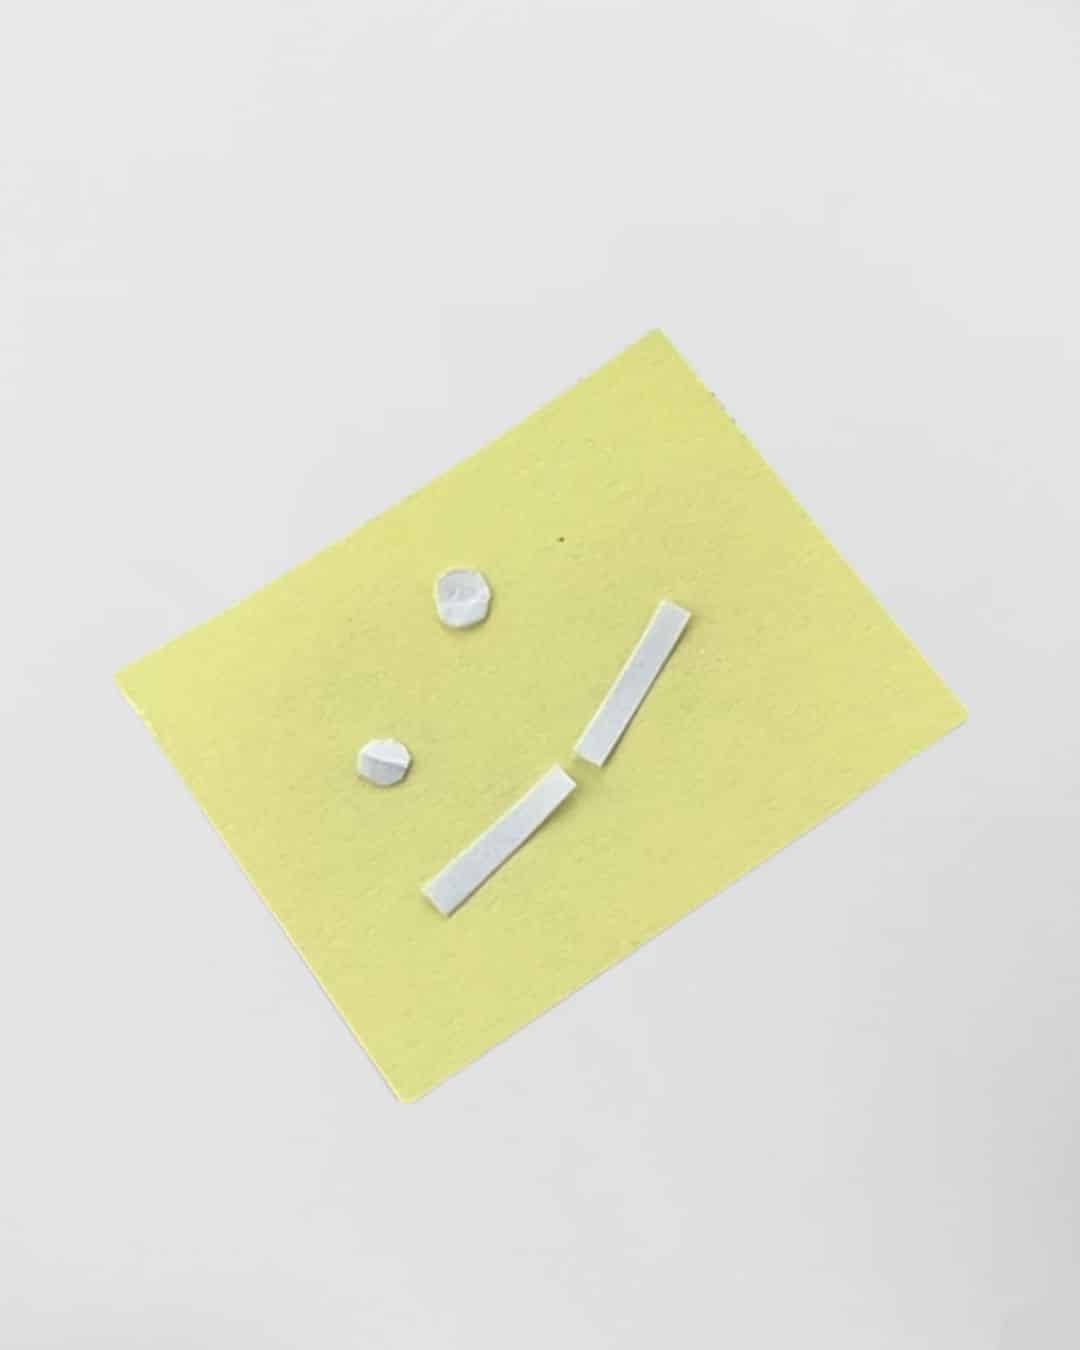
Step 10:
Glue the eyes and mouth to the bunny’s head and you are done!

Handy Tip
When filling the sock with rice, add a few drops of essential oil. This will give it a lovely smell.
Easter Sock Rabbit Craft Video | YouTube