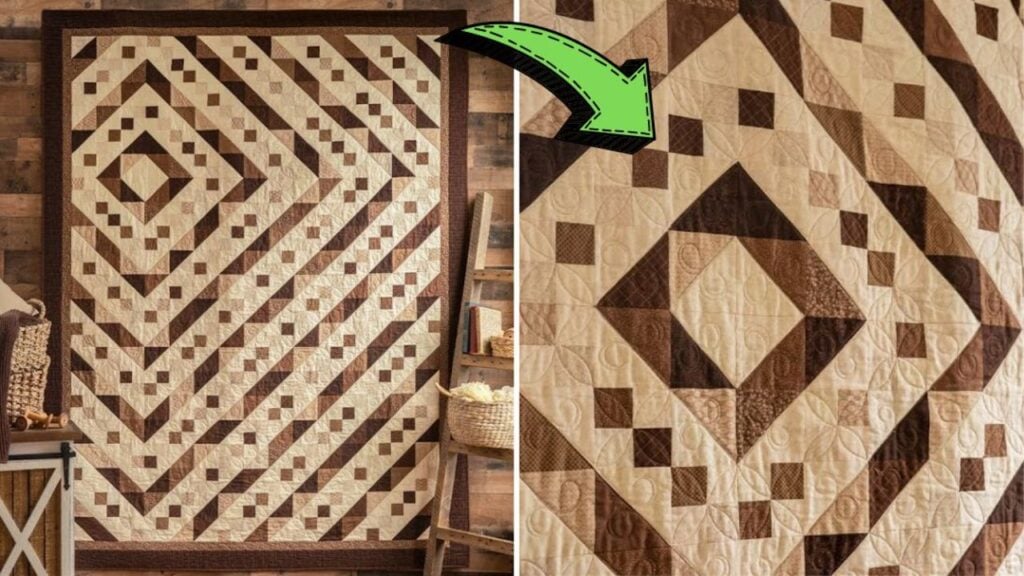
This sewing project idea by Shabby Fabrics on YouTube definitely takes a lot of patience and time to make but trust me, the final result is going to be worth it! Try this fun quilt now and sell it or give it as a gift, whichever it is, surely you’ll enjoy making this whether you’re a beginner or a seasoned quilter. Watch the video tutorial and see for yourself.
Materials:
- Ripples quilt kit
- Marking pen or pencil
- Ruler
- Scissors or rotary cutter and a cutting mat
- Fabric pins and clips
- Needle and thread
- Iron, for pressing
- Pattern (Click here to download the full pattern and guide)
Directions:
Step 1
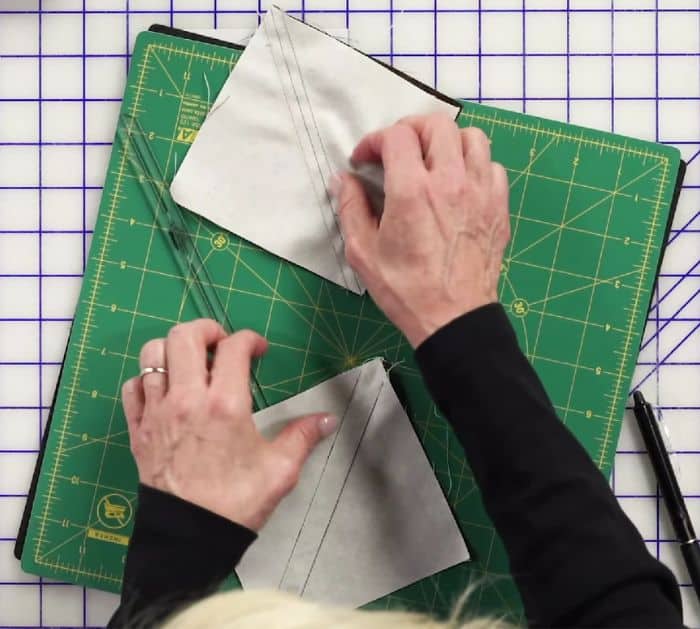
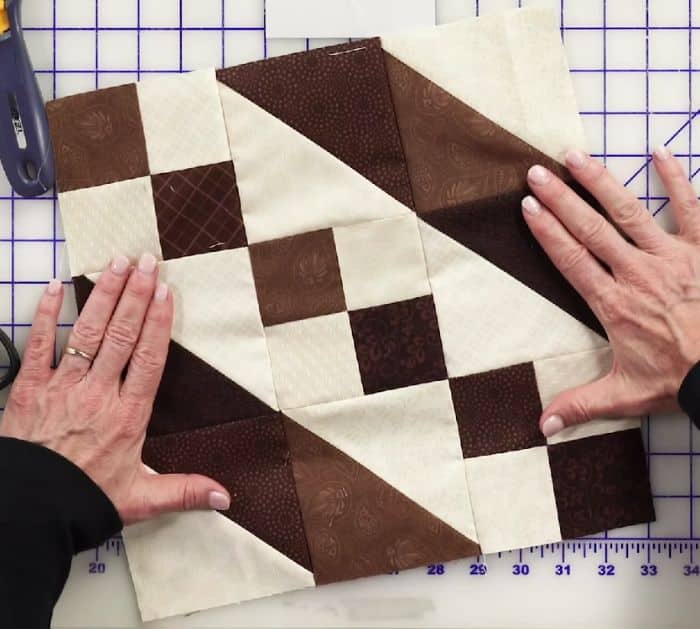
Cut the fabric pieces according to what is required in the pattern, then start piecing the light and dark fabric squares together, and press the seams towards the darker fabric side. Continue this process with the rest of the squares, then lay 2 sets together with their right sides facing, and sew down one side before pressing them open nicely. Now, that you are done with the small squares, grab the larger squares, then lay them together with their right sides together, and draw a diagonal line down the center from corner to corner.
[social_warfare]
Step 2
Sew on each side of the line with a ¼ inch seam allowance, then cut them right down the line, and press them open. After you’ve made all of the half-square triangles, start assembling the pieces together according to the pattern guide and as shown in the video, then sew them little by little, and sew every unit and row together until you’ve sewn a large quilt. You can now finish your quilt by adding the backing, batting, and border.
*These amazing images are all credited to Shabby Fabrics via YouTube. Check her other content and follow for more!
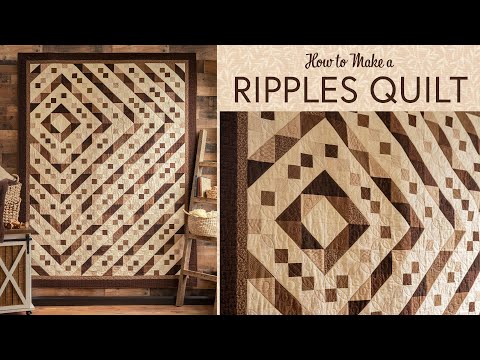
How to Make a Ripples Quilt