How To Make A Rag Quilt For Beginners

Image credits: Alanda Craft via Youtube
Are you planning to learn the art of quilting? Start with this rag quilt tutorial from Alanda Craft on Youtube. It’s a tutorial made specifically for beginners, nothing complicated, and the step-by-step process is detailed. Also, you will have a soft and cuddly rag quilt at the end of the process – perfect for movie nights! Start making yours today by watching the video tutorial below.
Materials:
- 2 & 1/4 yards flannel (color 1) – back
- 2 & 1/4 yards flannel (color 2) – middle
- 1 & 1/4 yards flannel (color 1) – top
- 1 & 1/4 yards flannel (color 2) – top
Directions:
Step 1
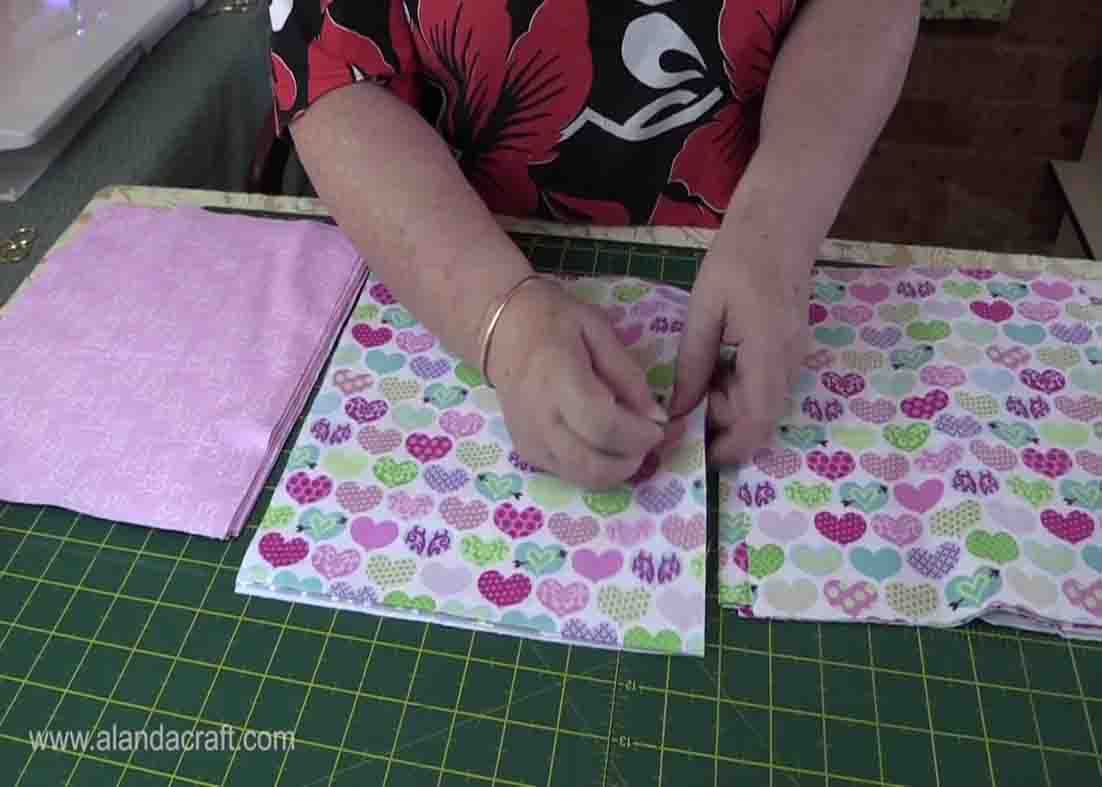
For the back and middle, cut 30 x 10″ squares. For the top, cut two contrasting pieces measuring 15 x 10″. You will also need a piece to sandwich between the front and the back (you can use fleece or felt or even batting). To start, take one of the backing pieces, and lay it with the right side facing down. Take one of the middle pieces, and lay it on top with the right side facing up. Then, take one of the top pieces, and lay it on top also right sides up. Secure the pieces with pins. Sew it diagonally in both directions to form an X. Repeat this process until you have enough square pieces. Next, lay out five blocks across and six down. Bring the sides up of the first two blocks together with the backs facing each other, then pin it. Sew them with a 3/4″ seam. Repeat this process as you sew the blocks.
[social_warfare]
Step 2
After this, Secure the rows by pinning them together then sew them with a 3/4″ seam. (Also, finger press the seams open.) While you sew, make sure that the seams underneath don’t curl over and get caught in the machine. Next, sew a 3/4″ seam all the way around the outside edge. After this, cut the seams at half-inch intervals for the ragged effect. Lastly, throw the rag into a washer, then dry it out.


")


