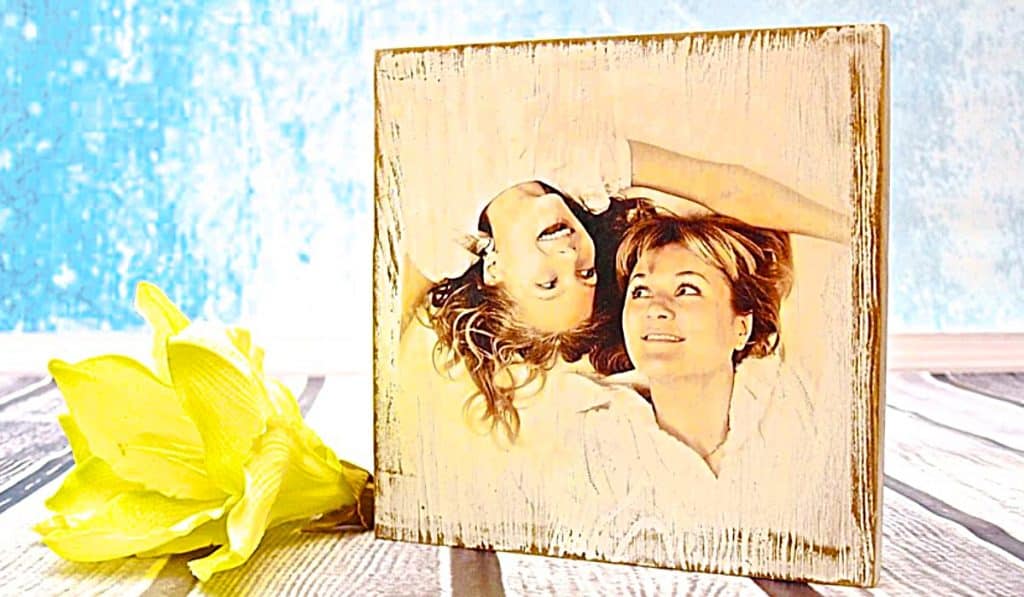
If you are a person who loves family photos as much as I do, you will love this photo transfer idea. When I found this photo transfer video tutorial by Craft Tutorials, on YouTube, I knew I had to try this idea immediately. Something you never want to do is to use your original photos, you can make photocopies at any office supply or at some grocery stores. All you do is get a piece of wood, then you can stain it if you want to, then you can cut out your photocopy, and place it face down on the wood. The instructions are super easy and the materials are really cheap.
Materials For The Photo Transfer Onto Wood:
- A piece of wood
- Stain
- A photocopy of a photo
- Acrylic paint
- A paintbrush
- Transfer gel
Directions:
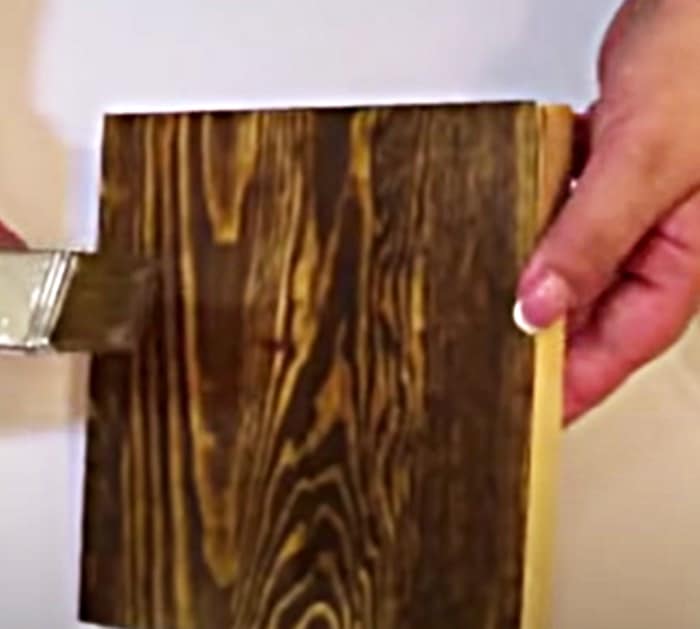
In this photo transfer video tutorial by Craft Tutorials, on YouTube, you will learn how to make this photo transfer in a few easy steps. You begin by staining your woodblock.
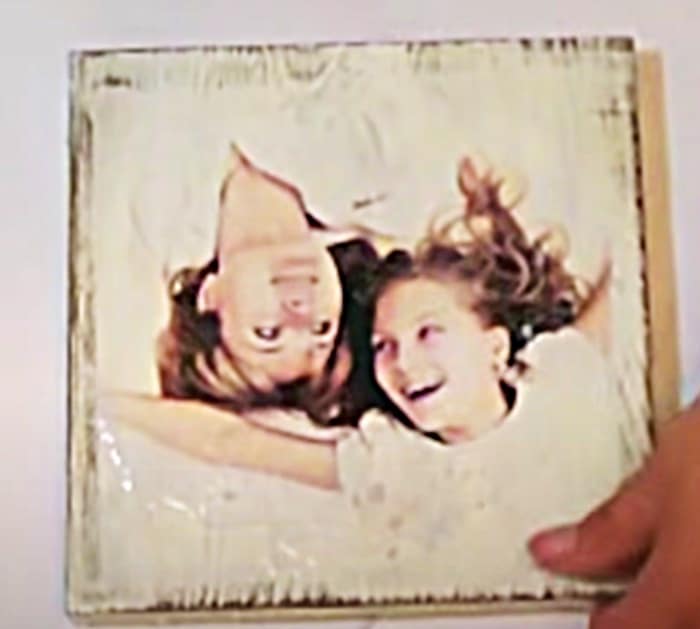
Then, you will paint your wood with acrylic paint, then attach your transfer photo with transfer gel.
This photo idea is so beautiful, I just love it!
How To Make a Photo Transfer On Wood


