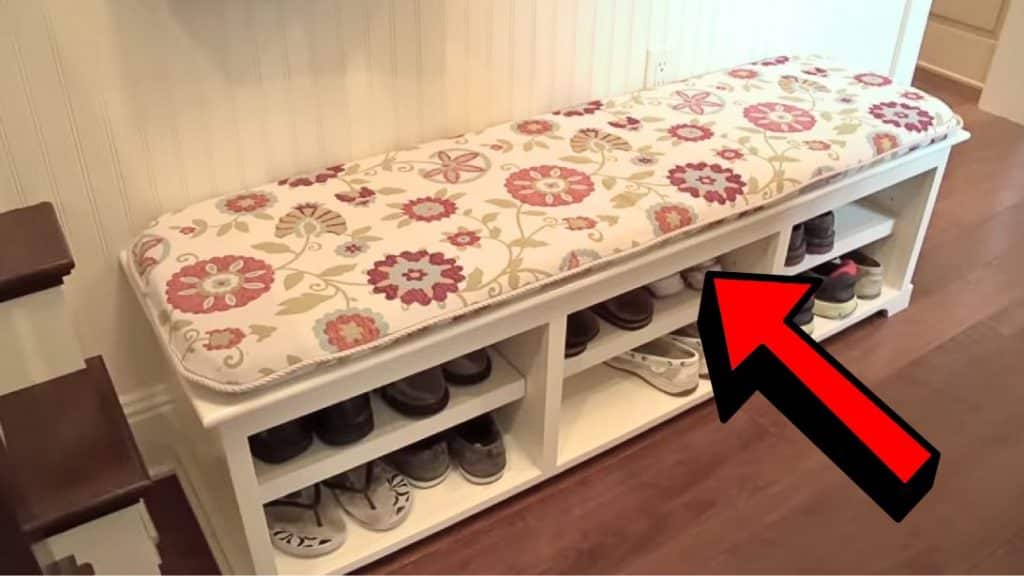
I’ve always wanted a cushion for the bench that I have at home but I just can’t seem to find the perfect size of cushion that would fit from the store and even online. After a while, I thought why not just try to make one on my own, not only will I be able to solve my problem, but I can also personalize the cushion to my preference. All thanks to this wonderful video tutorial by Sailrite on YouTube which has clear and easy-to-follow step-by-step instructions.
Materials:
- Anti-microbial polyurethane foam
- Upholstery and decor fabric
- Seamsticj 3/8″ basting tape for canvas
- Sunbrella decorative piping trim ¼”
- Thread V69 polyester or nylon
- Cushion wrap silk film center fold 54″
- Sewing machine
- Ruler
- Pencil
- Tape measure
- Scissors
- Hot knife cutter for fabric
- Roping zipper feet for sewing machine
Directions:
Step 1
Measure the bench, then transfer the measurements to the foam, and line it up nicely. Cut the foam to size, then cut the fabric to size as well making sure to add 2 inches to the total width and length, and cut 1 for the front and 1 for the back.
[social_warfare]
Step 2
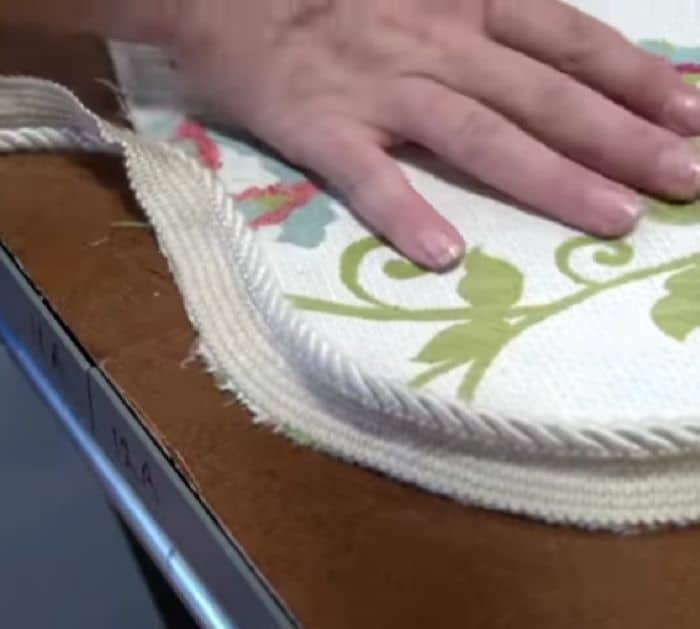
Make a template to cut the corners curved easily, then proceed to cut the fabric corners, and lay them together with their right sides facing. Put basting or double-sided tape all around the edges of the bottom fabric, then cut the decorative piping trim, and carefully place it on top of the basting tape while peeling off the paper as you go.

Step 3
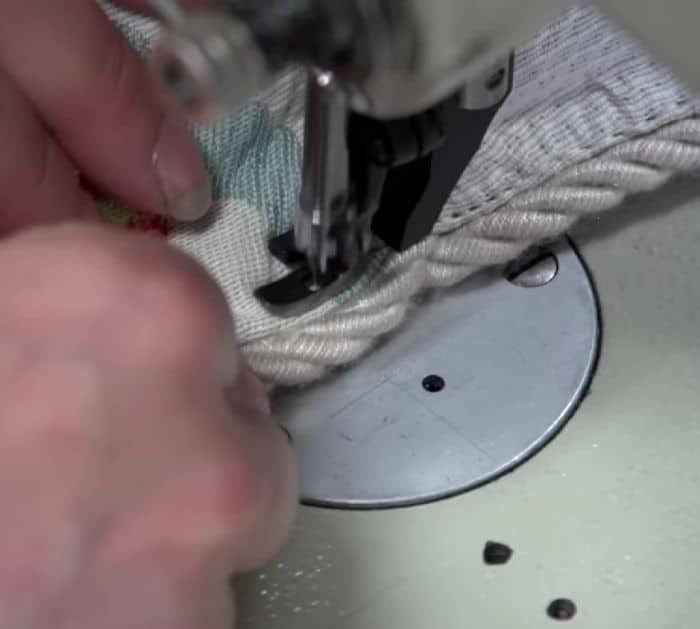
Make sure to leave an opening on one of the shorter sides to insert the foam later, then replace the foot, and start sewing all the way around the edges of the fabrics making sure to leave an opening. Wrap the foam with the silk film, then vacuum it to shrink the foam, and insert it into the cushion cover. Tuck the edges nicely, then sew the gap close, and you’re done!

*These amazing images are all credited to Sailrite via YouTube. Check their other content and follow for more!


