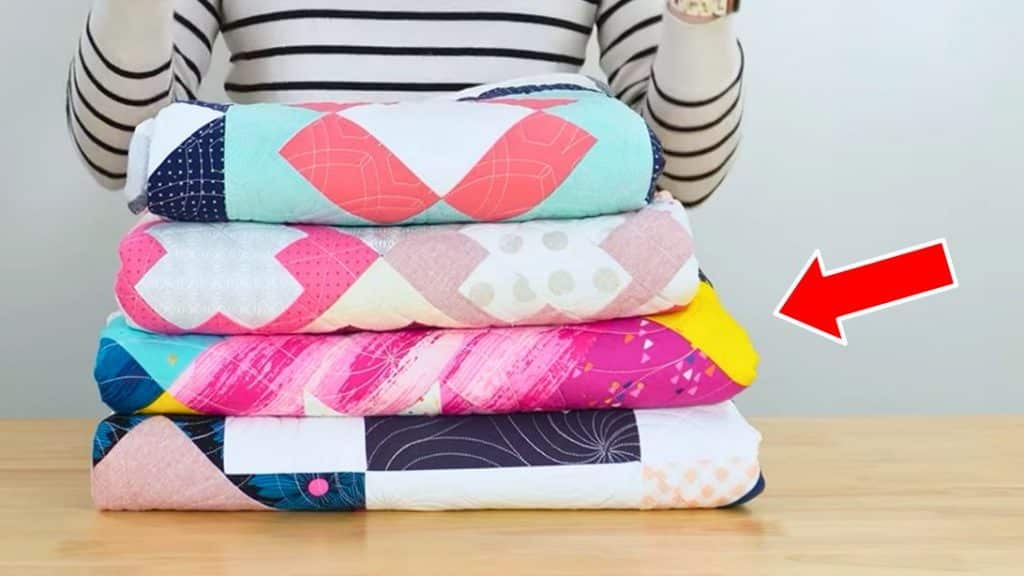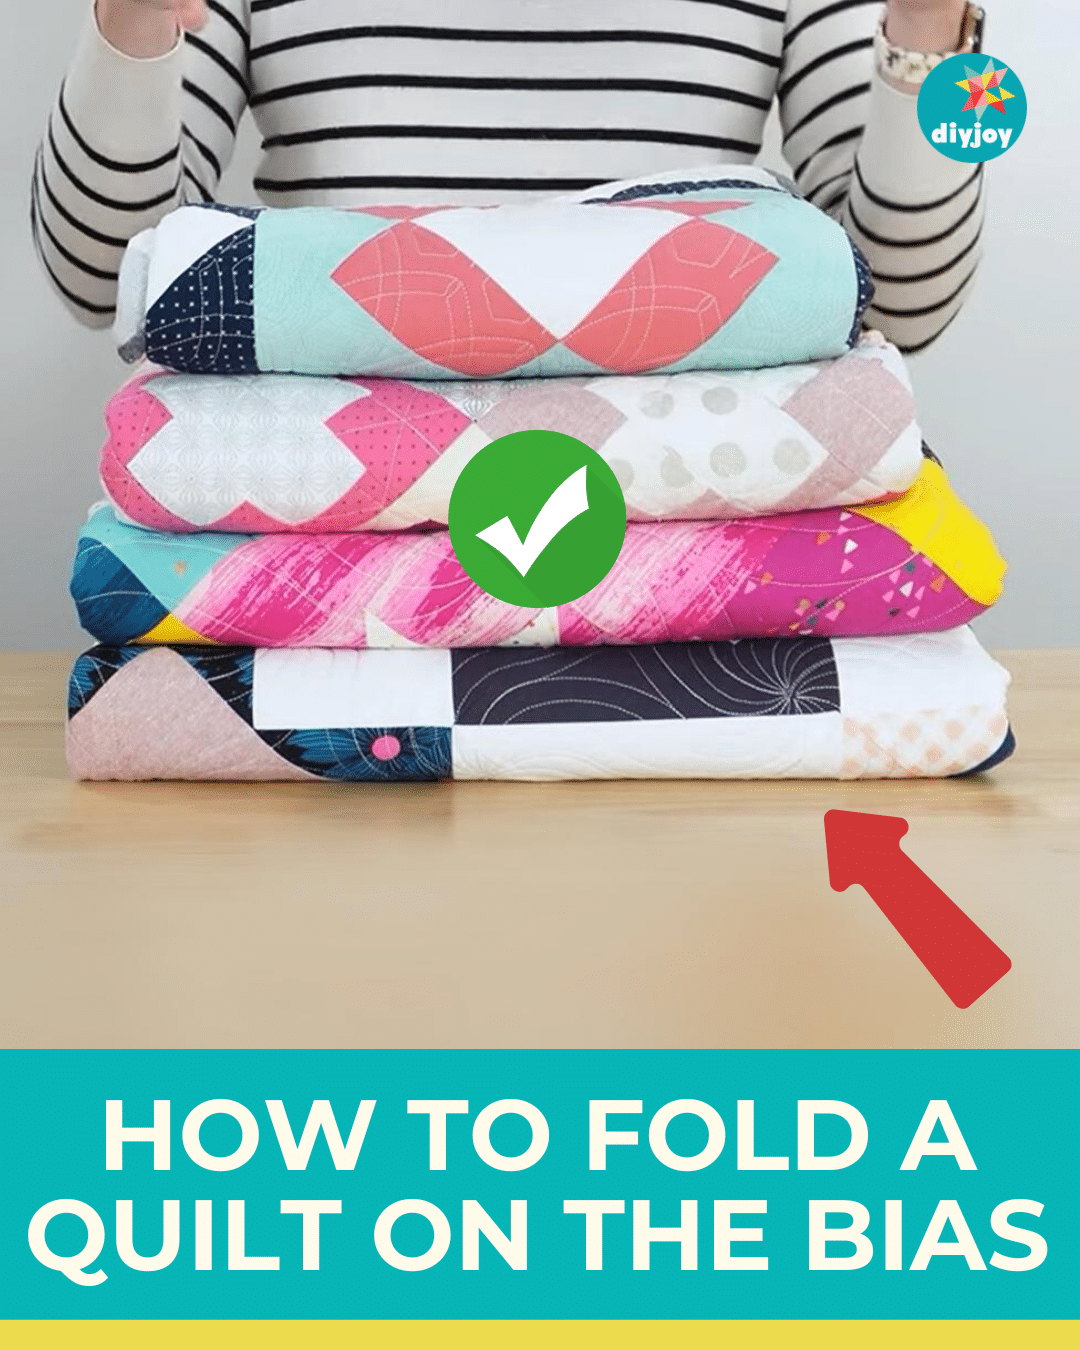
What is the right way to fold a quilt? If you have been quilting for a while, this question has probably popped into your mind once or a few times. Turns out, there is a right way to do it. Learning to fold your quilt properly will preserve it and keep it from getting permanent crease lines. That is why quilters suggest folding it on the bias.
RELATED: 10 Pro Game-Changing Sewing Tips
Did you know that permanent crease lines weaken the fabric? It can be the cause of holes and tears in your quilt. You probably spend a lot of money on your fabrics and sewing materials and time to make these projects, so make sure you store them correctly. Learn how to fold a quilt on the bias with Ma Tante Quilting step-by-step tutorial below.
Here are more sewing tips for you: 3 Pro Tips For Taking Care of Your Sewing Machine
How to Fold Your Quilt
Step 1:
Place your quilt on a flat clean surface or on your bed, piecing facing down.
Step 2:
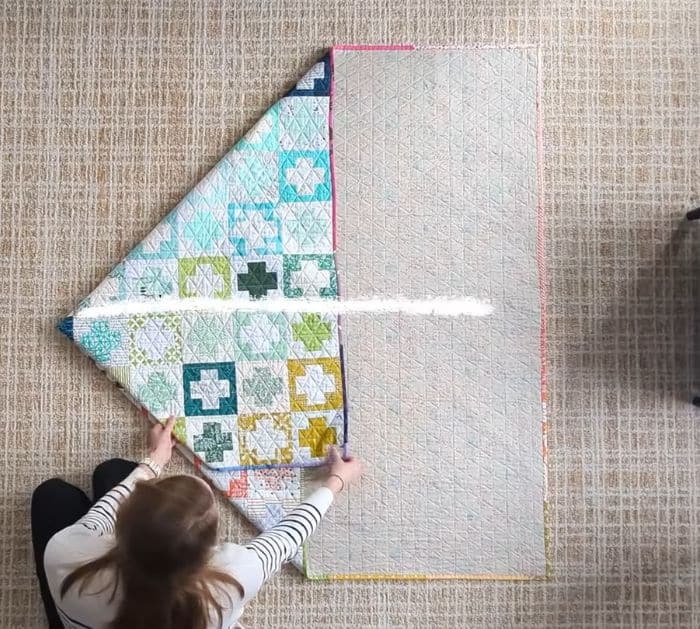
Pick up the bottom right-hand corner and fold it towards the middle of the quilt. It is now a bias fold. The diagonal angle should be 45 degrees and the corner should be past the halfway point of the top of the quilt.
Step 3:
Pull in the bottom left-hand corner and do the same thing, pulling it somewhere past the middle at a 45-degree angle. You want the diagonal edges to be touching each other and the straight end parallel to the top of the quilt.

Step 4:
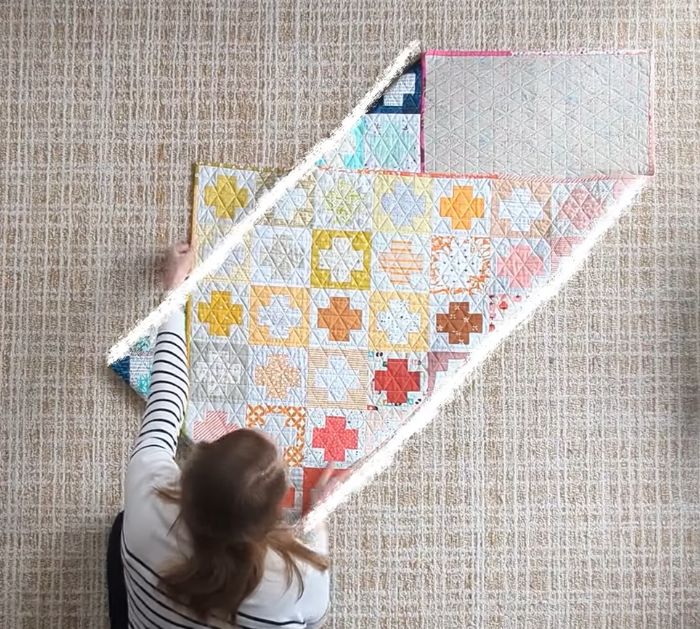
Fold in the right-hand corner. The bottom left diagonal edge should be touching and the diagonal on the right should be parallel with the fold on the top left.
You can tuck the flap over or fold it under.

Step 5:
Grab the top left and pull it in. The folded edges should be touching each other. You should have a rectangle.
Step 6:
Fold it three times or twice depending on how small you want it to be, then fold it one last time.


