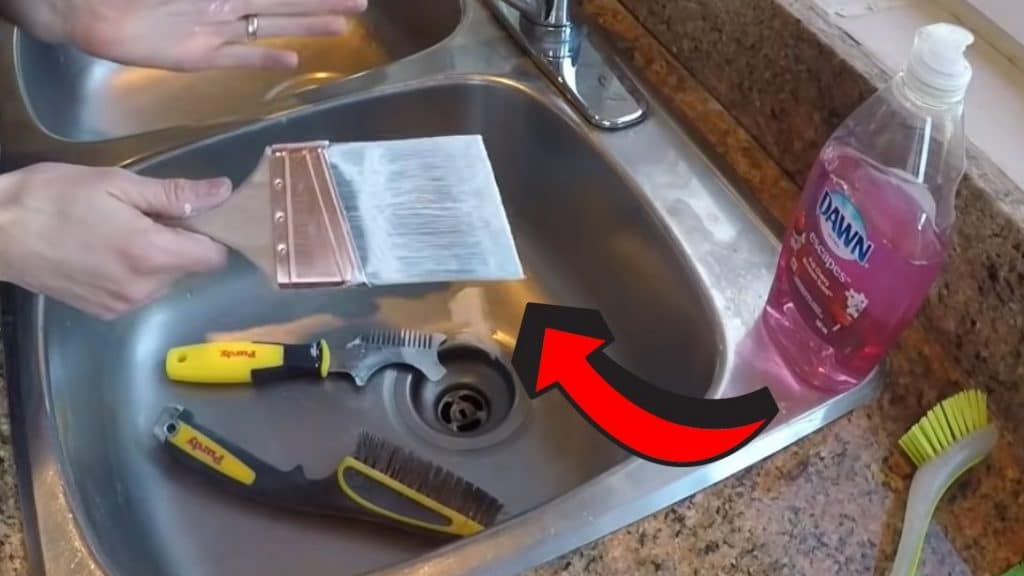
After a day of painting the walls, furniture, or your DIY project, you are finally done, so you place your paintbrush on top of the can and set it aside. The following day, you notice that there are some areas that you missed out on and decide to give it a few coats, only to find out that the brush has hardened. Have you experienced this before? I did. Your work is not yet done until you have cleaned your brushes.
RELATED: How to Remove Paint From Your Hands Fast and Easy
If you bought quality brushes, it is important to take care of them. Do not let the paint dry, as it may take time and effort before you can use them again. Sometimes, it is even better to buy a new one, especially if you are in a rush, which will cost you even more money.
Let this tutorial by Vancouver Carpenter teach you how to clean a paintbrush with dried paint.
For more painting tips, check these out: 13 Painter’s Tape Tips, 37 Spray Painting Tips From The Pros
What You Need to Clean Paint Brushes
- steel bristle brush
- brush comb
- paint thinner (for oil based)
- rag
- thin metal rod (must be longer than the diameter of the bucket)
- small bucket
How to Clean Paint Brushes
Step 1:
If you use oil-based paint, do not wash it on your sink. soak an oil based brush in a jar of paint thinner.
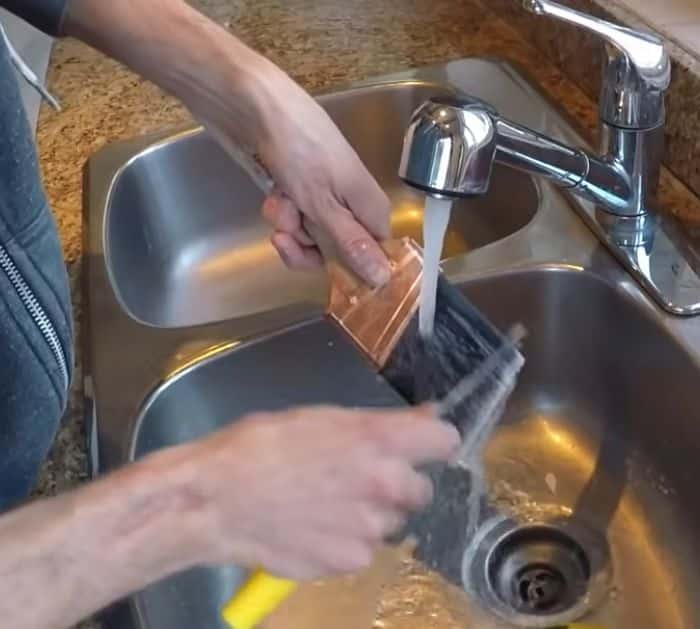
If you use water based paint, place your brush in the kitchen sink. Let medium heat water run through your brush.
Step 2:
Using the steel brush, gently brush the bristles to remove all the dried paint on the outside. Keep the water flowing while doing this step. It will help loosen the paint.
If you don’t have time to do this, insert the metal into the hole on the handle of the brush and place it on top of the bucket so the brush hangs. Fill the bucket with just enough water. The water should be halfway the metal part. Leave it overnight.

Step 3:
Move to the brush comb, and use it to remove the remaining paint while water is still flowing.
Once you are done, make sure to clean the sink with a rag.
Step 4:
Shake it by getting the water out. Place it in a dry place to dry. Do not put the cardboard sleeve right away as mold can grow in there.


