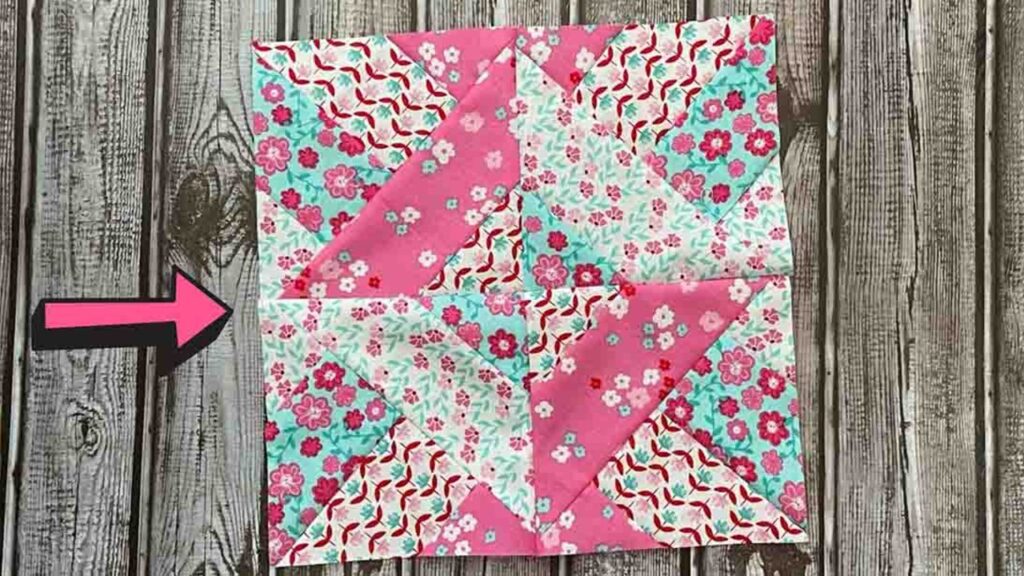
Are you looking for a beginner-friendly quilt block pattern? Try this hidden wells quilt block from Cut and Create on Youtube! This pattern is one of my go-to whenever I need a quick and fun quilt for a personalized gift. It’s also one of my favorite pastime projects when I have downtime. I remember making a lot of this pattern just in different fabrics when I was just starting out in quilting because I find this quilt quite enjoyable. So, even if you’re a seasoned quilter, I’m sure you would still be able to enjoy making this quilt in your free time. Try this today and see for yourself. Watch the video tutorial below to learn the step by step instructions. Thanks to Cut and Create for this fantastic quilt project. Make sure to check the channel for more videos just like this.
Materials:
- fabric strips
- rotary cutter
- pins
- cutting mat
- iron, for pressing
- ruler
Directions:
Step 1
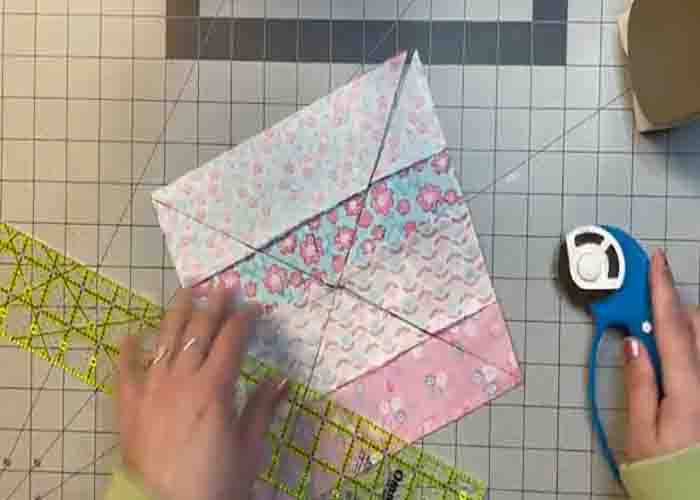
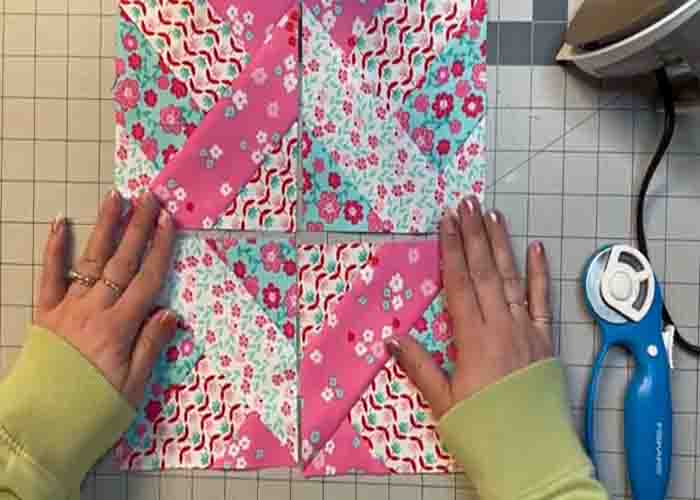
To start, sew four strips of fabric, then cut them into two 8 1/2″ blocks. Next, turn one, and lay it on top of the other one, right sides together. Pin them to secure, then sew them all the way around. After sewing, cut the block from corner to corner, align it again, then cut the other corner to corner. After this, press the four blocks open, and trim them.
[social_warfare]
Step 2
After trimming your blocks, lay them out according to your preference. Once you’re satisfied with the pattern, sew them together to create your first block, then press it nicely. Repeat these steps to create more blocks for your quilt top.
Hidden Wells Quilt Block Tutorial


