I absolutely adore this quilt pattern and there’s a couple of ways to make this. It really depends on what you prefer. You can do all of the triangles different for a scrappy look or make groups of 6 matching triangles to get the star look that I used.
If you would like the star look it is highly recommended that you laying out the entire quilt before sewing anything together. You could also work from a sketch, but I think it is just easier to lay it out.
Now comes the fun part, construction. This quilt is worked in columns (or rows depending on how you look at it), and can easily be chain pieced. I place the top left triangle on the first hexagon (or half hexagon), and the top right triangle on the next hexagon down the column. Then repeat this all the way down the column.
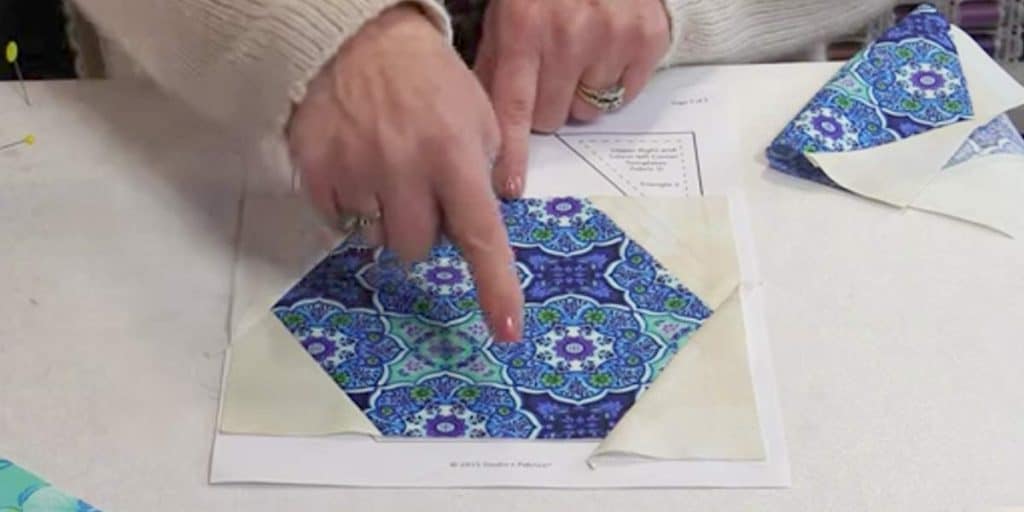
Then stitch the triangles to the hexagons to form diamonds. When you are stitching the triangles to the Hexagons make sure the corners of the triangle extend a ¼ inch past the edges of the hexagon. Press the seams towards the triangles to aid in alignment in the next step.
Next stitch the diamonds together. The seams where the triangles are stitched to the hexagons should just overlap; this will result in perfect points that meet in the middle. Easy to piece together and sew, I found this free quilting pattern to make. You will have so much fun making one for yourself!
Watch how Lara Coia makes this fabulous quilt in her step by step tutorial so you can get started making one! I enjoy having this quilt so much I decided to make another one in pink for my daughter who is expecting her first child, which is a girl, of course!


