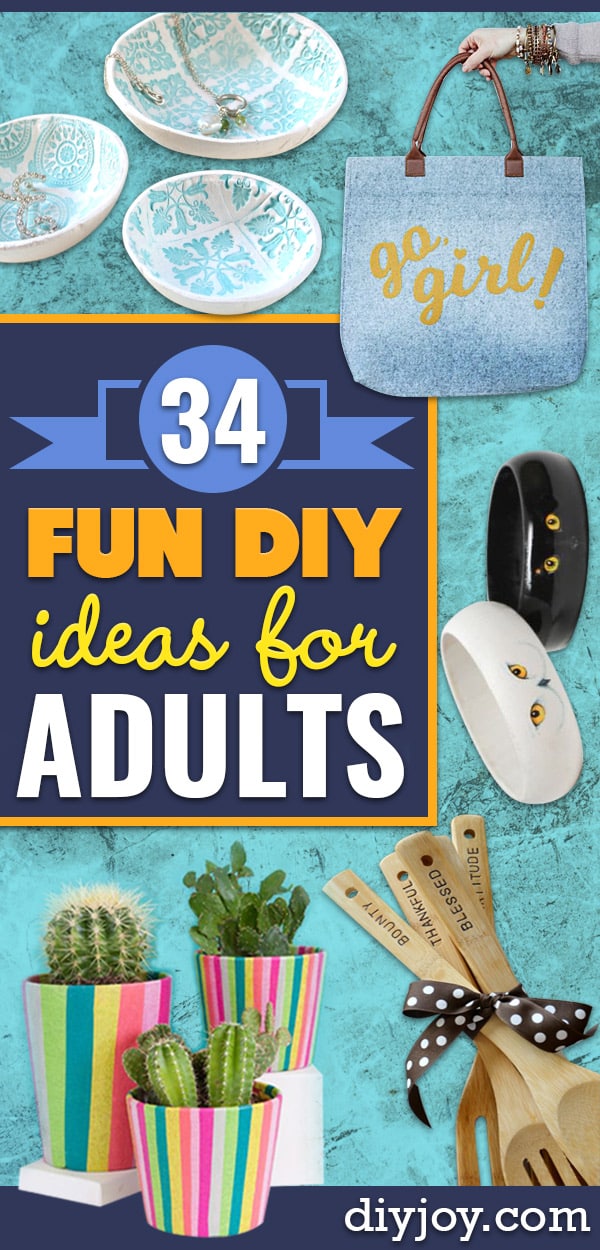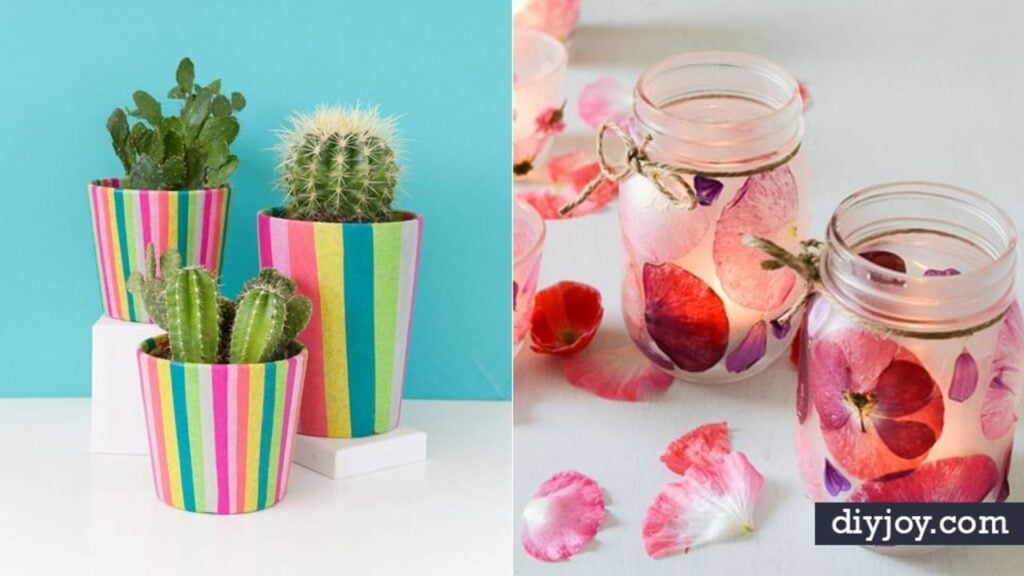
Somewhere along the way crafting got handed to the under tens, and the grown ups got left with a coloring book and a glass of wine. These fun DIY ideas for adults are the other option. They are projects with a real result at the end: clay bowls stamped and dried without a kiln, flower petals pressed into candle holders, sandals covered in yarn pom poms for a fraction of the designer price, a felt tote, a painted plate that passes for Anthropologie. Some take fifteen minutes and a hot glue gun. A few want a drill and an afternoon. All of them are made for hands that have done this before, or hands that would like to start.
1. Paper Flower Frames
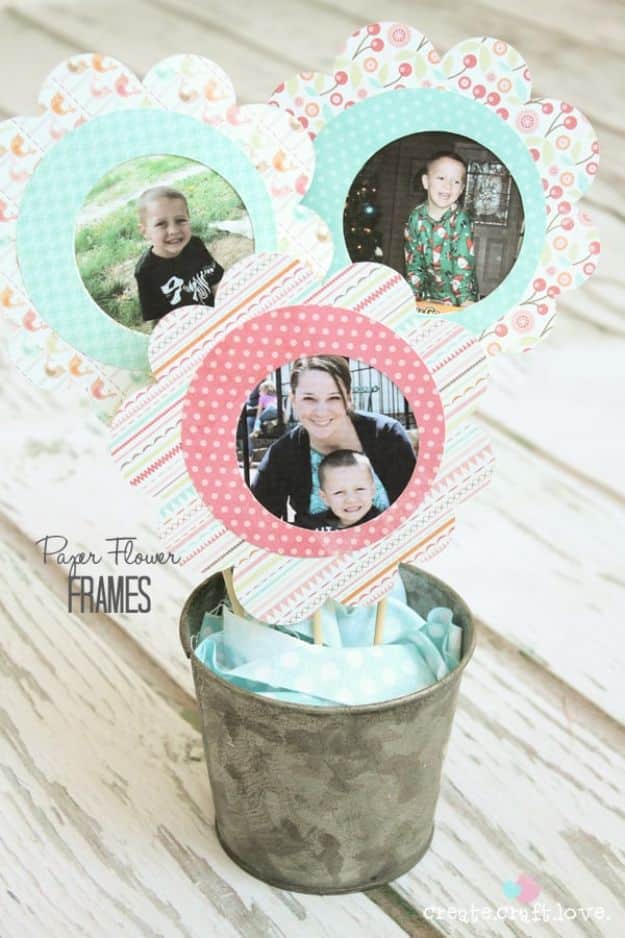
A cut paper flower with a photo in the middle of it, mounted on a skewer and bunched in a galvanized pail like a bouquet. The shape is cut twice, a large scalloped flower and a smaller circle glued on top, and the picture sits inside the circle. Her own afterthought is the part worth copying: she laminated them after the photos were taken so they would survive being handled. Add a magnet to the back instead of a stick and the same flower lives on the fridge, which is a good second life once the party is over.
Get the full tutorial at Create Craft Love.
2. Pom Pom Trivets
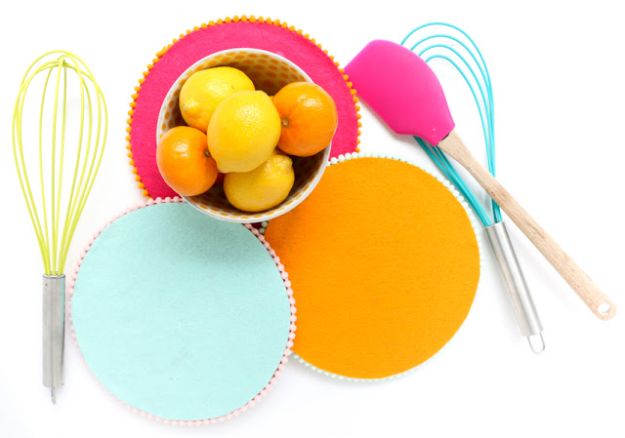
Plain cork trivets from IKEA, a felt circle traced from the trivet and cut out, then hot glued on, then mini pom pom trim glued round the rim. That is the whole build, and the reason it works is that cork underneath means the finished thing still takes a hot pan, which most fabric trivet projects quietly cannot. Mix the felt color and the trim color rather than matching them. A stack of three in different colors plus a couple of bright utensils makes a housewarming present that looks like it came from a shop.
Get the full tutorial at Kara at A Kailo Chic Life.
3. Flower Petal Candle Holders
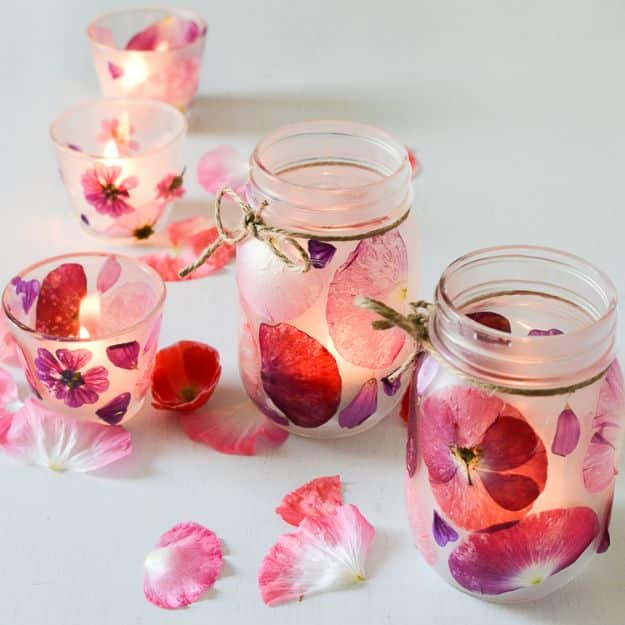
Poppy and dahlia petals pressed flat, then laid over glass jars and votives so the candlelight comes through them stained-glass pink. The pressing is the part that decides how it looks: petals dried properly stay translucent, and petals that were rushed go brown and opaque, so press a lot more than you think you need and throw the dark ones away. A microwave press does it in one minute bursts, but two ceramic tiles with absorbent paper between them does the same job for nothing. Use battery tealights if the jars are crowded.
Get the full tutorial at Adventure in a Box.
4. DIY Pom Pom Sandals
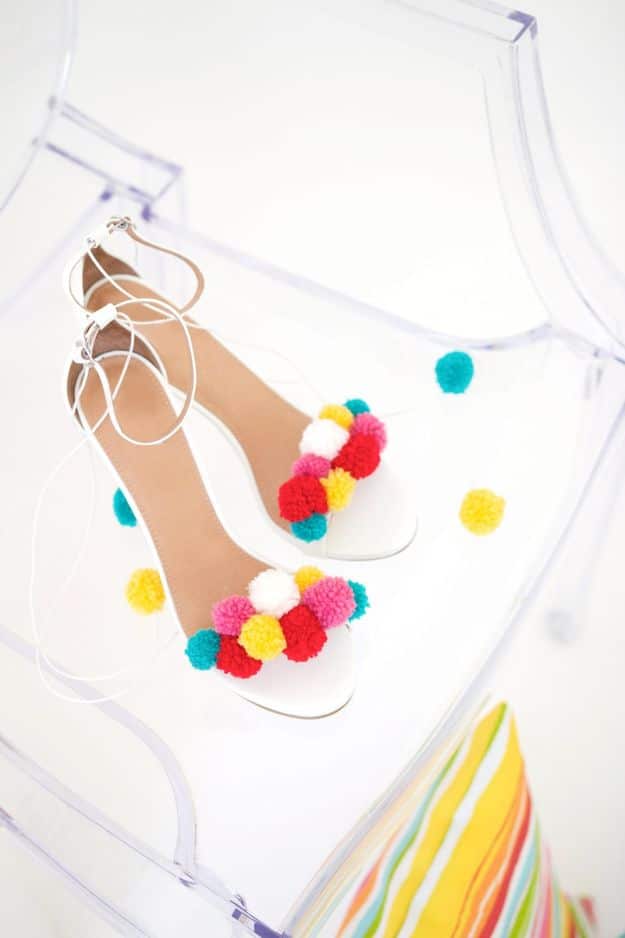
White ankle strap sandals with a rope of little yarn pom poms wrapped across the front, and the saving is the reason to do it: the designer pair that inspired them ran about seven hundred dollars more. The pom poms are wound on the tines of a dinner fork, tied off through the middle, cut and trimmed round, which is faster than any pom pom maker. String them on clear monofilament with a needle, wrap the strand across the front strap, tie off, then hot glue a few more to the leather cord at the heel.
Get the full tutorial at Amber Kemp-Gerstel at Damask Love.
5. Painted and Distressed Mason Jar Storage
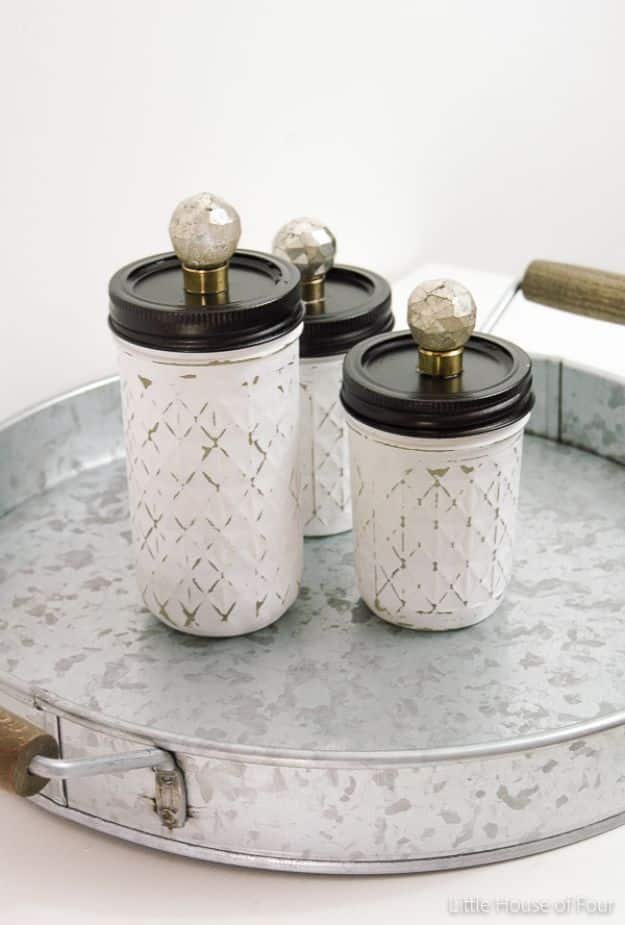
Quilted mason jars painted, sanded back at the edges, waxed, and finished with a spray painted lid and a glass knob on top. One line in this tutorial saves the whole project: acrylic craft paint peels off in sheets when you sand it, so use chalk paint if you intend to distress. Three coats, sand, then creme wax to seal. The lid and band get oil rubbed bronze spray and are glued together as one piece so it lifts off in one go, and knobs with a removable stem are far easier to attach than the fixed kind.
Get the full tutorial at Little House of Four.
6. Pressing Flowers and Dried Flower Art
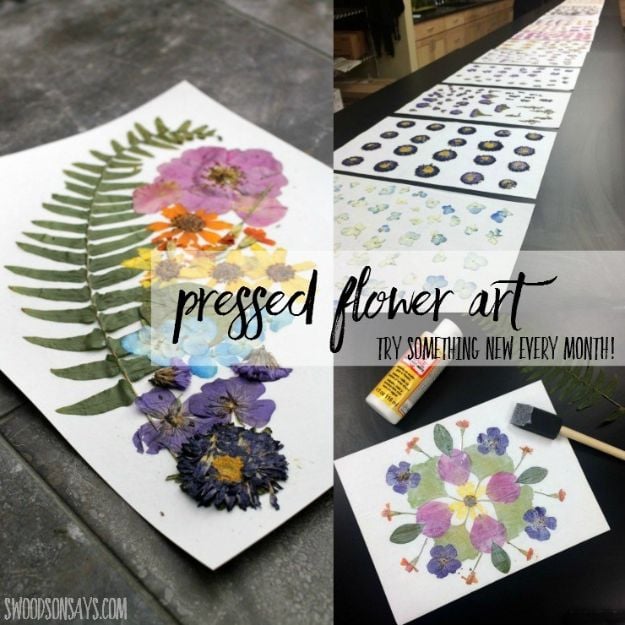
Pressed ferns, zinnias and asters arranged on card, some as a curved rainbow, some as a loose mandala, then framed. The adhesive matters more than the arrangement: matte Mod Podge both glues the petals down and seals over them, and it dries clear instead of leaving the brush marks the glossy version leaves. It looks alarmingly sloppy while it is wet, which is normal. The trick worth stealing is slicing fat flowers like a mum in half with a razor blade so they lie flat, which is what gives a piece its texture.
Get the full tutorial at Swoodson Says.
7. Custom Stylish Derby Hat
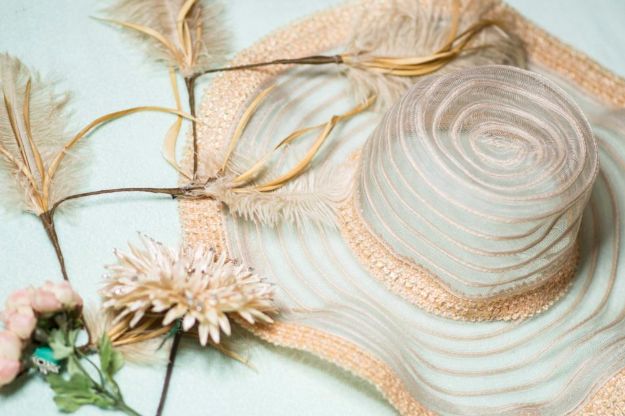
A wide brimmed straw hat trimmed with ribbon, a big peach flower, feathers and a scatter of small blooms, put together in about fifteen minutes. The order is what keeps it from looking cluttered: ribbon around the upper brim first and hot glued down, then the one large flower on top of the ribbon, then the feathers and the big accents, then small pieces last to fill any gaps. A plain hat from a thrift shop costs about a dollar, which means the whole thing runs to the price of the trim.
Get the full tutorial at Bathtub Rings & Artsy Things.
8. DIY Stamped Clay Bowls
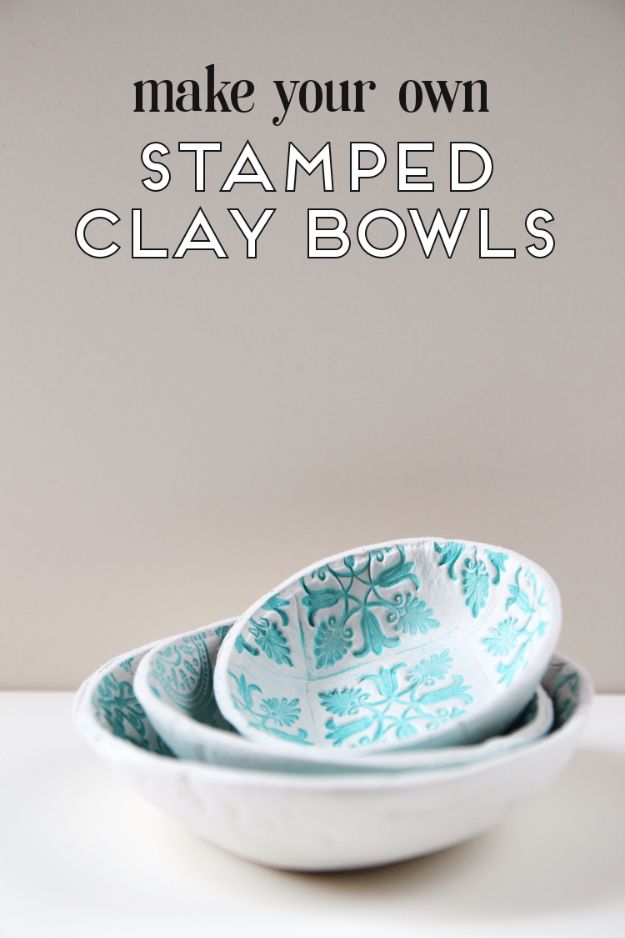
Three small white bowls with a blue stamped pattern inside, made from air dry clay, which means no kiln and no oven. Roll the clay out, press rubber stamps into it, cut around a drinking glass for a clean circle, then drape the disc into a small bowl to dry into shape. Ink or paint goes into the impressions afterward. Anything textured will stamp it, a cable knit sleeve or the cut base of an old glass, so you do not need a stamp set to start. Finished they hold rings, washi tape or paper clips.
Get the full tutorial at Emma at Gathering Beauty.
9. Adult Coloring Book Dishes DIY
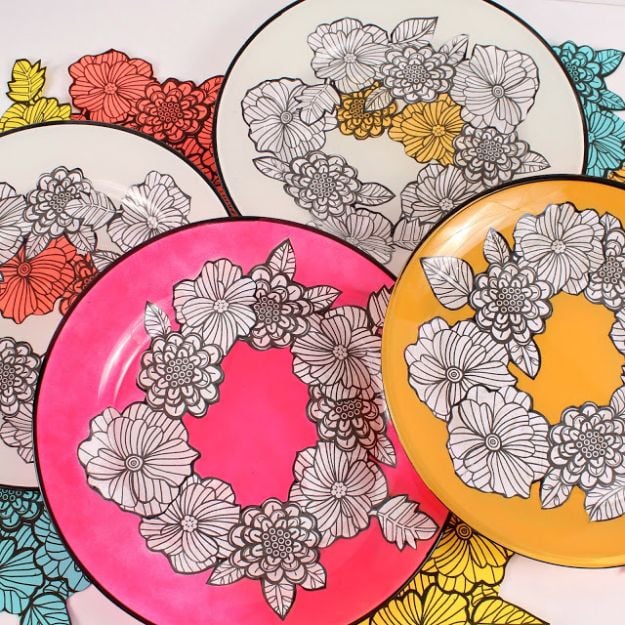
Dollar store glass plates with colored-in floral pages decoupaged onto them, and the clever part is that every bit of the work happens on the underside. Nothing you eat off ever touches paper or glue, and the finished plates go in the dishwasher. Clean the back with rubbing alcohol, outline the design with a thick permanent marker, photocopy the page in whatever colors you want, mist the cutouts with water so they sit flat around the curve, then decoupage, paint the back white, and seal with a dishwasher safe finish.
Get the full tutorial at Mark Montano.
10. Create a Gorgeous Custom Name Bow Holder with Lights
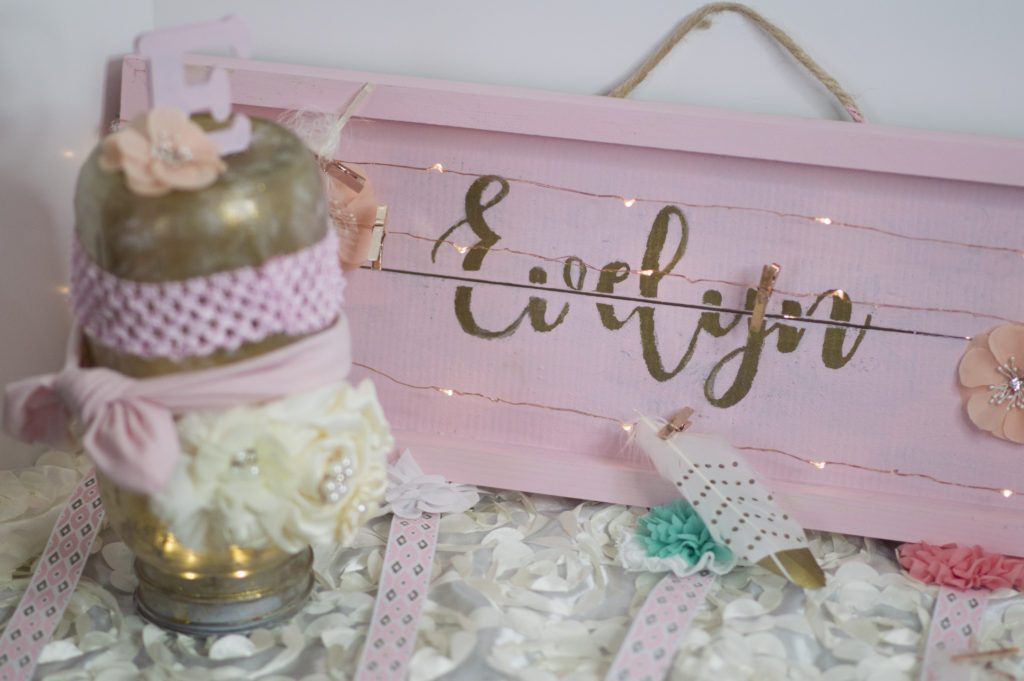
A shallow painted crate with a name in gold across it, ribbons hanging down the front for clips and a string of little bulbs with clothespins for the rest. The name is a reverse: paint the inside gold first, cut the letters from adhesive vinyl and stick them on, paint the whole thing pink over the top, then peel the vinyl off and the gold shows through. Her warning is worth reading before you cut anything, because the vinyl will not stick to rough wood. Sand it smooth first or fight it the whole way.
Get the full tutorial at Bathtub Rings & Artsy Things.
11. DIY Flower Rings
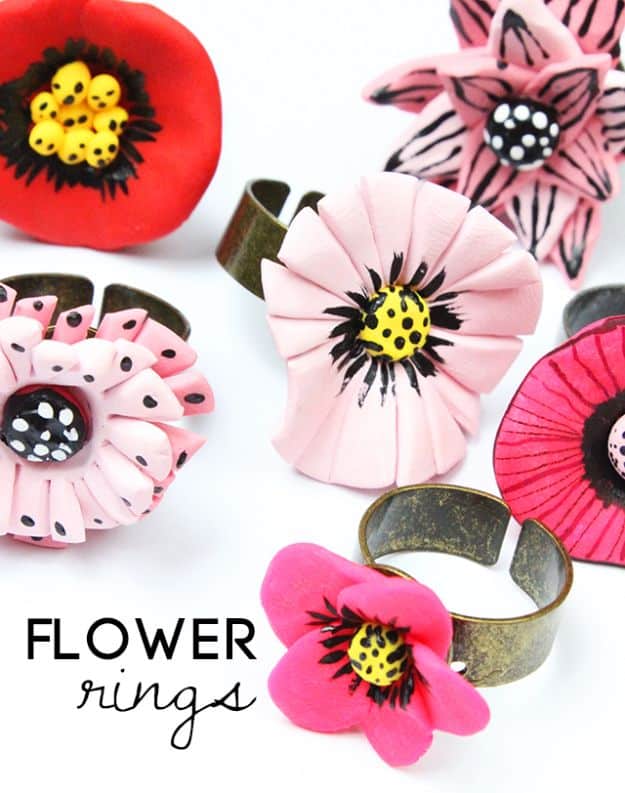
Oversized poppies and anemones in pink, coral and red sitting on brass ring blanks, made from oven bake clay. Petals are rolled, pressed and shaped one at a time, then stacked on top of each other rather than arranged flat, which is what gives the flower depth instead of a pancake. Bake to the packet instructions, then add the details in acrylic paint afterward, the black centers and the stippled marks, because painting on top of baked clay is much easier than trying to build them in. E6000 glue holds the flower to the blank.
Get the full tutorial at Alisa Burke.
12. DIY Watercolor Basket Makeover
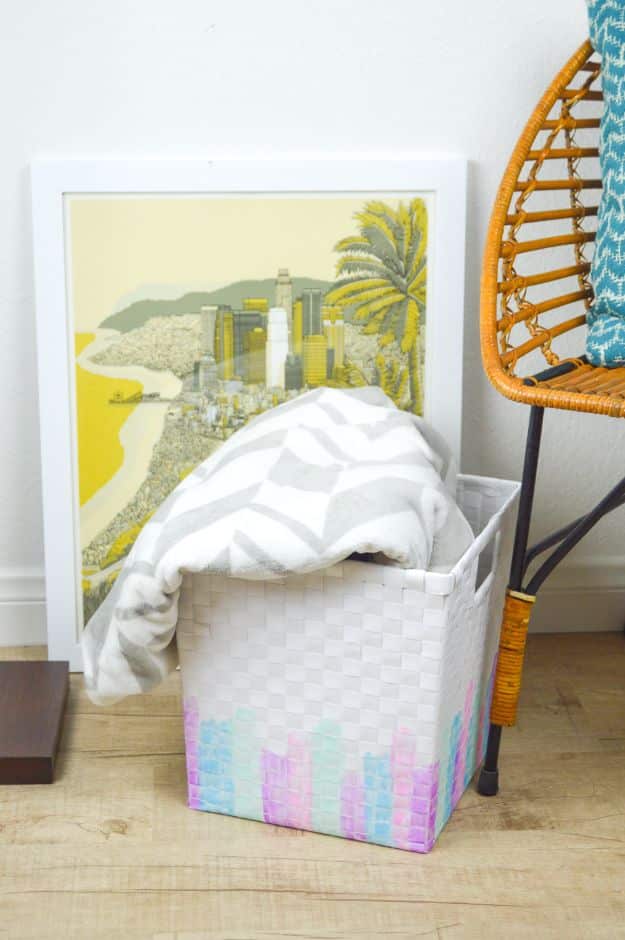
A plain white woven basket with loose brush strokes of pink, mint and yellow up the sides, holding blankets beside a rattan chair. It is not watercolor paint, which will not show on this kind of basket at all. It is ordinary acrylic craft paint with a few drops of water stirred into it in a disposable cup, which gives the brushed, translucent look without any skill. Test on the base first, because darker colors show and pale ones vanish, then work up the sides in overlapping strokes. Twenty minutes start to finish.
Get the full tutorial at Club Crafted.
13. DIY Image Transfer to Fabric
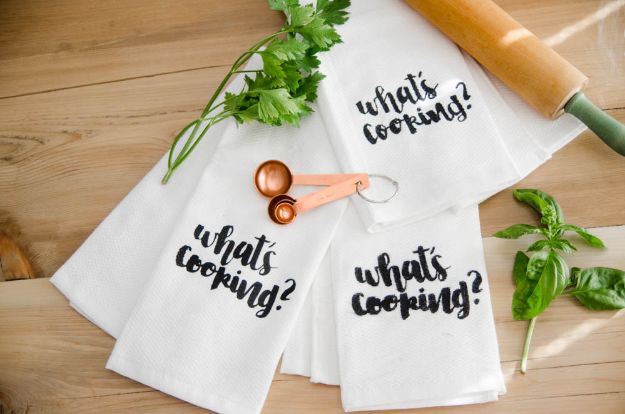
Three flour sack tea towels lettered with “what’s cooking?” in a loose brush script, photographed with copper measuring spoons and a rolling pin. There are three honest routes to this and they suit different budgets. Heat transfer vinyl gives the crispest edge and needs a cutting machine. A stencil and fabric paint costs almost nothing and holds up to washing. Hand painting is the cheapest of the lot and the only one that will not crack, which is the flaw in the iron-on transfer sheets everybody remembers from the nineties.
Get the full tutorial at Colleen Pastoor for CreativeLive.
14. DIY Glitter Wooden Gift Crate
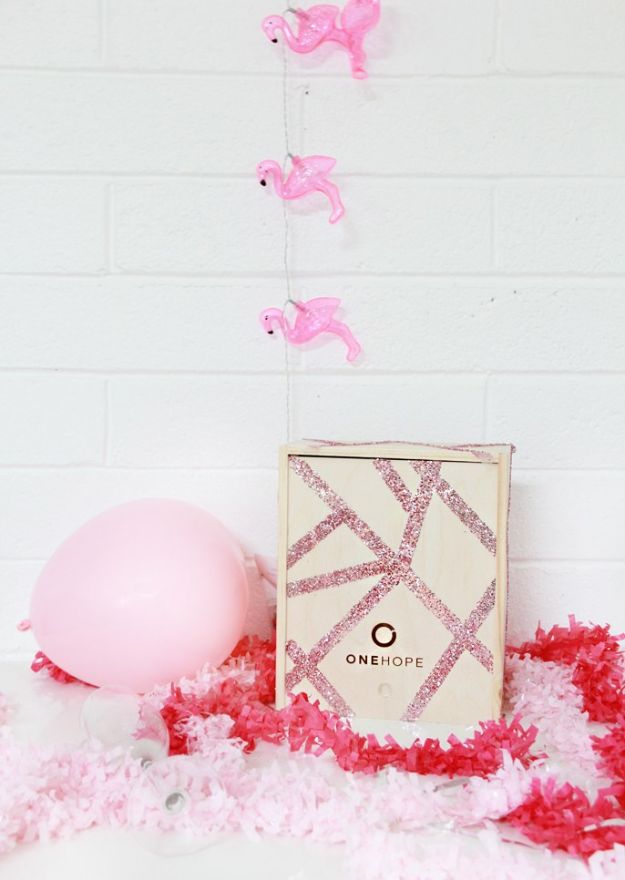
A small wooden crate with a criss cross of pink glitter lines across the front, staged with a balloon and paper shred. The technique is the only thing you need from this one and it is properly good: lay out your pattern in double sided tape, pour glitter over the whole crate, then knock it on the table and everything that is not stuck to the tape falls off. No glue, no brush, no glitter welded to the wood grain, and a clean geometric edge you could not get freehand. A soft brush clears the few stragglers.
Get the full tutorial at Laurel at A Bubbly Life.
15. DIY Felt Tote
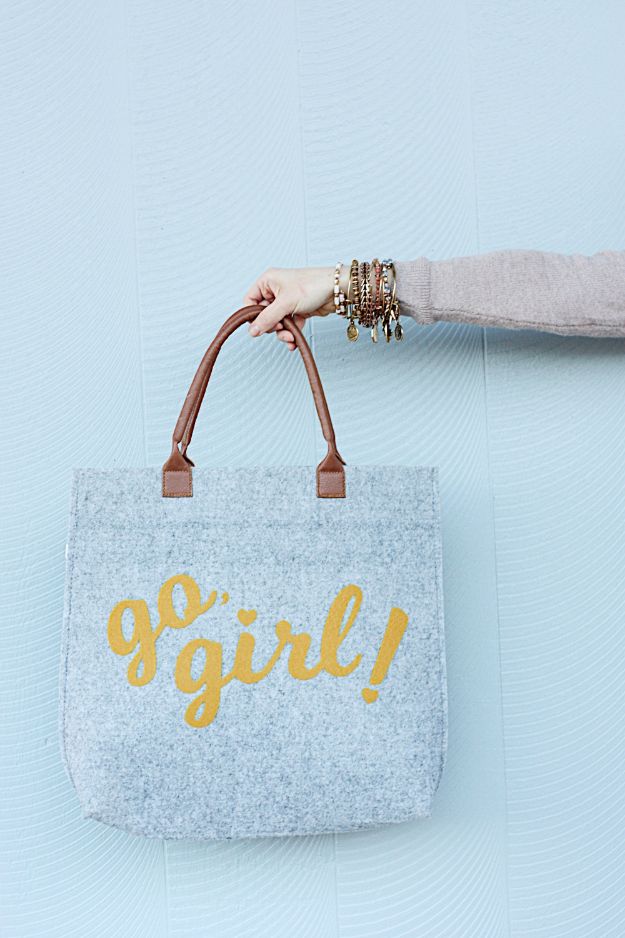
A pale gray felt tote lettered go, girl! in gold, and the tote itself is not the project. That came from the Target dollar spot for five dollars. The letters are cut from colored felt rather than vinyl, and they are backed with Heat ‘n Bond Lite iron-on adhesive so they fuse straight on under an iron, which is what gives that soft felt on felt look. The warning worth having before you start is that felt melts under a hot dry iron, so press a scrap first and cut the time right down before the real sheet goes anywhere near it.
Get the full tutorial at The Pretty Life Girls.
16. Air Dry Clay Magnets
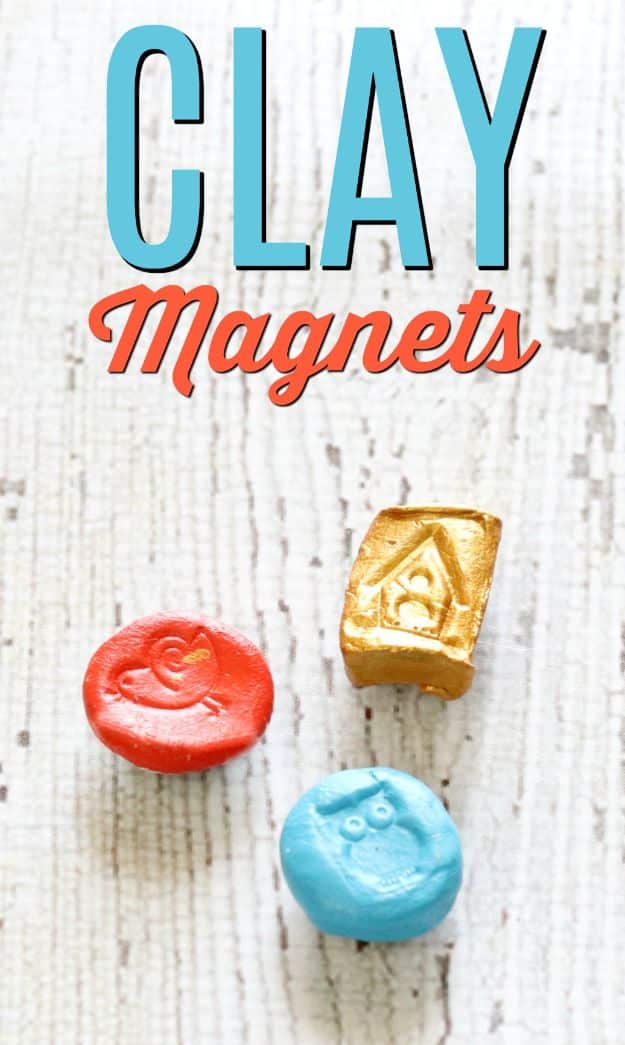
Four small clay magnets, each one pressed with a little raised design, sitting on a woven mat. Air dry clay comes out of the packet soft enough to be near play dough, which is why this one works with children alongside you rather than in spite of them. Roll a ball, flatten it into a disc, press a small wooden stamp into it, and leave it two hours to harden. A high gloss enamel paint is what gives the shine in the photograph. The tip worth stealing is to hot glue the magnet on before you paint, so you have something clean to hold onto.
Get the full tutorial at Creative Ramblings.
17. Anthropologie Inspired Painted Plate
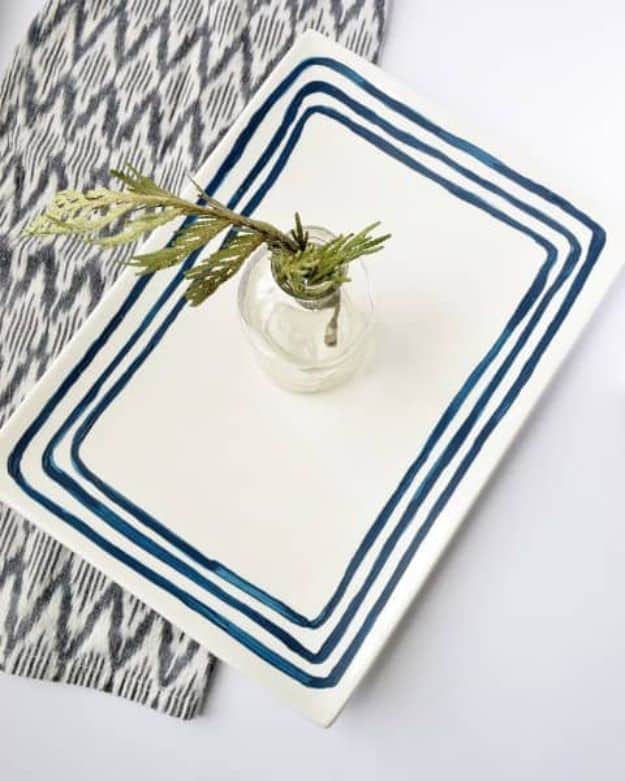
A white ceramic tray with three hand painted navy lines running around the border, styled with a tiny bud vase on a patterned cloth. The freehand look is deliberate and the method behind it is smarter than it appears: mark three dots at each corner and three along the long side, then join them by eye. You get the wobble of a hand painted line without it wandering off the edge. Acrylic or ceramic paint, touch up when dry. Her own answer in the comments is that it is hand wash and best kept for non-food use.
Get the full tutorial at Burlap + Blue.
18. DIY Tea Towel Tote
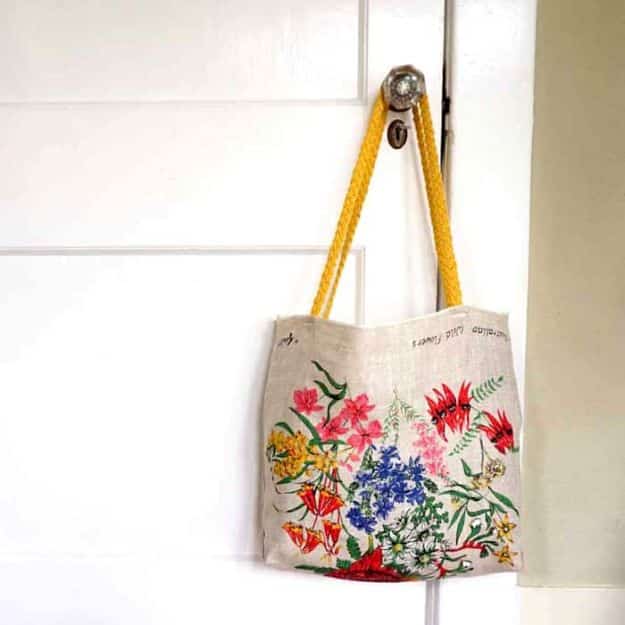
A vintage floral linen tea towel turned into a tote with yellow braided straps, hanging from a doorknob. One towel makes the whole bag, because the edges are already finished, which removes the hemming that makes a first tote miserable. Fold, sew two side seams, box the bottom corners so it holds its shape, and attach a yard and a half of webbing or braid for the straps. Press the edges and the corners before sewing, especially on linen, since a wrinkled seam will never sit flat afterward.
Get the full tutorial at DIY Candy.
19. Easy Sun Catchers with Coloring Pages
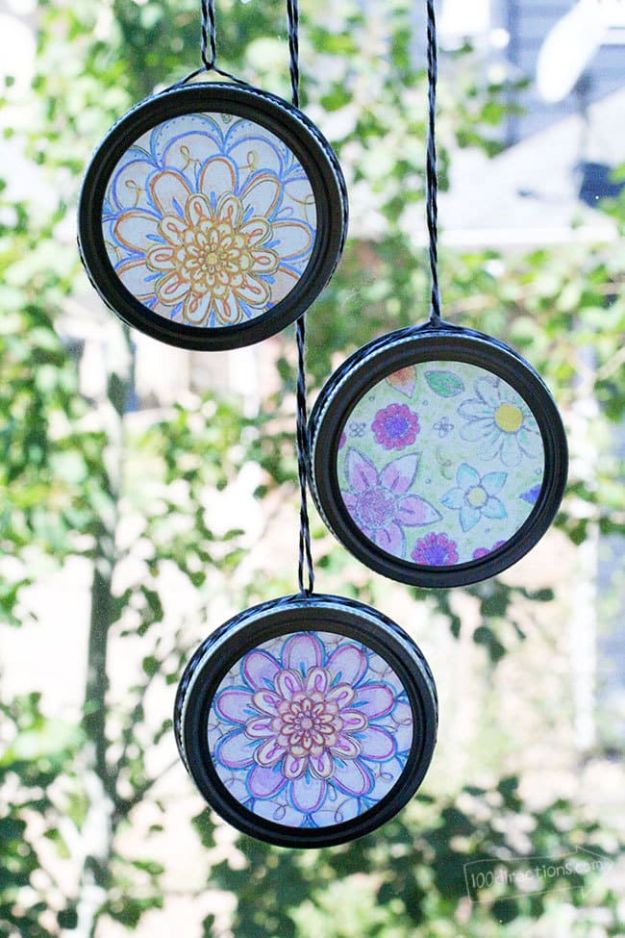
Three mandala coloring pages mounted in black mason jar bands and hung in a tree on twine, glowing where the light comes through. Oil is the whole secret and it takes fifteen minutes: color the page with markers or watercolor, then rub olive oil over it with a cotton ball until the paper is covered, dab the excess off with a paper towel, and leave it five minutes. The paper turns translucent while the color stays put. Test a corner first if you are unsure, then trim to fit a wide mouth band.
Get the full tutorial at Jen Goode at 100 Directions.
20. DIY Luggage Tags
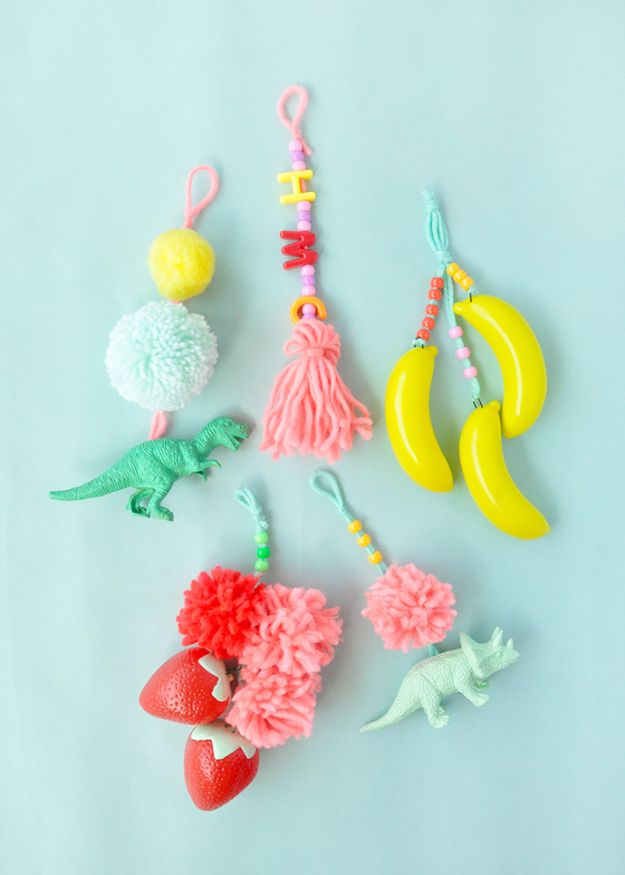
Plastic dinosaurs, bananas and strawberries painted and strung on yarn with pom poms, tassels and alphabet beads, laid out on a pale blue background. The one piece of practical advice on the page is the one that matters: yarn is fine for a backpack charm and not fine for checked luggage, so use paracord or a strong cord if the bag is going in a hold. Pierce thin hollow toys with a nail or a safety pin, bend a wire loop through, and hot glue it if the plastic is solid.
Get the full tutorial at Handmade Charlotte.
21. Wooden Bangles for Animal Lovers
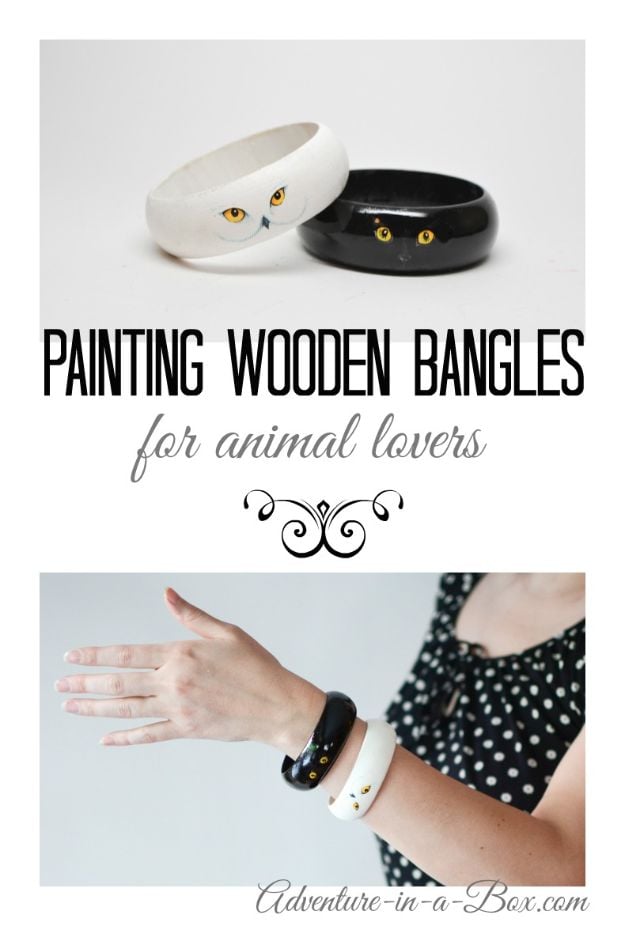
Two wide wooden bangles, one white with owl eyes and one black with cat eyes, each one painted in a single flat color with just the eyes picked out, shown on a wrist below. Restraint is the entire design: one color, two eyes, nothing else, and it reads instantly from across a room. About half an hour each. Blank one inch bangles take gouache, tempera or acrylic equally well, and a fine ink pen in size 01 does the outlines and the pupil far more precisely than a brush ever will.
Get the full tutorial at Adventure in a Box.
22. Make Your Own Natural Baskets
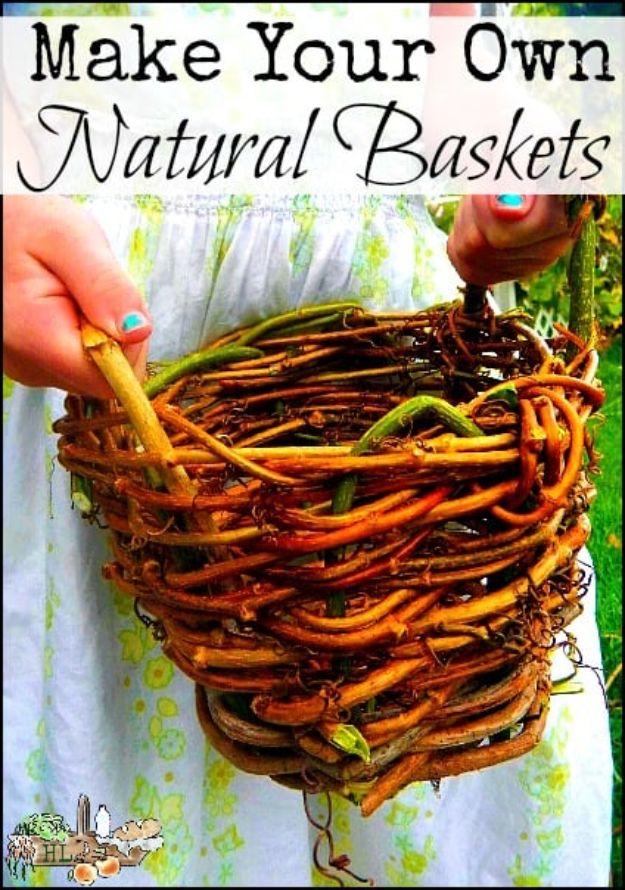
A rough woven basket of orange and green vine held up in both hands, the sort of thing you would pay a fortune for in a craft shop and can cut out of your own hedge for nothing. Grapevine is the best material, strong and pliable and good looking. Ivy is strong and easy but the young smooth vines slip, so mix them with something else if you are new to it, and Virginia creeper has useful texture and grip. Half an hour and a pile of autumn prunings gets you a basket.
Get the full tutorial at Homestead Lady.
23. DIY Rustic Jewelry Hanger
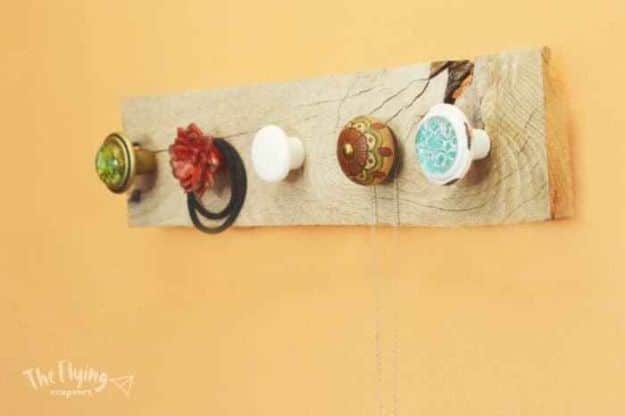
A fifteen inch length of pallet wood with five mismatched vintage door knobs and cabinet knobs screwed along it, hung on a mustard wall. The measuring is the only fiddly part and it is given exactly: leave an inch and a half clear at each end, which leaves twelve inches in the middle, then mark the center line and put a knob every three inches. Mark on the back, not the front. Check that your drill bit matches the thread on the knobs you bought, because knob threads vary and a loose hole will not hold.
Get the full tutorial at The Flying Couponer.
24. Turtle Template Coloring Page for Adults
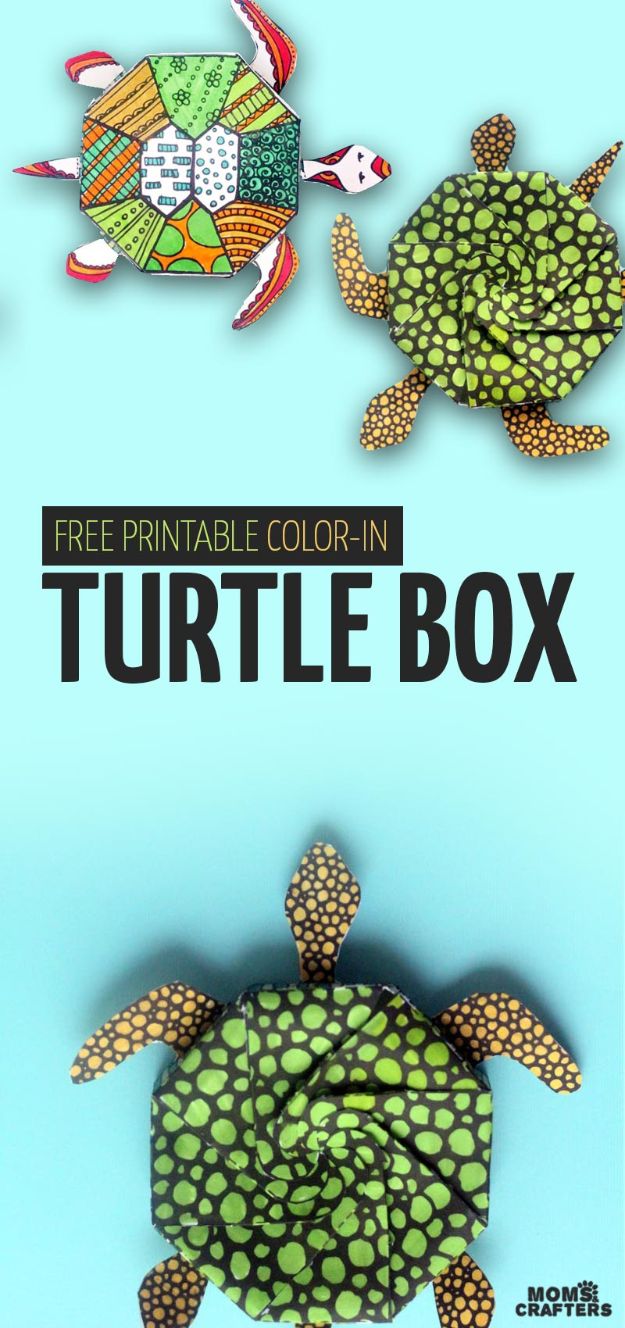
A sea turtle coloring page that is not only a coloring page, because once it is colored it folds and glues into a three dimensional paper turtle with a hollow shell that holds a few sweets. The printable is reversible, one sheet with two sets of legs and flippers so you can pair a detailed shell with plain legs or the other way round. Color it as lightly or as obsessively as you like, the detail is optional. Fine tip markers handle the small spaces and a broader pen fills the shell faster.
Get the full tutorial at Moms and Crafters.
25. DIY Keychains Made From Wooden Hearts
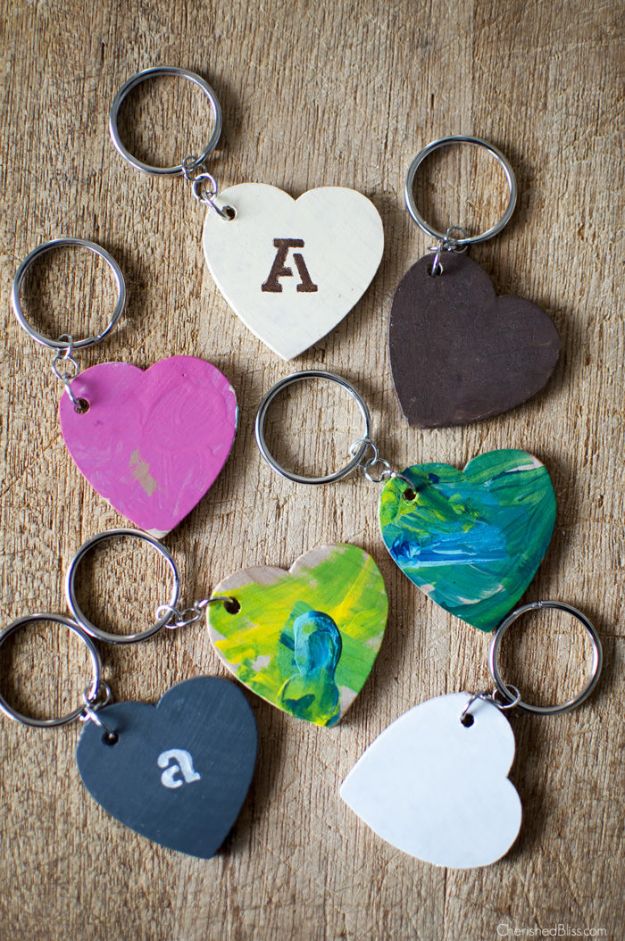
Six wooden hearts painted in marbled greens, pinks and blues, some stenciled with a single initial, each on a split ring. The hearts come solid, so the hole is the first job and it is the one job worth doing before anyone else gets involved: drill close enough to the edge that a jump ring fits through but not so close that the wood splits. Water based craft paint, a stencil for the letter, a jump ring and a key ring. Swirl two colors wet on wet for the marbled ones in the picture.
Get the full tutorial at Katie Adams at The Crafty Blog Stalker.
26. DIY Craft Kit For Adults
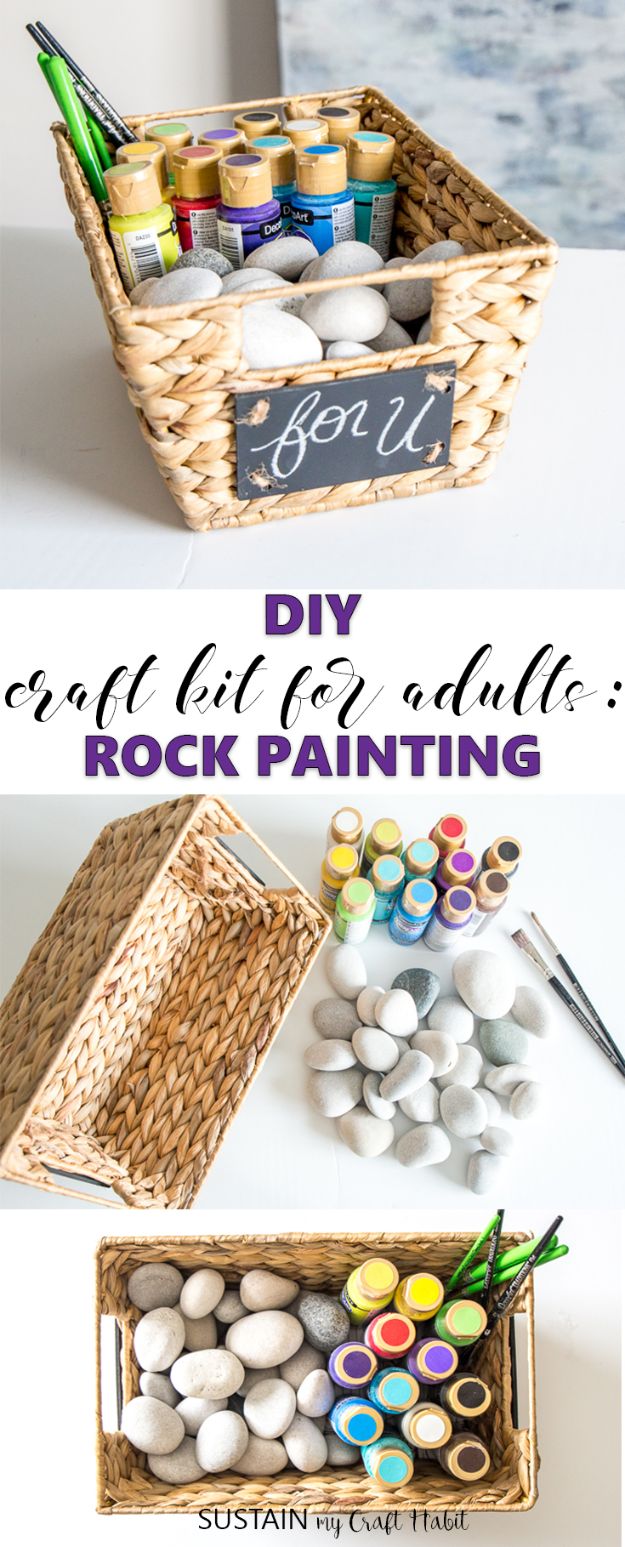
A wicker basket packed with smooth beach stones at one end, pots of acrylic paint at the other and a row of fine tip brushes down the middle, with a chalkboard tag reading “for U”. There is no building to do here, which is the point: it is a gift for the person who says they are not creative, because a painted stone cannot really go wrong. Assorted sizes of stone, fine tip brushes rather than fat ones, a spread of colors and a rock painting book to get them started.
Get the full tutorial at Jane and Sonja at Sustain My Craft Habit.