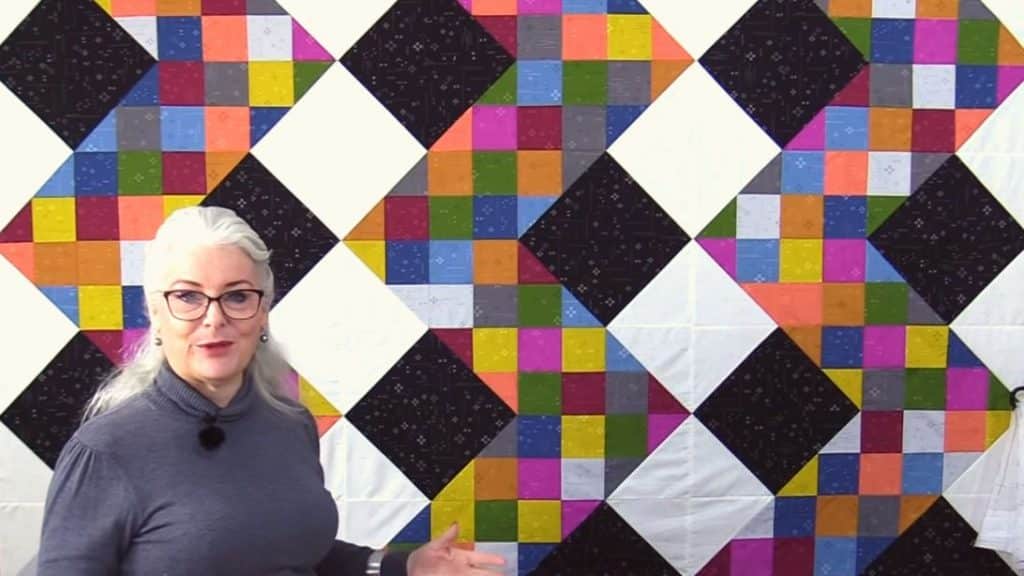
If you’re a seasoned quilt who’s up for a challenge or you’re a beginner who’s looking to level up your skills, then this pretty quilt is the perfect project to practice on! Have fun playing with different colors and patterns of fabric, then follow the instructions down below, and watch this video tutorial by SewVeryEasy on YouTube. I hope you enjoy this quilt as much as I did!
Materials:
- Light and dark fabric, for the background
- Different colors of fabric, for the vibrations
- Paper-backed fusible web
- Marking pen, pencil, or chalk
- Scissors or rotary cutter and a cutting mat
- Iron, for pressing, optional
- Needle and thread
- Cat cradle ruler
- Sewing machine
- Pattern (Click here to download the pattern)
Directions:
Step 1
Print the pattern out on a fusible web, then press it on the background fabric, sew following the marking lines, and cut accordingly. Trim off the dog ears and set them aside, then cut 6 pieces for each color of the fabric at 4¼ x 5¼ inches, another set of 6 colors per piece at 4¼ x 4¼ inches, and 12 pieces for each color at 4×4 inches. Set aside the pile of 4-inch squares, then pair 1 rectangle with 1 square with their right sides facing together, and sew them on one side before pressing them open nicely with your fingers. Repeat this with the rest of the fabric pieces, then pair 2 units of sewn fabric together, and sew them along their longer side making sure that the bigger fabric is positioned on the opposite side.

[social_warfare]
Step 2
Next, notch the center of the patchwork as shown in the video, then using a car cradle ruler, line the fabric nicely, stitch over the lines, and cut them in half. Now, sew these 2 pieces with 1 dark and 1 light background fabric, then press them open, and pair together the units with the same background fabric. Grab the pile of small squares, then sew them together in an 8-block patch on a random order of color, and start laying out your fabric units however you want or as shown in the video. Sew them together and finish your quilt however you want.

*These amazing images are all credited to SewVeryEasy via YouTube. Check her other content and follow for more!


