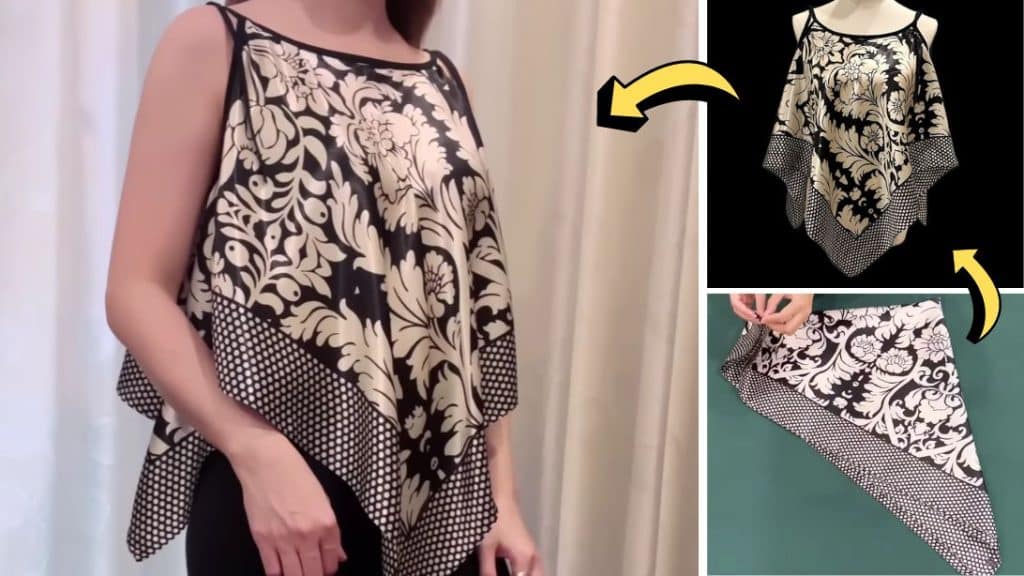
This sewing project idea by P&N Homemade on Youtube is so brilliant and is probably one of my most recent favorite DIYs! I have a lot of scarf and fabrics that I can turn into cute tops and I can already imagine a lot of designs that I can add to them. You should definitely check this technique out and you’ll surely love it as much as I did, you might even want to do more than one sleeveless stop after learning how.
Materials:
- 90cm x 90cm or 35.4″ x 35.4″ scarf
- Elastic
- Marking pen, pencil, or chalk
- Scissors
- Needle and thread
- Sewing machine
Directions:
Step 1
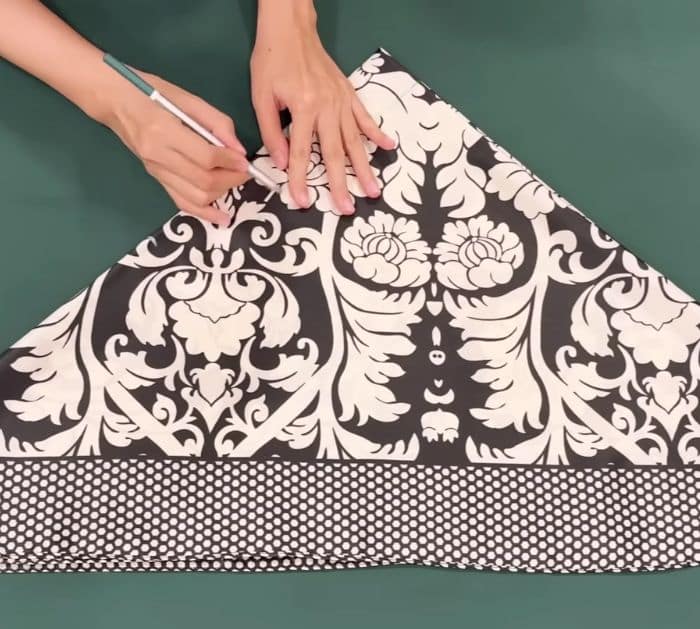
Fold the scarf in half diagonally, then fold it again in half to make a smaller triangle, and then mark S: 12cm (4.7″) or L-XL: 13cm (5.1″) from the pointed top down to the folded side.
[social_warfare]
Step 2
On the unfolded side, measure S-M:5cm (2″) or L-XL: 6cm (2.4″) from the pointed top down to the side, then connect those marks with a curved line, and then from the last mark on the folded side, mark it at S-M: 15cm (6″) or L-XL 16cm (6.4″) and from that point mark inward at S-M: 5cm (2″) or L-XL: 6cm (2.4″).

Step 3
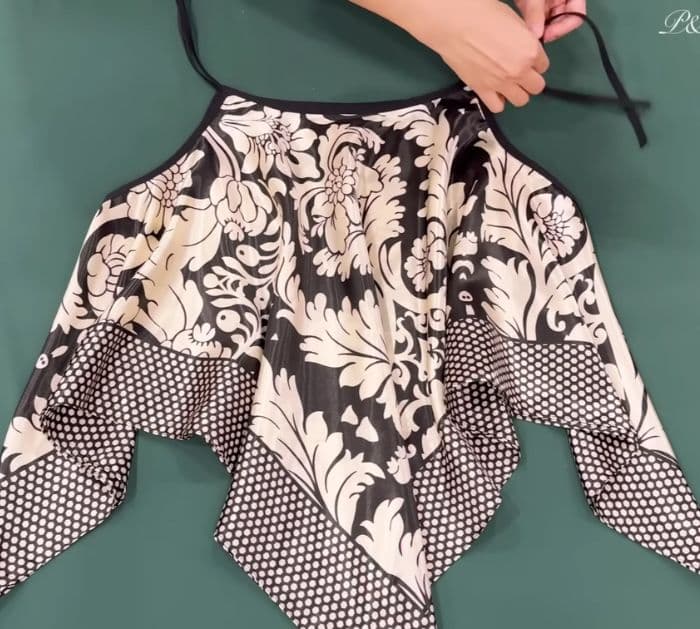
Connect those marks with a curved line, then cut them out, and unfold the scarf. Sandwich the cut edges with an elastic, then sew them around near the edges of the elastic and make sure to gently pull the elastic (not the scarf) as you go. Make the strap, then sew them to each side of the top’s armhole as shown in the video, and you’re done!

*Thanks to P&N Homemade via YouTube for all images used here. If you loved this sewing project, then you’ll surely love her other videos too, so give her channel a visit and subscribe!


