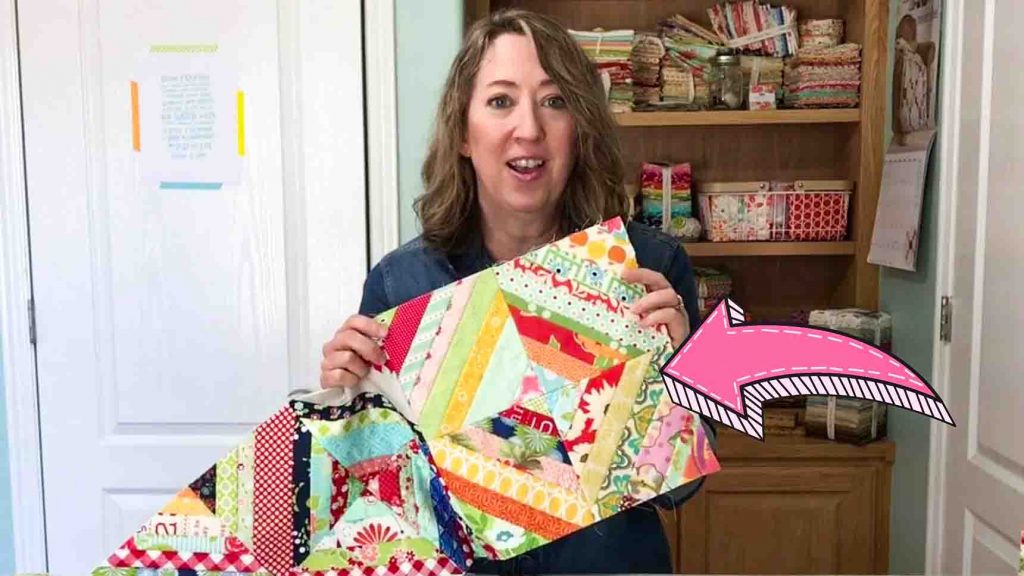
Do you have lots of strip scraps from your previous quilt projects? How about you turn them into another quilt, like this string quilt block from A Quilting Life on Youtube? This is the perfect project for your scraps and is super easy to make – perfect for beginners. You can also lay these out in any way you like, be creative! Learn the step-by-step instructions by watching the video tutorial below.
Materials:
- foundation piece, dryer sheets, or a thin paper
- 8 & 1/2″ x 8 1/2″ background fabric
- leftover strips (1 & 1/4″ – 2″ wide)
- rotary cutter
Directions:
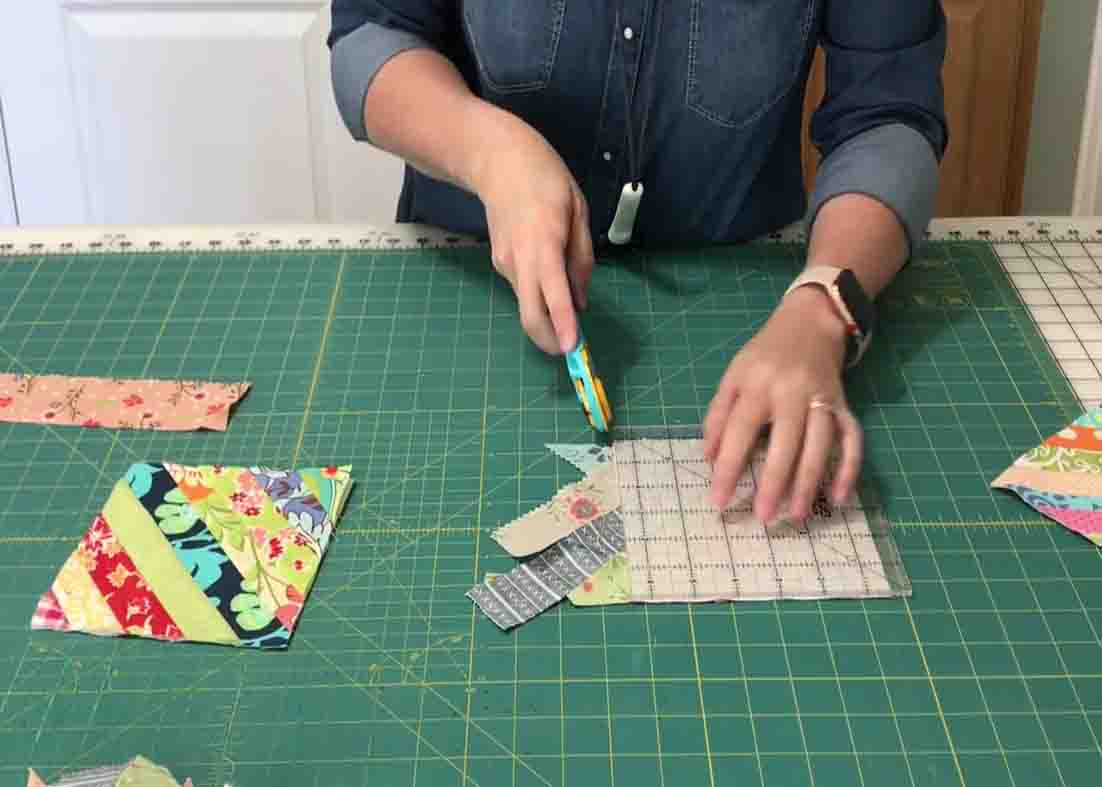
Step 1
Start out with a square that is a little bit bigger than the one you want your finished block to be. Then, pick two fabric strips and put them right sides together on the top center of your foundation piece. Sew with a 1/4″ seam on one side, then press it open to one side. Continue to add strips to the side, sew and press, until you completely covered your foundation piece. (Don’t forget to press after each added strip.) Do the same thing on the other side.

[social_warfare]
Step 2
After this, trim everything up to your square fabric or foundation piece that you started with. Now, to make your quilt top, sew them in groups of four, then press the seam allowances open on the back. You can offset the next row if you want to create a zigzag effect or you can set them all so you will have the four squares all coming together.
Easy String Quilt Block Tutorial


