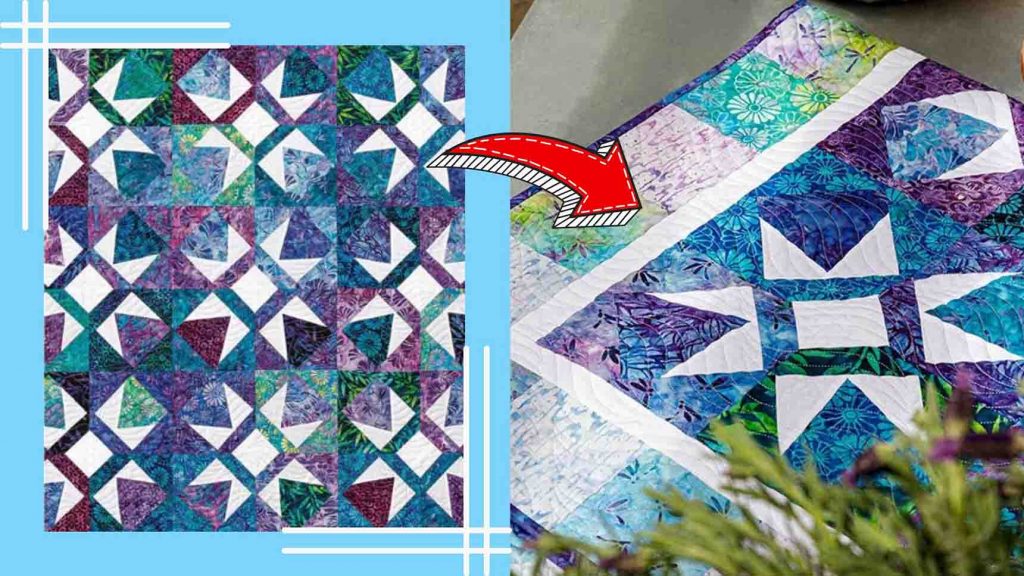
Looking for your next quilting project? I’m sure you gonna love this star shine quilt from Missouri Star on Youtube. It’s easily one of the best quilt patterns I made, and you can use any layer cakes you have. It’s also beginner-friendly, but seasoned quilters will also have a great time doing this quilt. Watch the video tutorial below to learn the step-by-step instructions.
Materials:
- 1 pack of 10″ print squares (includes outer border)
- 1 1/4 yards of solid fabric (includes inner border)
- 1/2 yard of binding fabric
- 3 1/2 yards of backing fabric
Directions:
Step 1
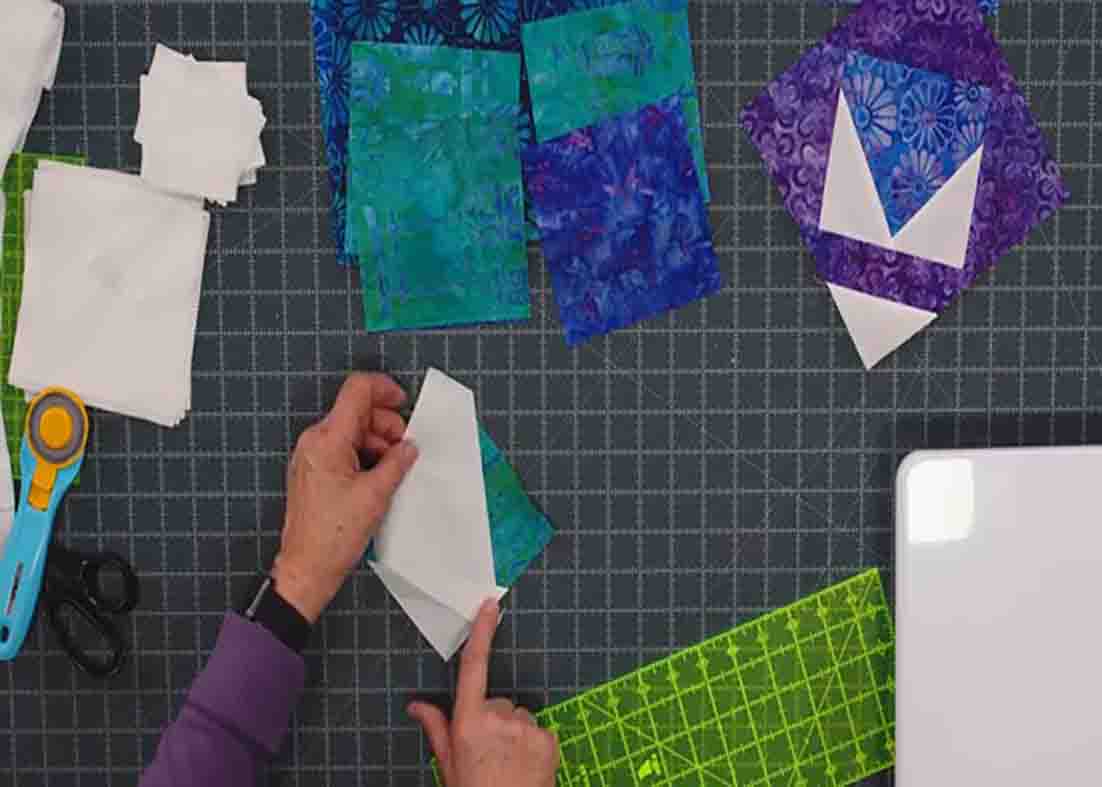
Take your background and cut some 5″ squares, 2 1/2″ squares, and 1 1/2″ strips. After this, separate the light and the dark layer cakes into two stacks. Now, take one layer cake from each stack and line them together. Lay your ruler along the edge and cut them in half in both directions. Now, take the pieces that you want to be the middle part. Once you’ve decided, take one 5″ square and one of your white charm, then lay it diagonally, past the center of the 5″ square. Sew down the side afterward, then press the back. Now flip it over, and trim the excess white square off. Place the excess white back, crossing over the sewn white, and sew right along, making the wonky leg. Press it over afterward, then trim the excess white, returning it to a 5″ square. This will be the middle of your block. Now you’re going to set this on point. To do this, take your other colored squares, and cut them diagonally, corner to corner. Make four of these. After this, take two triangles that you cut, and sew them to the sides, then the other two at the top and bottom.
[social_warfare]
Step 2
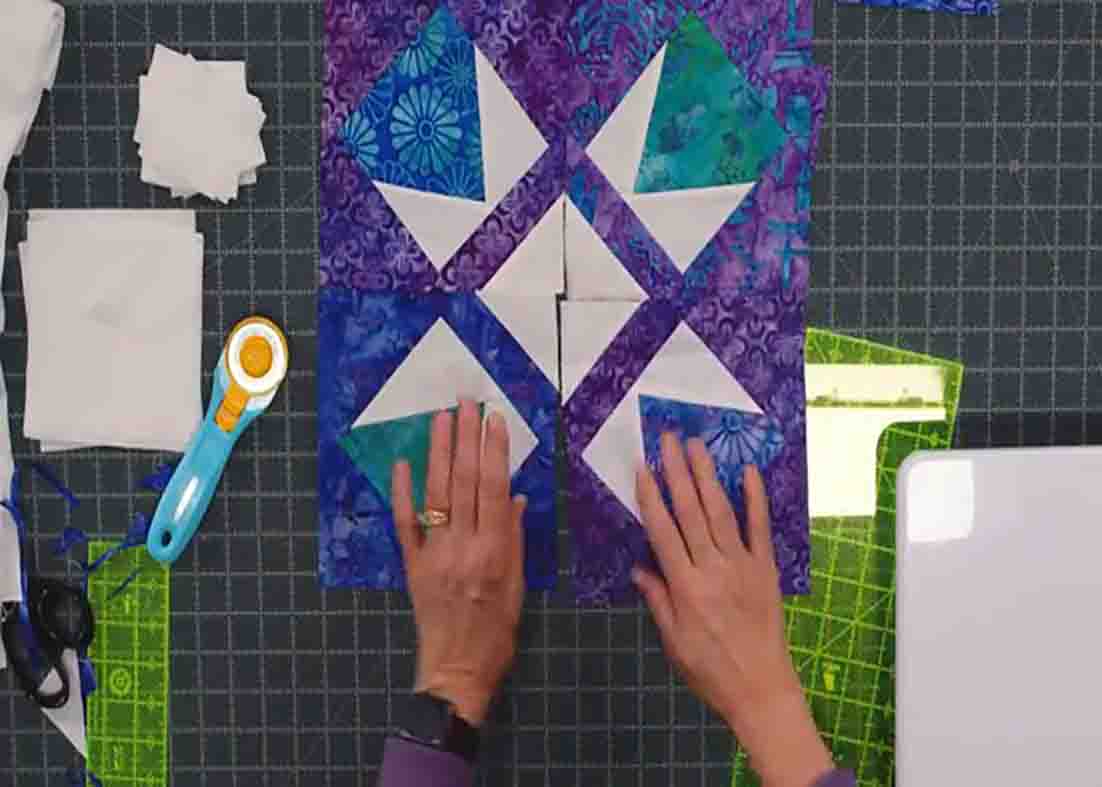
After sewing, press it open and square it up to 7 1/2″. Next, take a 2 1/2″ square and place it at the top of the wonky legs, then sew corner to corner. Trim the excess afterward, then press. You’re going to make four of these to create one block. Once you have four blocks, lay them down with the white corners to the center, then sew them together. Now, make nine blocks to complete the quilt top, then add your inner border.
Easy Star Shine Quilt Tutorial


