Wrapping gifts is one of the most enjoyable parts of any holiday or special occasion. I love experimenting with different patterns, colors, and even customizing the style to match the personality of the person receiving it. While wrapping standard square or rectangular boxes is simple, things get a little tricky with oddly shaped items, or worse, when you realize your last piece of wrapping paper isn’t quite enough.
That’s where this clever gift-wrapping hack comes in handy. With just a limited amount of paper, you can still wrap your present neatly and make it look intentional. The best part? The finish looks so seamless that no one would guess you were short on paper. In fact, once you try it, you may even prefer wrapping this way from now on.
RELATED: How to Make a Gift Bag from Wrapping Paper
Not only does this method save you from the stress of running out of supplies, but it’s also a more practical approach. By cutting down on unnecessary folds and wasted paper, you’ll be using exactly what you need—nothing more, nothing less. It’s a smart solution for last-minute wrapping and ensures every gift under the tree looks just as polished.
Keep reading to learn the simple steps for wrapping gifts with short paper, and if you enjoy this hack, you might also love my quick tutorial on how to tie ribbons around your presents in a creative way.
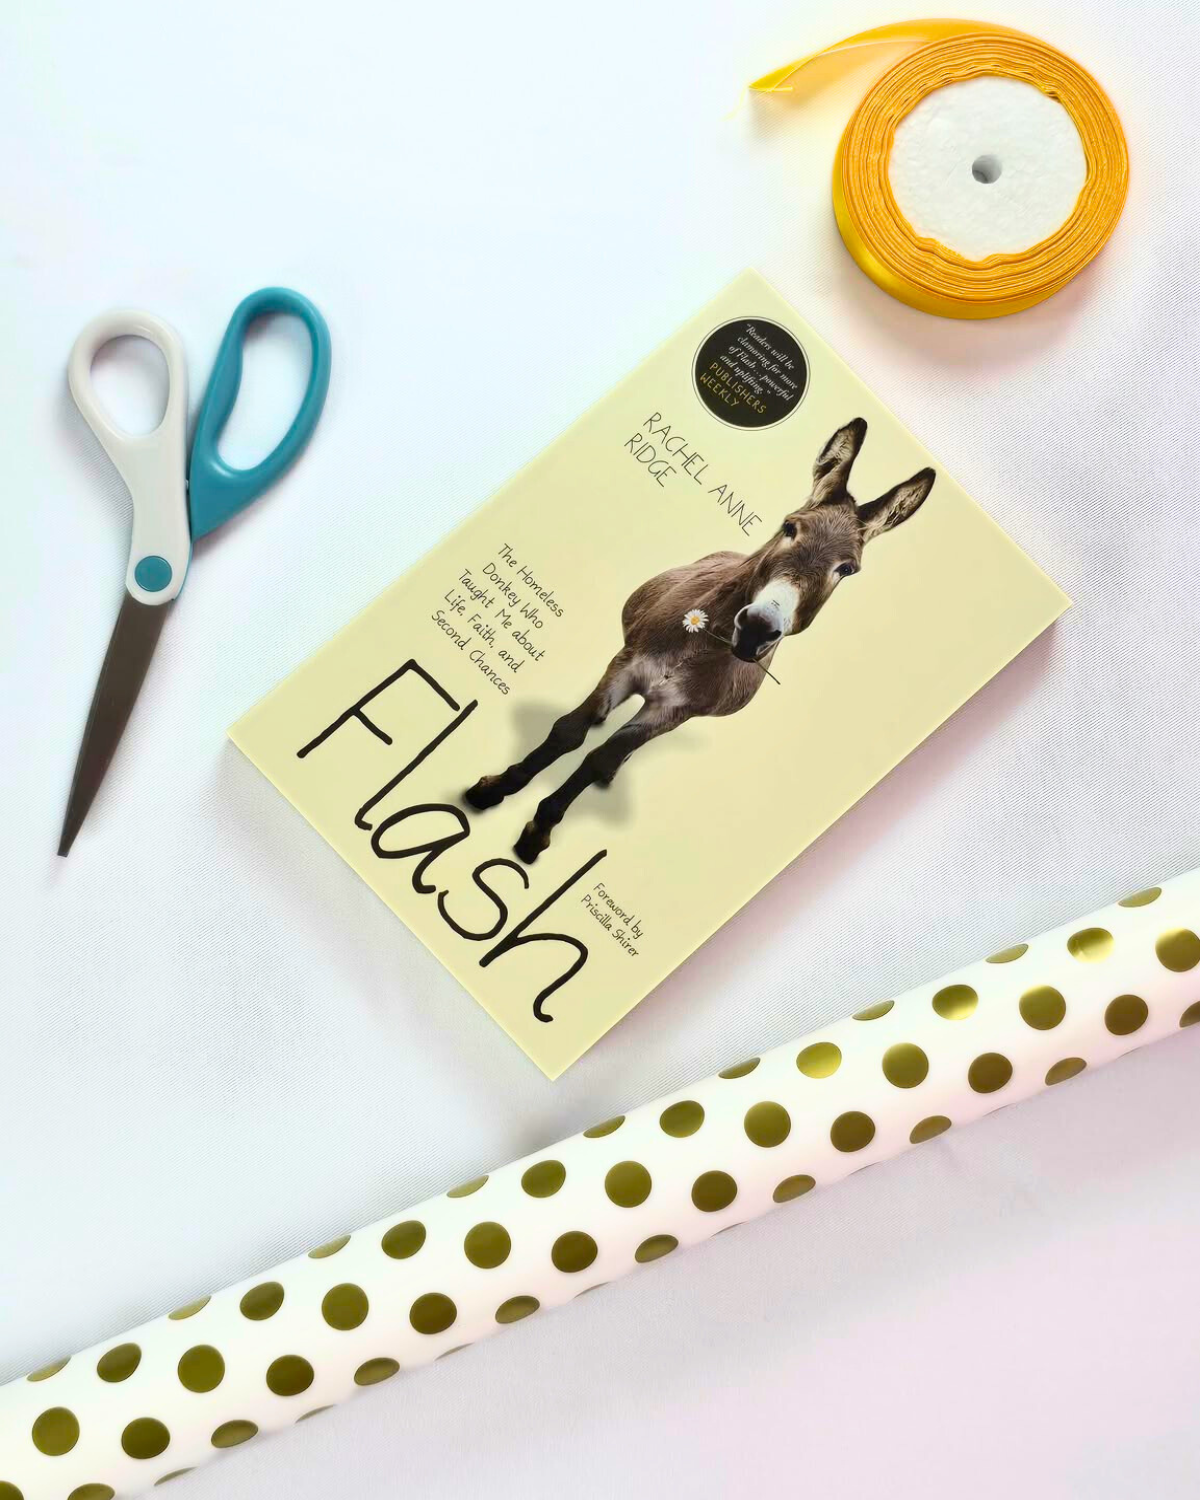
What You’ll Need for Wrapping a Gift Using a Short Wrapper
How to Wrap a Gift Using Short Paper
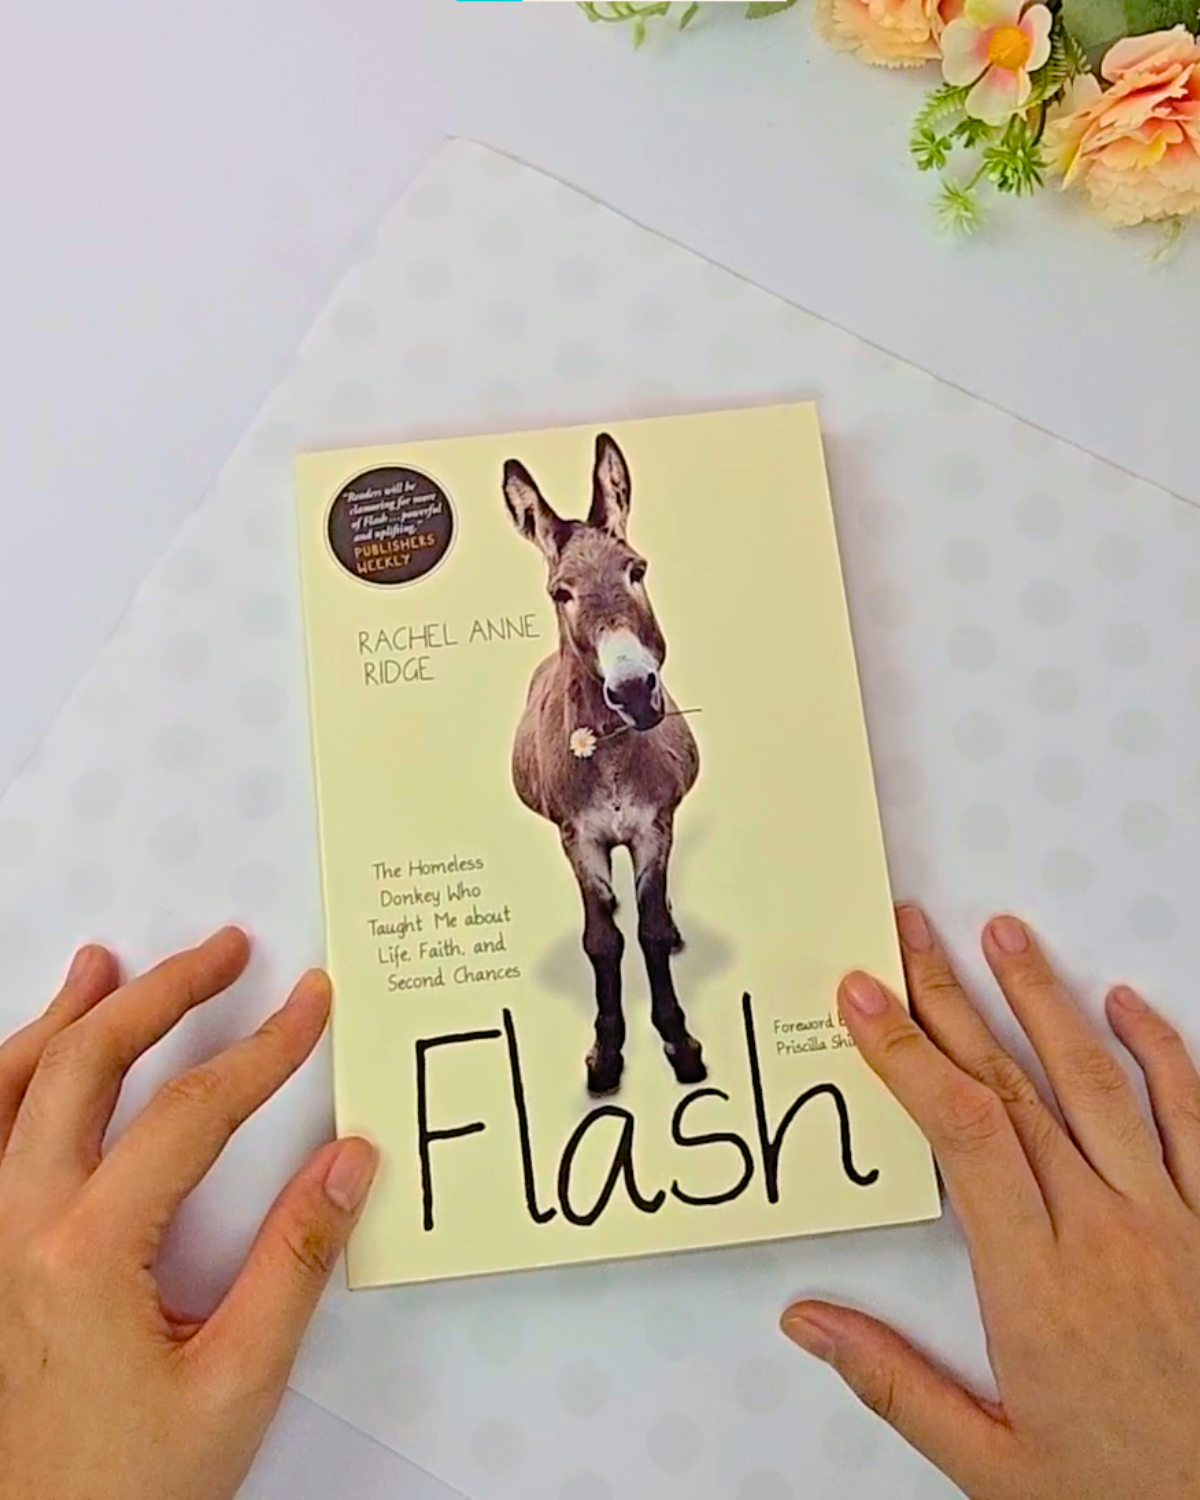
Step 1: Position the Wrapping Paper

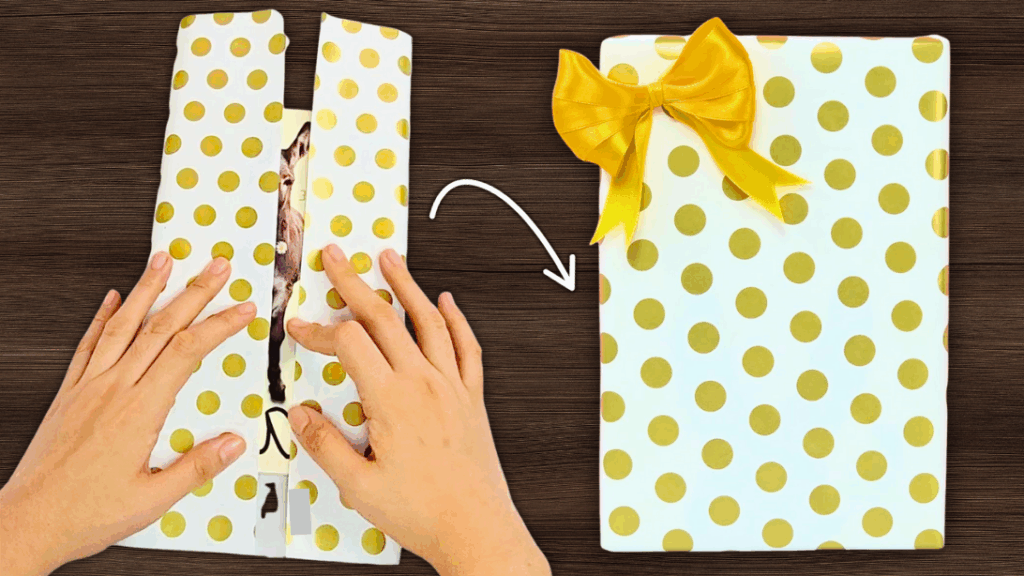
Trim off any uneven edges from your wrapping paper to make folding easier. Lay the paper diagonally on a flat surface so that one corner points toward you, then place your gift, such as a book, right in the center. This placement helps ensure even coverage on all sides when you start folding.Step 2: Fold and Secure the Sides
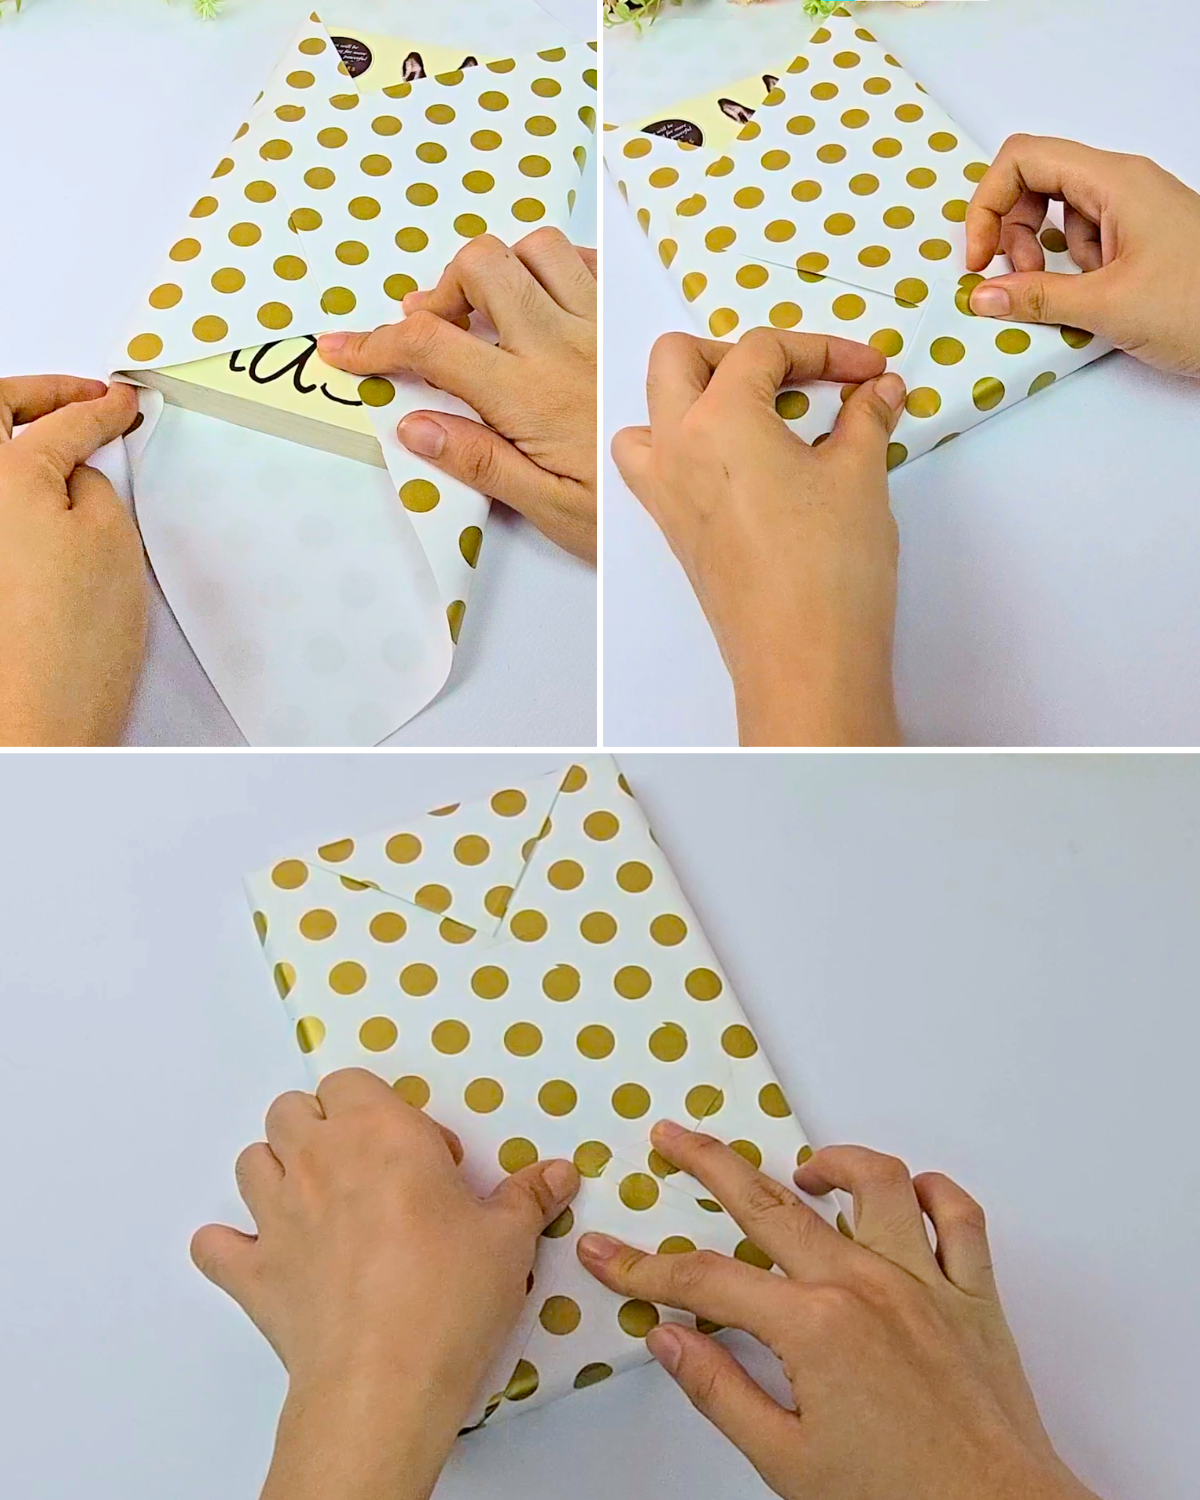
Bring the left and right corners of the wrapping paper toward the center of the gift and overlap them neatly. Secure the fold with a piece of tape to hold everything in place.Step 3: Fold and Seal the Bottom
On the bottom of your gift, push both side corners inward to form neat flaps. Crease the angled edges that appear, then fold them flat. Next, crease the large triangular flap pointing toward you and fold it upward to cover the bottom. Secure it with tape. Rotate the gift and repeat the same folding steps on the other side to close the top.
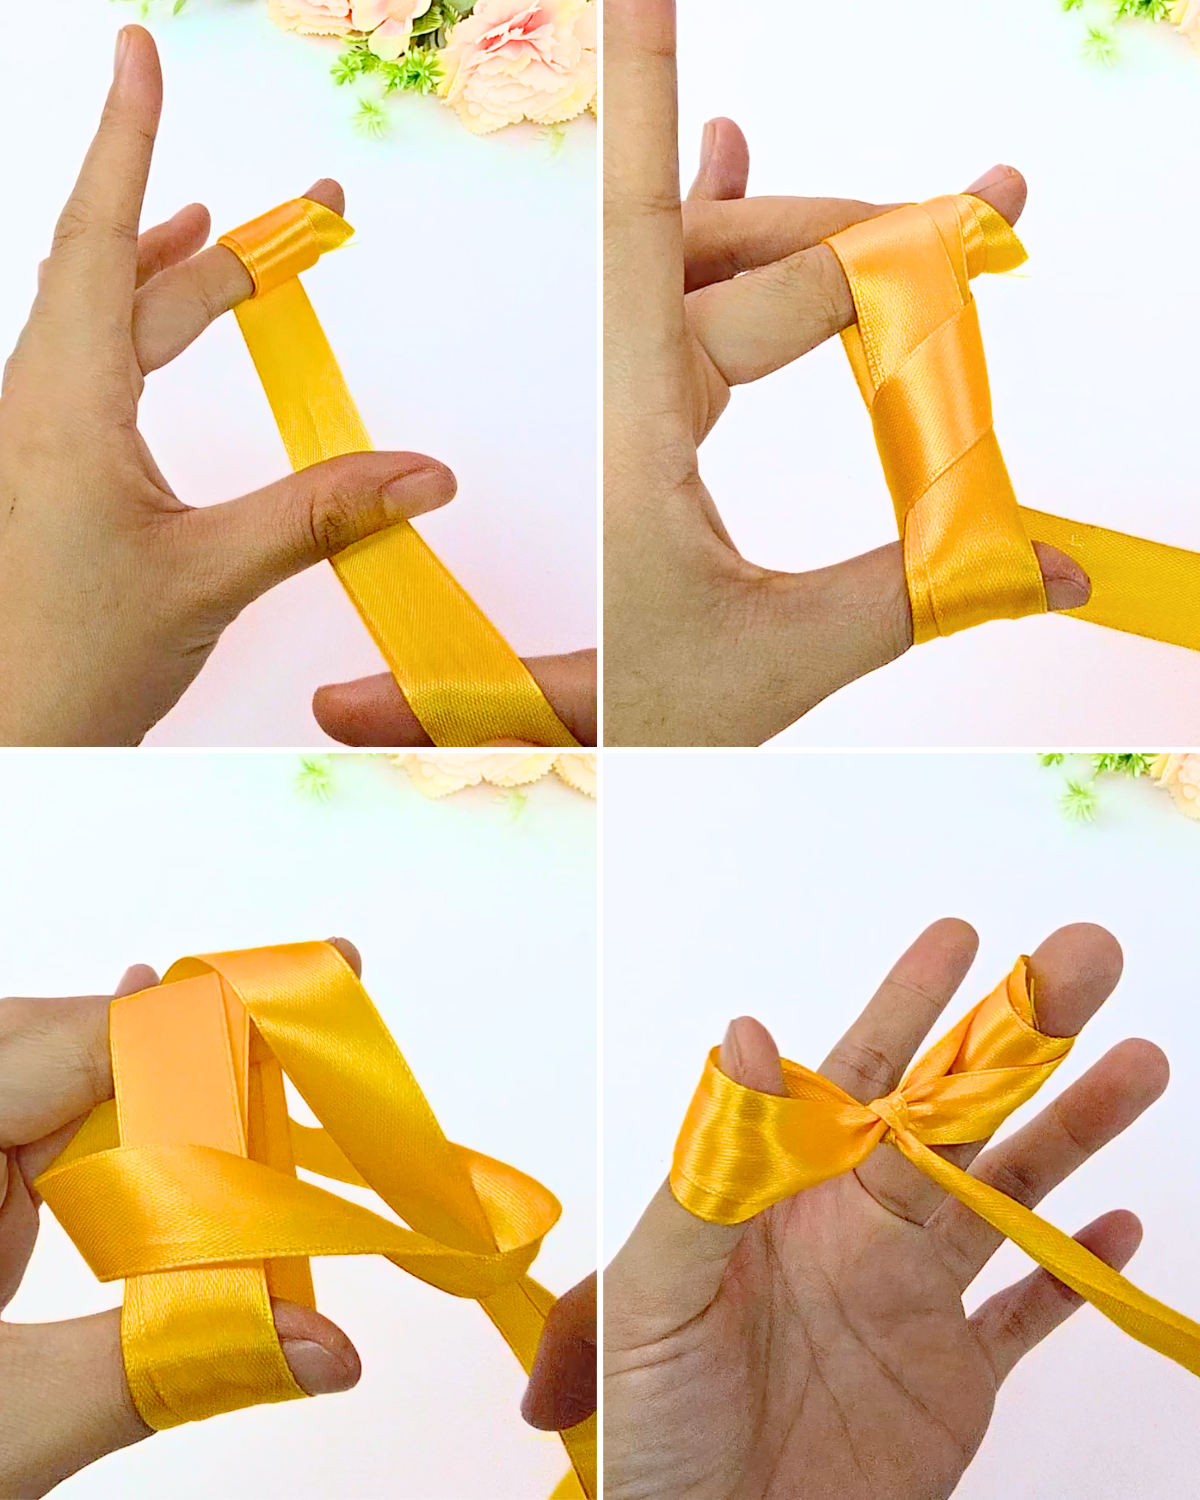
Tip: Creasing each fold as you go will keep the edges crisp and make the finished wrap look more seamless.Step 4: Create the Ribbon Loops
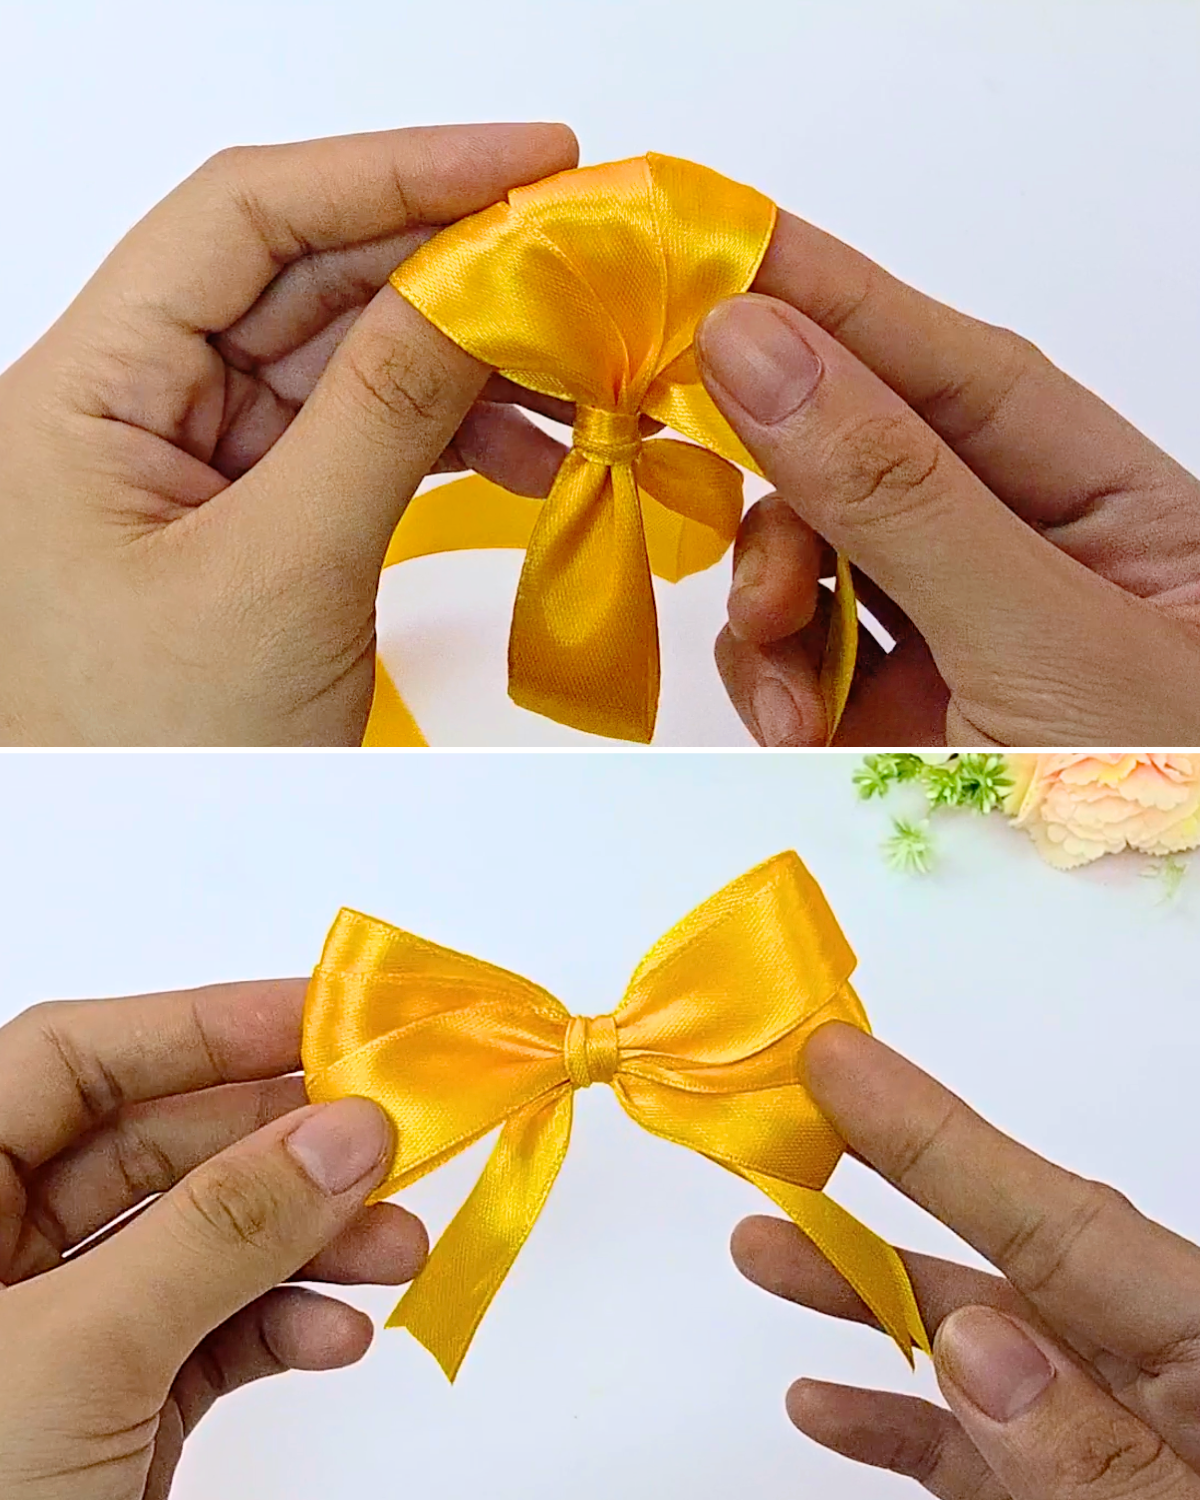
Cut a ribbon about 40 inches long. Wrap one end around your middle finger about 4 times, then bring the tail around both of your thumb and middle finger three times to form the loops. Next, take the tail of the ribbon, then wrap and tie it around the center of those loops, pulling it tightly to secure and making sure it’s centered. Finally, slide the loops off your fingers and pull the other tail free so both ends are visible.Step 5: Shape and Secure the Bow
Gently spread the loops apart and overlap the edges to give the bow a full, rounded look. If needed, use a dab of hot glue to hold the loops in place. Finally, trim the ribbon tails to your desired length for a neat finish.
Tip: Cut the tails at an angle or into a “V” shape for a more polished look.Step 6: Attach the Bow to the Gift
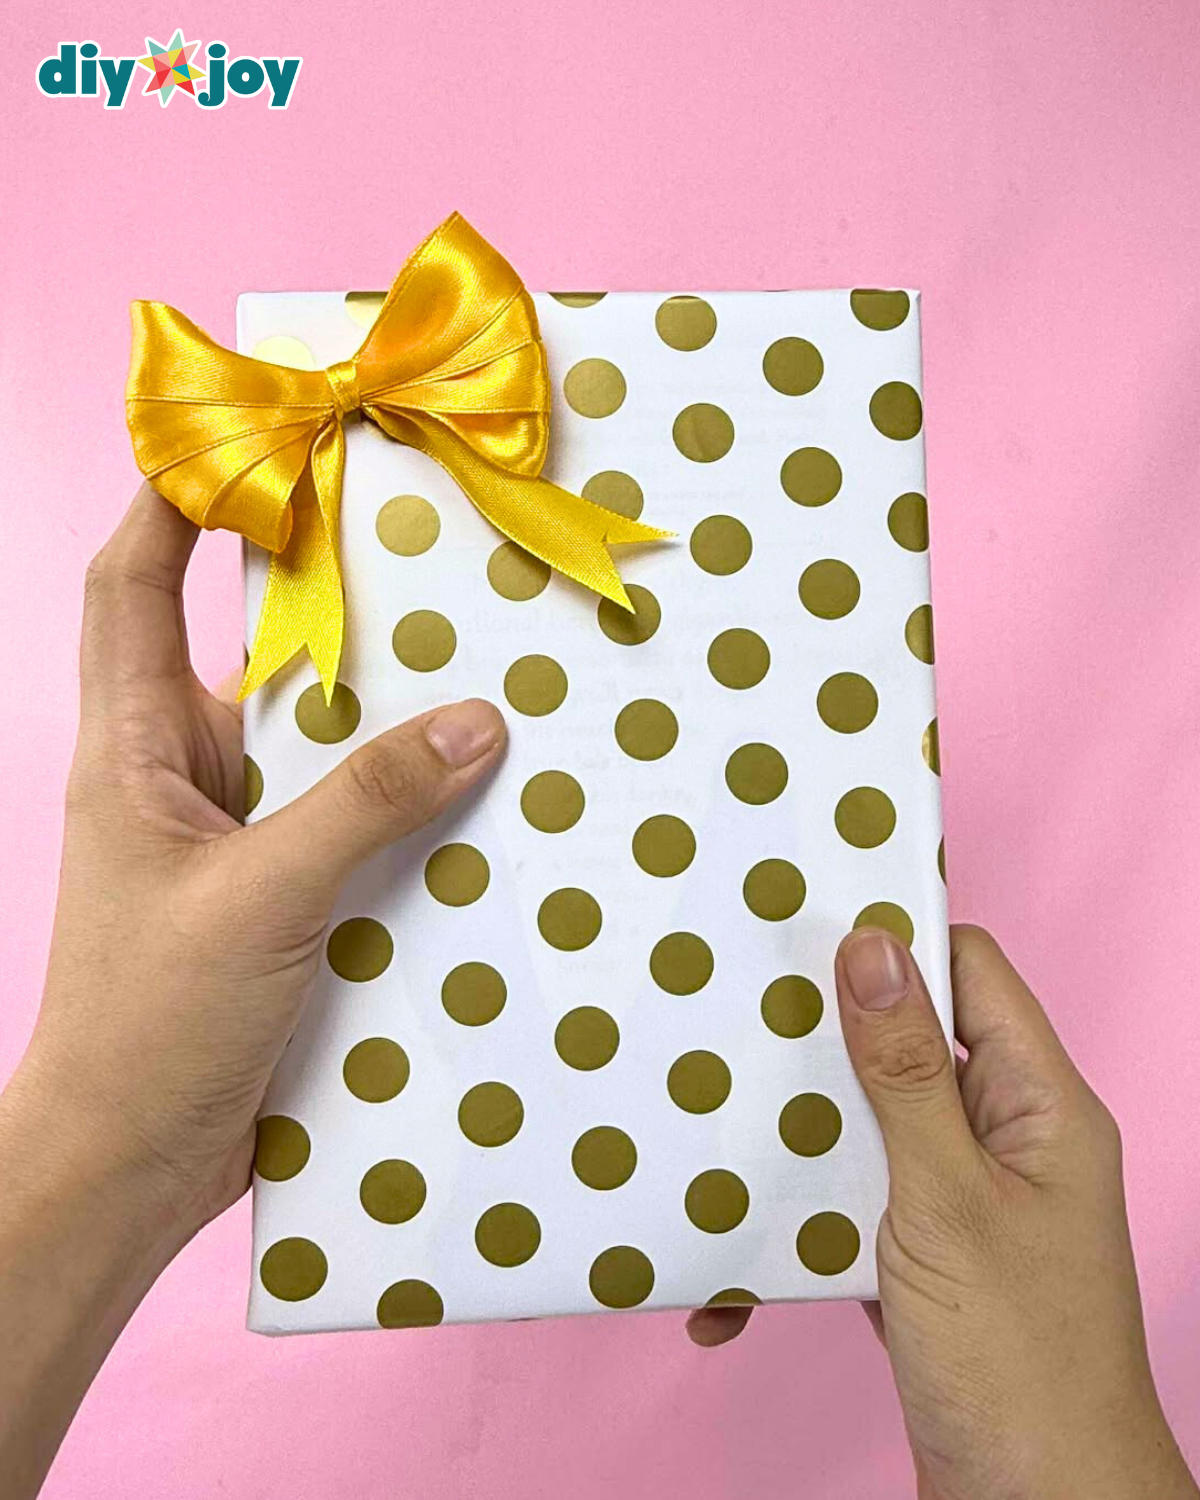
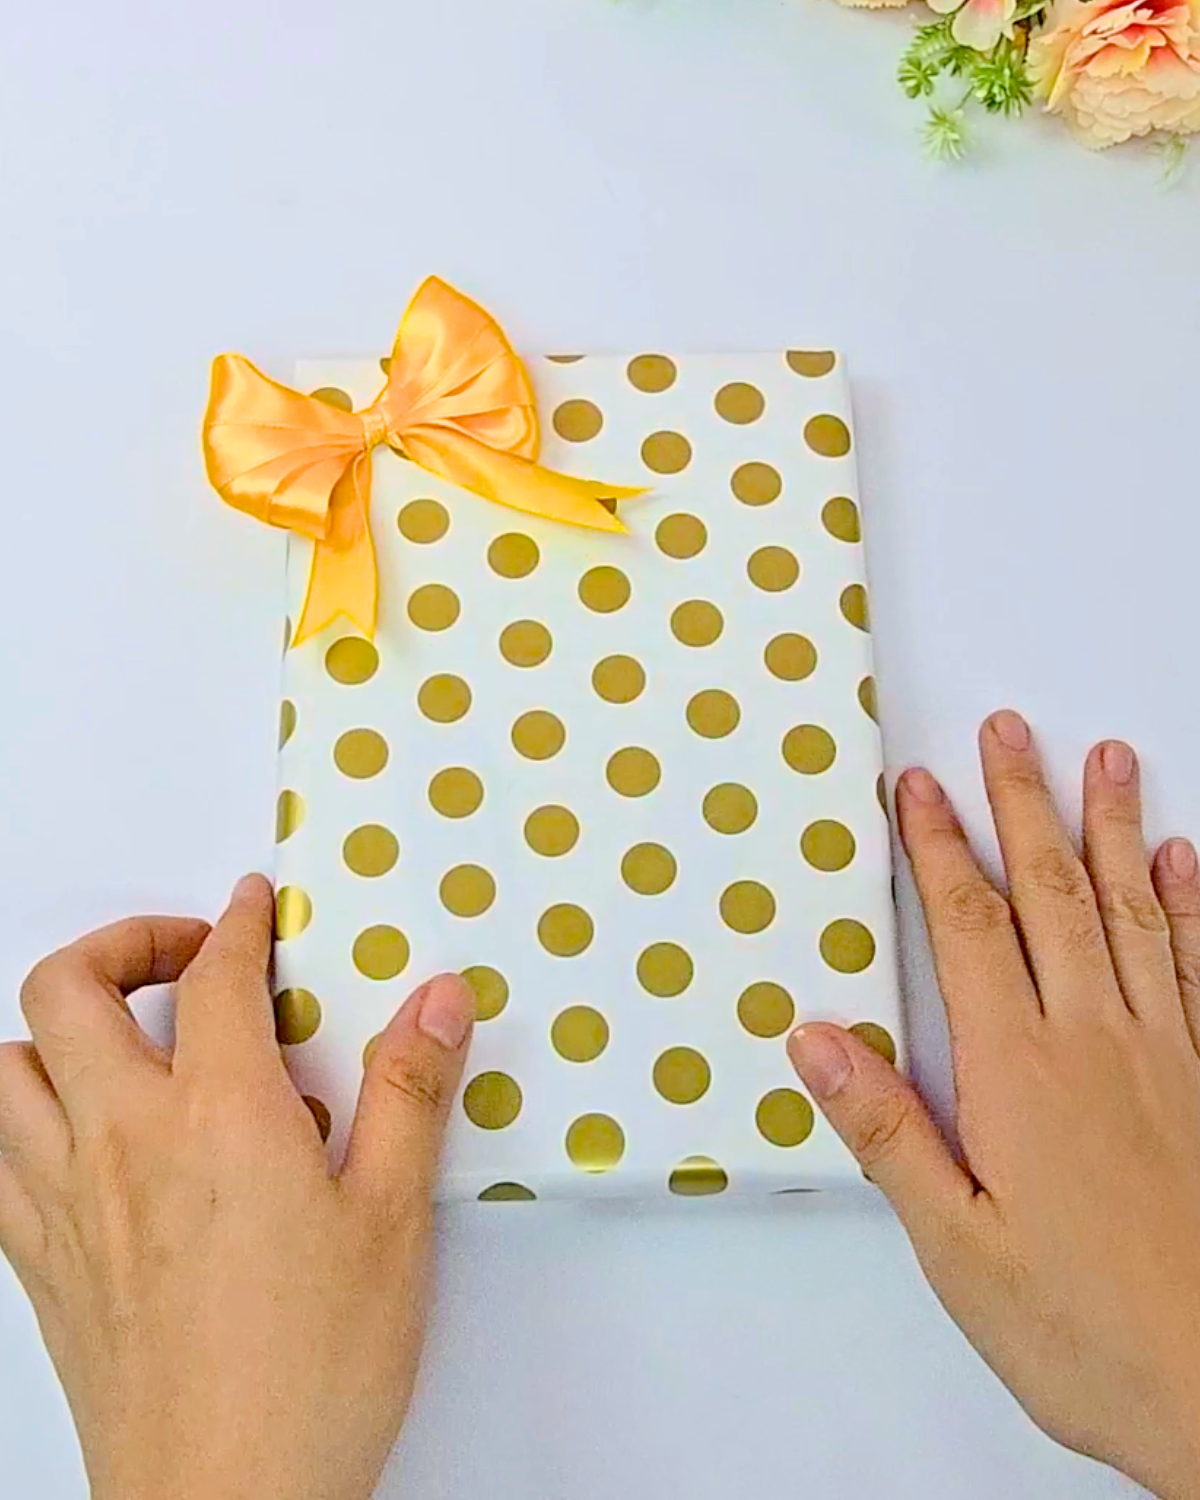
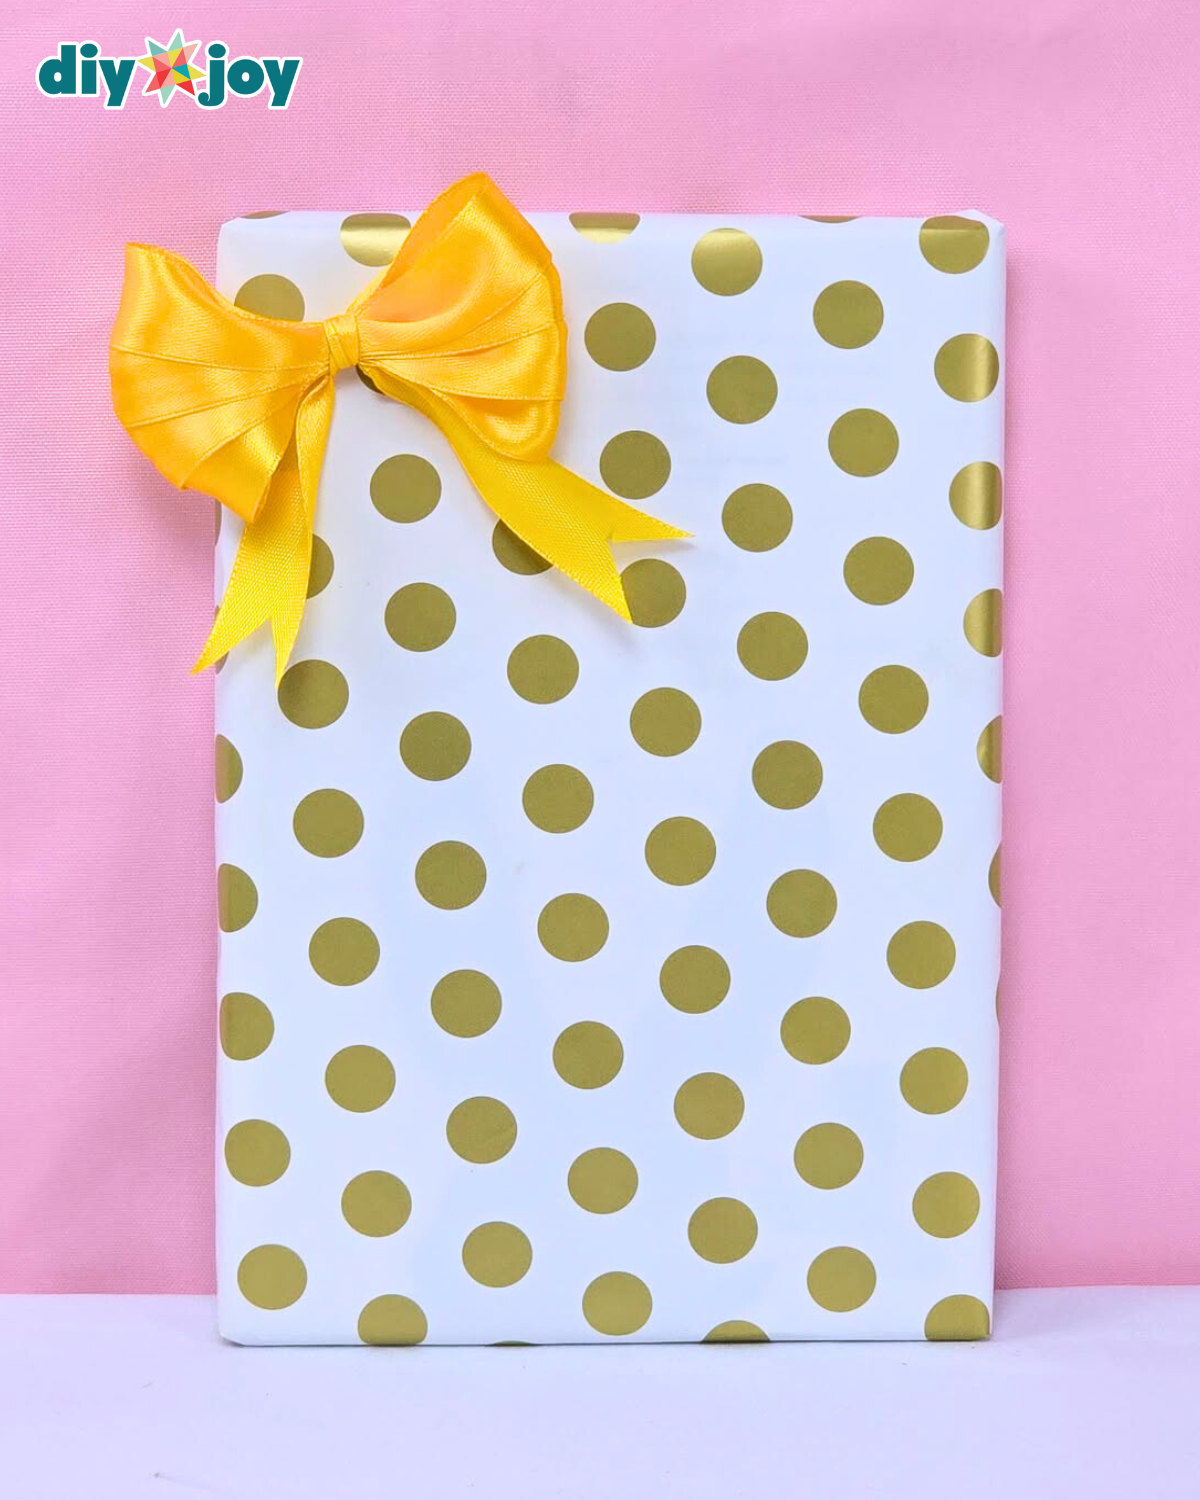
Add a small piece of rolled tape to the back of the bow, then press it onto your gift wherever you’d like. Place it at the center for a classic look or off to the side for a playful finish.
Tip: Double-sided tape works best to keep the bow secure without being visible.

Materials
- Wrapping Paper
- Scissors
- Ribbon
- Ruler
- Tape
![]()
⭐ Pro Tip
If your wrapping paper is still a little short, choose a box with crisp edges instead of rounded ones—this makes the folds tighter and keeps the finish looking neat. You can also secure the underside with double-sided tape for a seamless, professional look.
![]()
💡 Why You’ll Love This Hack
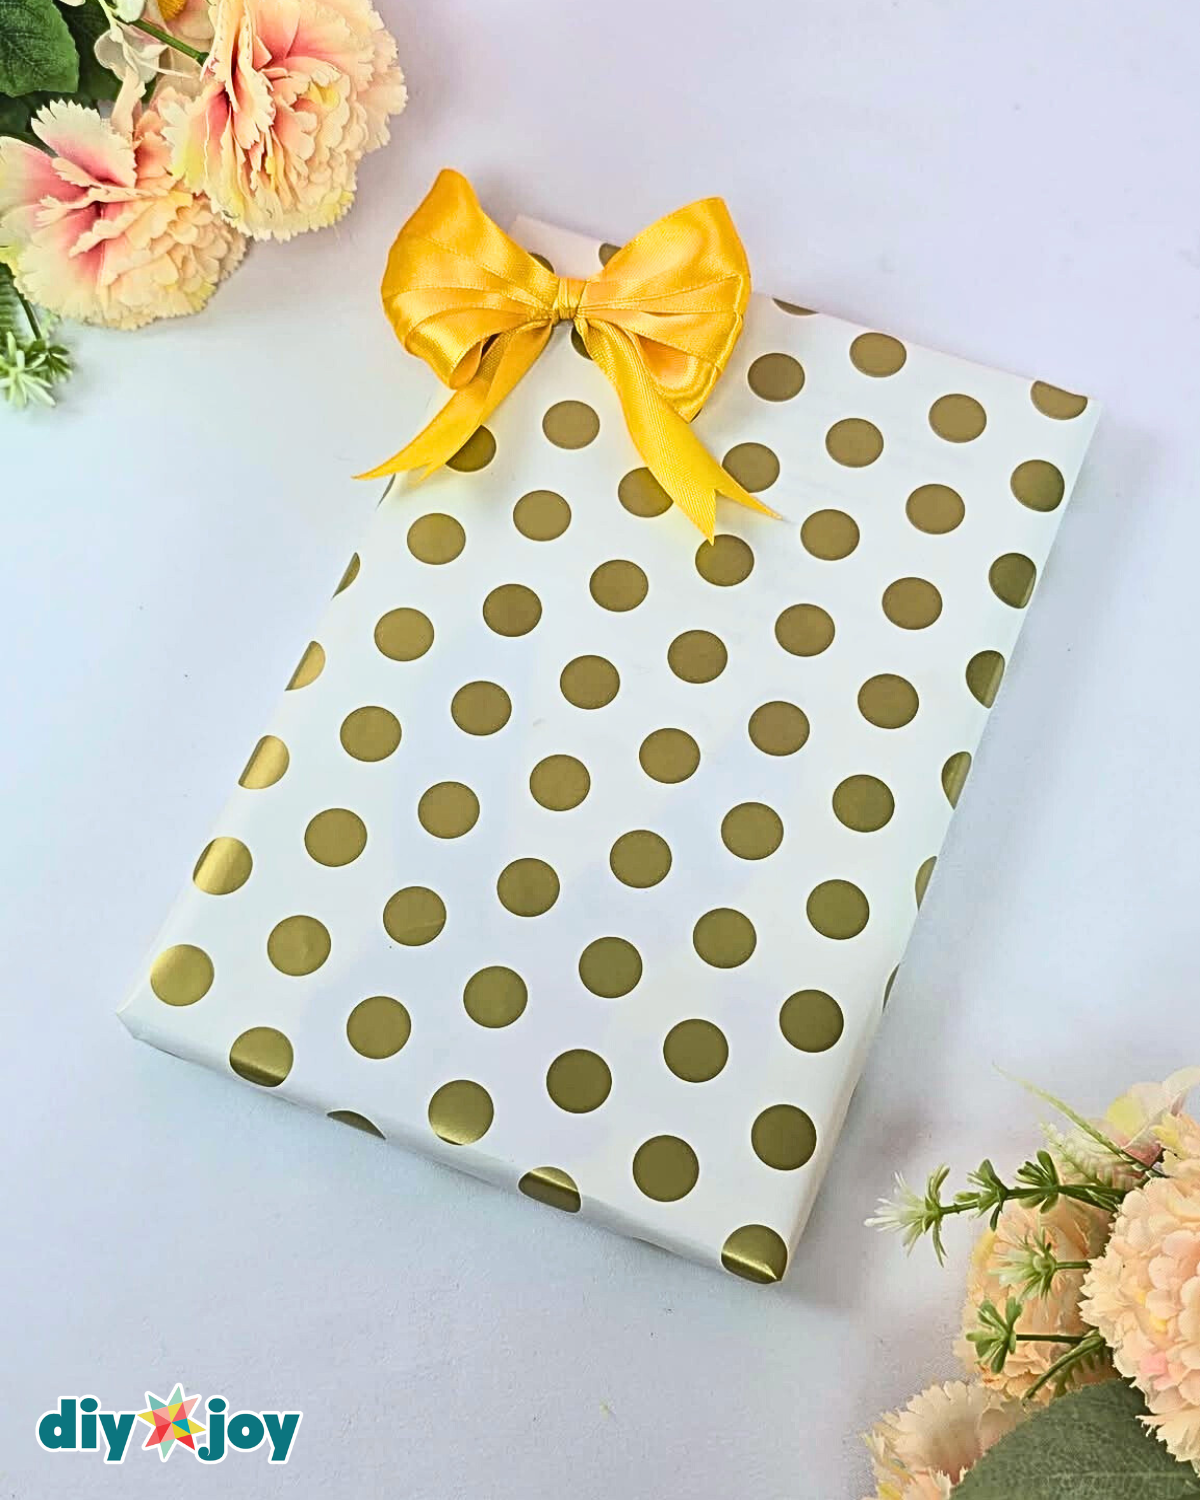
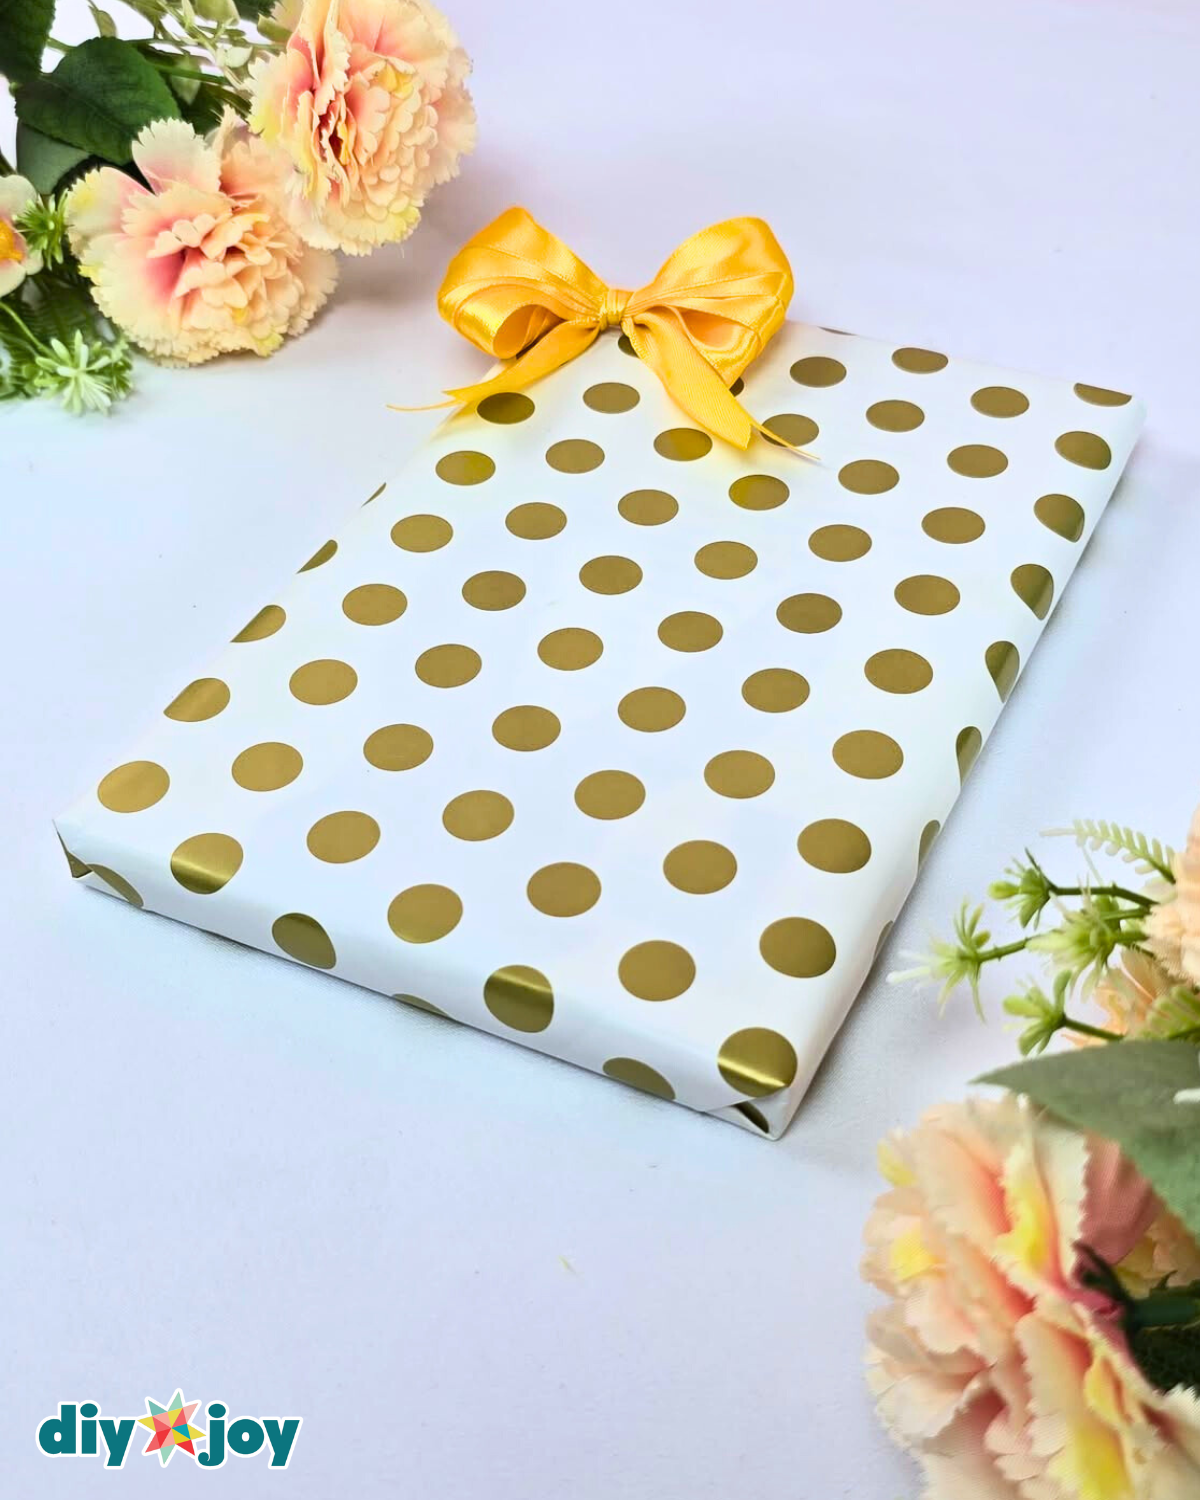
This wrapping method is a lifesaver for last-minute gift wrapping. Not only does it make every present look polished and put-together, but it also helps you use less paper, which is both practical and eco-friendly. It’s a quick fix that turns a stressful moment into a creative solution you’ll actually enjoy using again and again.
Other Crafts You Must Try!

Crafts

Paper Flowers

Crafts

Paper Flowers
*If you love this craft, then visit our official website, follow our Facebook page, and subscribe to our YouTube channel for more!
How to Wrap Gifts with Short Paper