Quilting and sewing are hobbies that I love and always do when I have time to spare, this is also why I have a lot of fabric scraps and selvages from previous projects, and I don’t have the heart to throw them away because I know that I can put them good use eventually.
RELATED: Easy 10-Minute Scrappy Pot Holder Sewing Tutorial
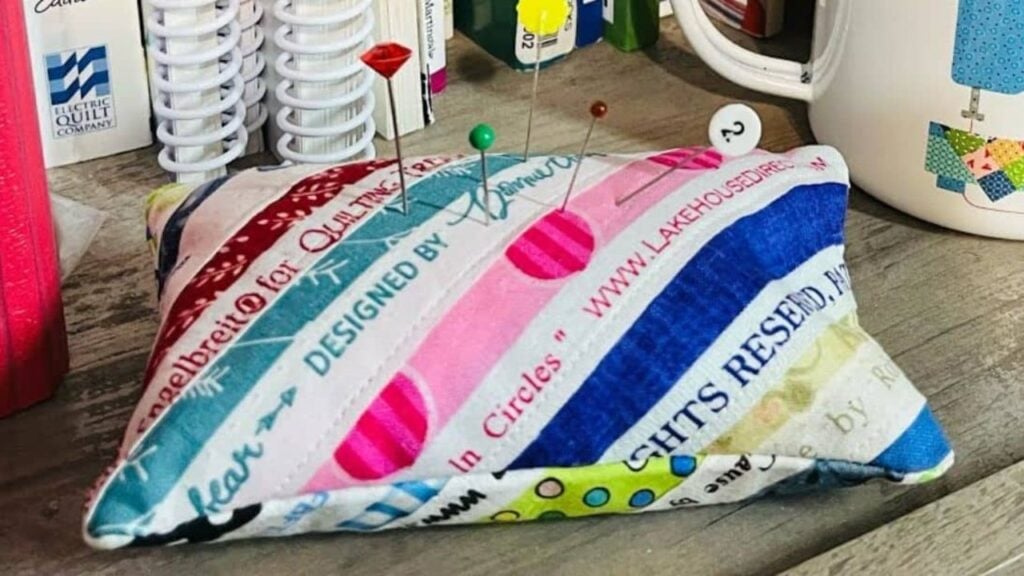
I looked for a couple of projects online to repurpose my leftover fabrics and the one that stood out to me the most is this pincushion by The Simple Quilter on YouTube. It’s so simple and neat and it’s the perfect sewing project that I’m looking for. Watch this video tutorial and see for yourself!
Materials for Selvage Pincushion:
- Fabric, muslin, or white scrap fabric
- Assorted selvage fabric
- Ruler
- Marking pen, pencil, chalk
- Scissors or rotary cutter and a cutting mat
- Needle and thread
- Fabric glue stick
- Poly-fil fiberfill, ground nut shell, or any filling that you want
- Sewing machine, optional
How to Sew a Selvage Pincushion:
Step 1
Cut your foundation piece or the fabric that you want to use to 4×6 inches, then cut the selvage pieces into 4 inches long. Apply an ample amount of glue to the back of the first selvage piece, then place it on top of the base fabric, and make sure that the edges are lined up.
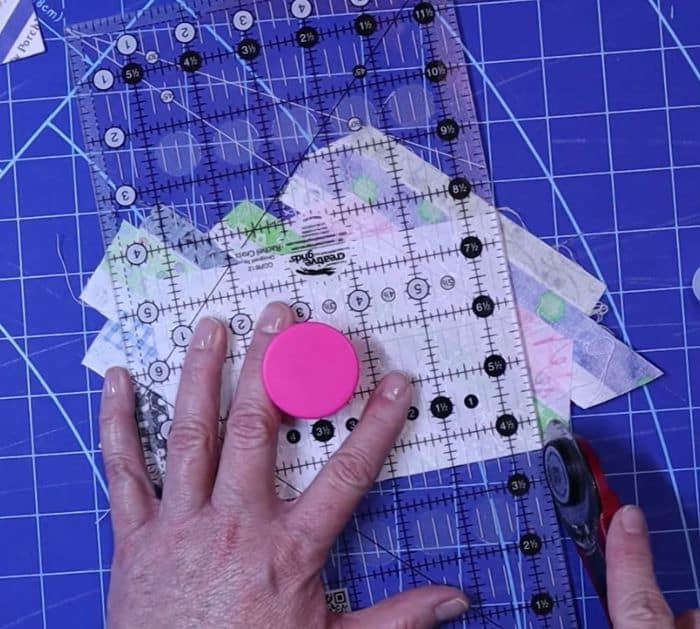
Step 2
Press the selvage piece down nicely, add another piece above it using the same technique, and position it however you want. You can arrange them horizontally or diagonally, trim off the excess if needed, and set it aside.
[social_warfare]
Step 3
Make another piece for the back, then once done, lay them together with their right sides facing, and then start stitching them around the edges with ¼ inch seam allowance making sure to leave a small opening.
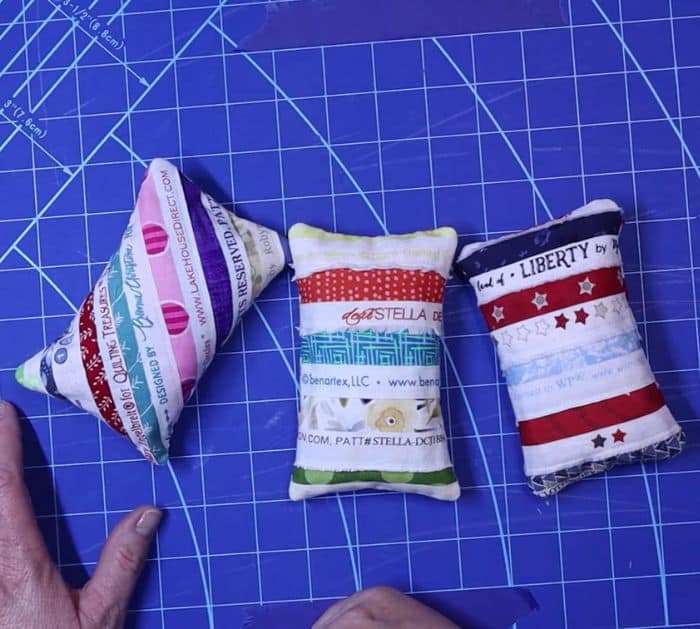
Step 4
After stitching the piece, turn it right side out through the hole, then stuff it with poly-fil fiberfill, ground nut shells, or any other filling you want. Tuck the edges of the opening, then stitch it closed, and you’re done!
*All these images are credited to The Simple Quilter via YouTube. Give her channel a visit and subscribe for more!
Easy-to-Sew Selvage Pincushion


