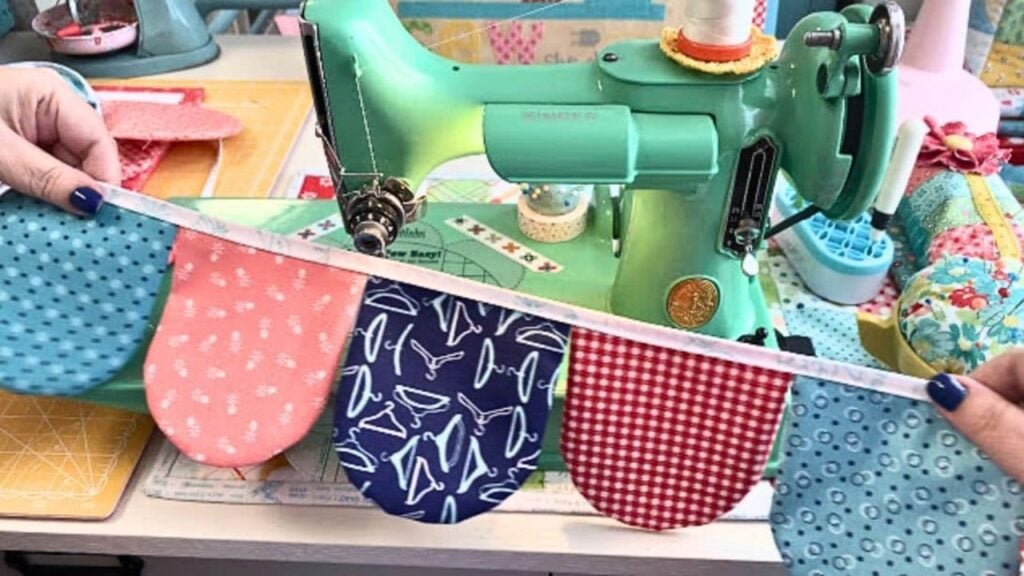
If you want to add some fun or decor to your wall but can’t decide on which project to try, then you might just love this scalloped bunting by Lori Holt on YouTube. If you have some large fabric scraps or leftover fabrics from previous sewing projects, then you can use them in this project, too. This sewing tutorial is so easy to follow that even beginners can surely perfect this on the first try, plus, you can also make this in different sizes and shapes if you want.
Materials:
- Fabric squares, different colors, and patterns preferred
- Bias tape
- Marking pen or pencil
- Ruler
- 4-inch circle ruler
- Scissors or rotary cutter and a cutting mat
- Needle and thread
- Iron, for pressing
- Sewing machine
Directions:
Step 1
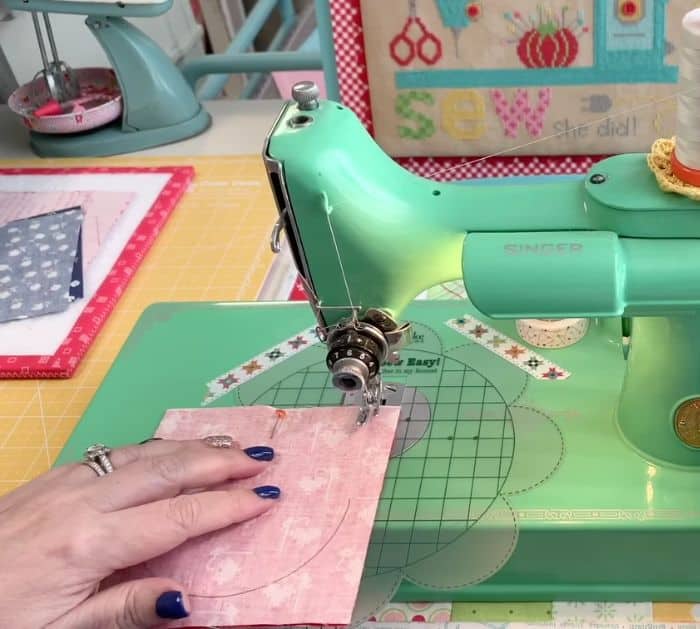
Cut your fabric pieces into 2.5 inches squares or use pre-cut fabrics instead, then make a pair for each scallop, and mark the bottom using a 4-inch circle ruler as shown in the video. Lay 2 fabric squares together with their right sides facing, then pair the rest of the fabric pieces and set them aside.
[social_warfare]
Step 2
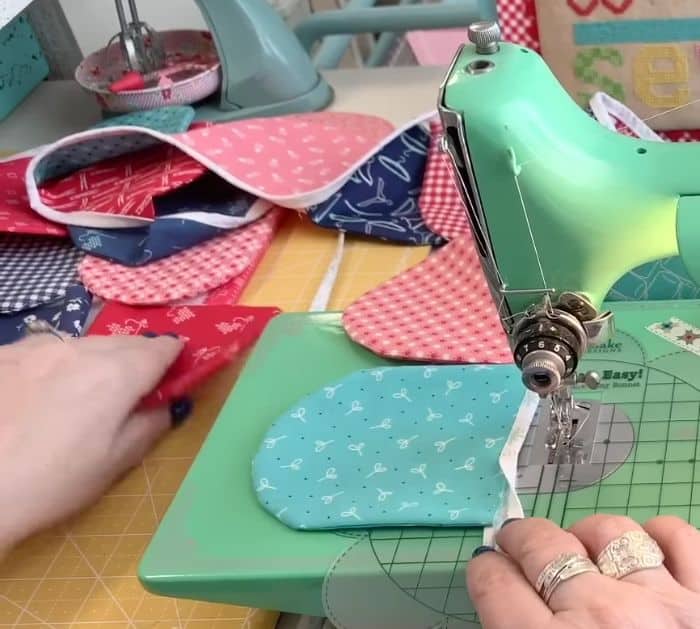
Use a package of double folded ¼ inch bias tape or make one on your own by following the step-by-step instructions in the video, then once done, set it aside, and start sewing the bunting pieces. To sew the bunting pieces, grab a pair of marked fabric squares, then sew them on the sides and along the scallop marked bottom with a ½ inch seam allowance, and make sure not to sew the straight edges at the top.
Step 3
Once done sewing the bunting pieces, turn them right side out through the unsewn edges, then poke and shape the edges nicely with a turning tool or using your fingers, and give them a quick press. Open the bias tape, then insert the unsewn top of a bunting piece, and place another piece making sure that they are placed right next to each other. Fold the bias tape back down, then sew near the edges, and backstitch at each start and end.

*All image credit belongs to Lori Holt via YouTube. Follow and subscribe to her channel for more!
Easy Scalloped Bunting Sewing Tutorial


