Receiving gifts is always a welcome gesture, whether it’s during the holidays, on a special occasion, or even on an ordinary day when someone simply thought of you. A gift doesn’t have to be extravagant or expected. What makes it meaningful is the thought behind it. More than the item itself, it’s the gesture of the giver that makes receiving gifts feel special.
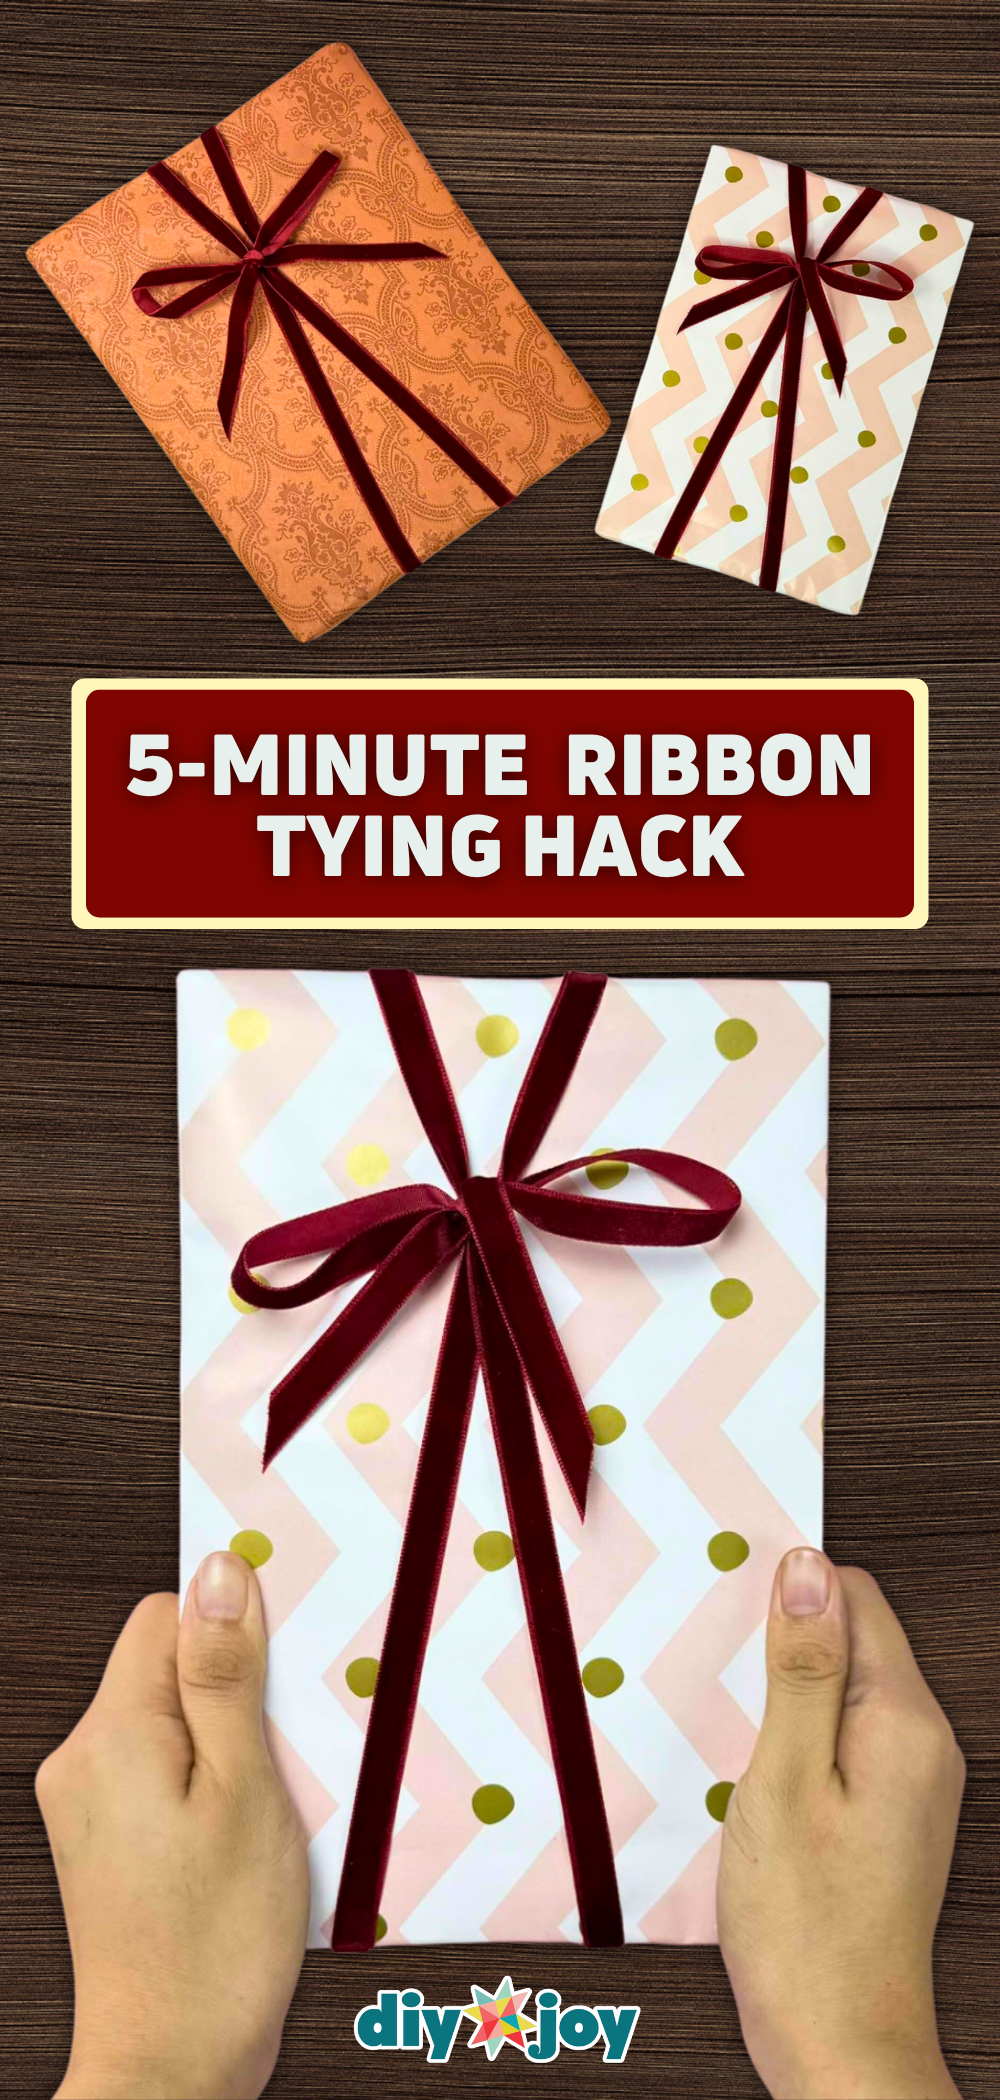
Equally, I love giving gifts just as much as receiving them. There’s something so exhilarating about choosing the right item for a loved one, wrapping it with care, and then seeing their reaction as they appreciate what you’ve given. Over time, I’ve picked up a few handy tricks for wrapping gifts. One of the best—and my personal favorite—is a simple ribbon tying hack that lets you tie a beautiful bow around a present in as fast as five minutes.
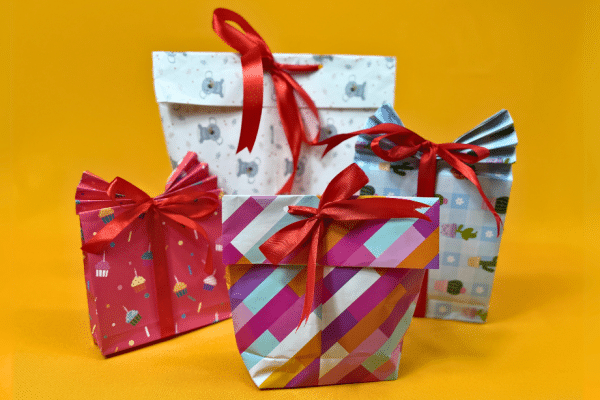
RELATED: How to Make a Gift Bag from Wrapping Paper
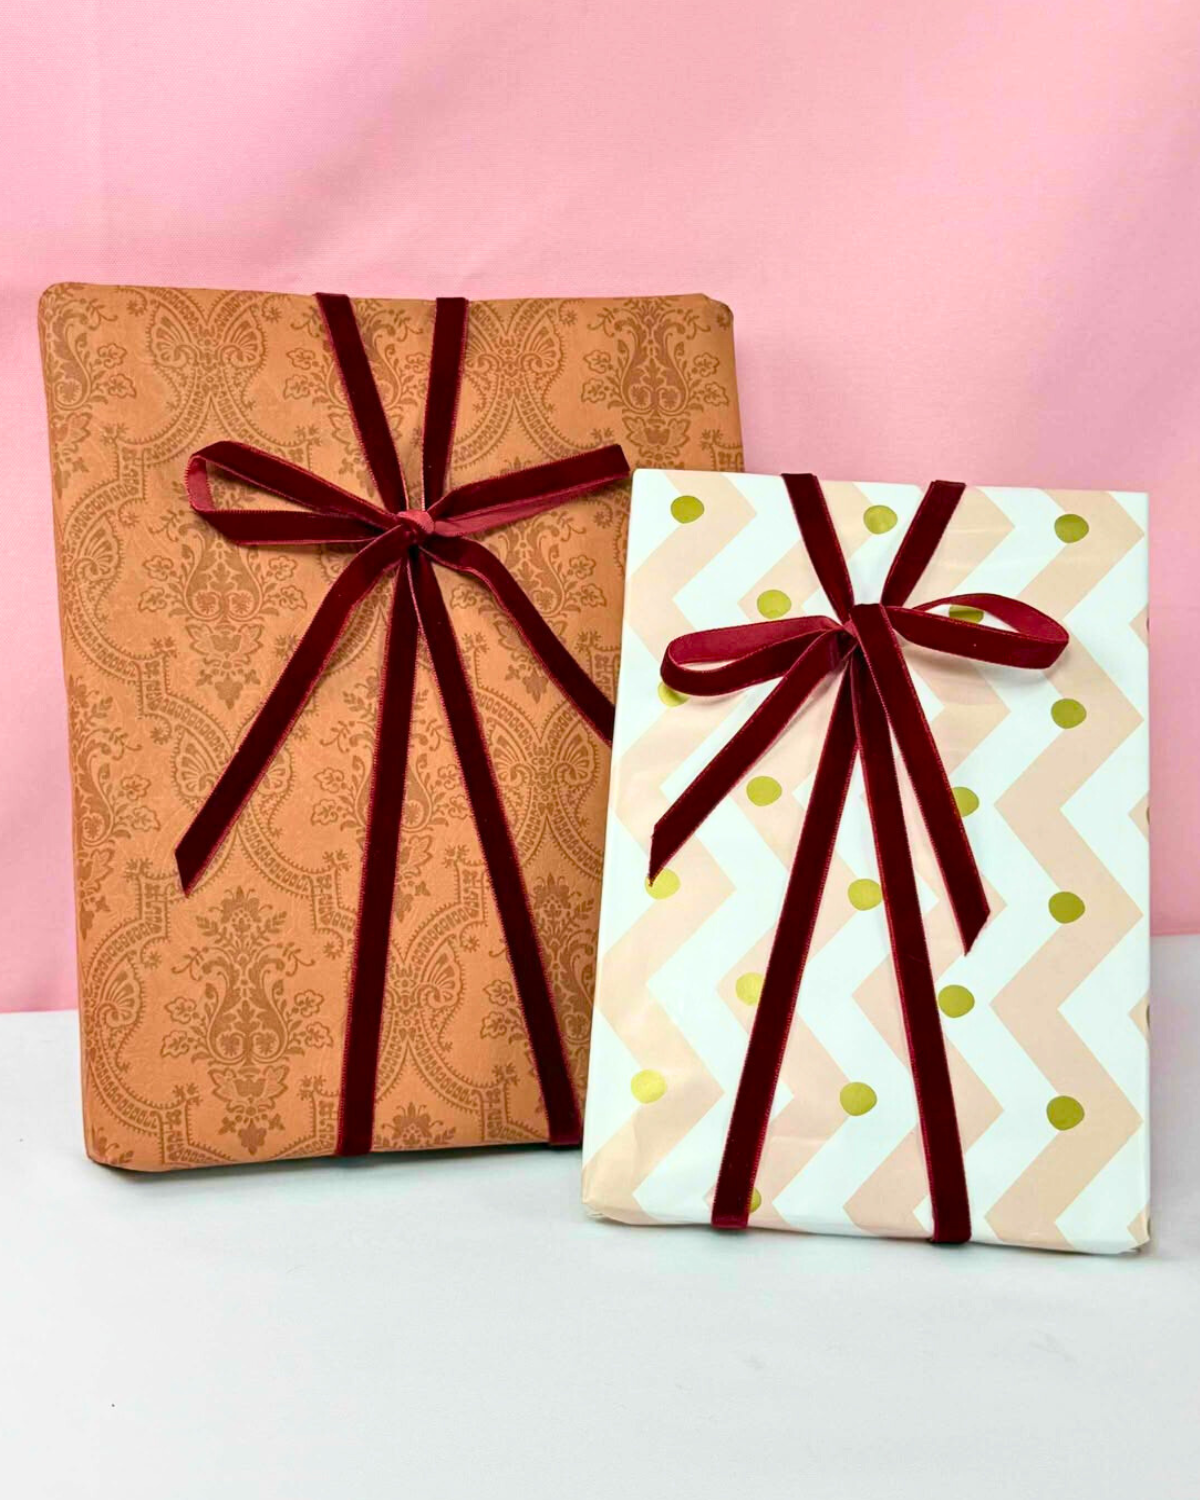
What I love about this technique is that it doesn’t damage the ribbon itself. It’s super easy to tie, very secure, and yet effortless to remove when it’s time to open the gift. This makes it a great ribbon-tying trick, especially when you’re using simple wrapping paper without much pattern or design.
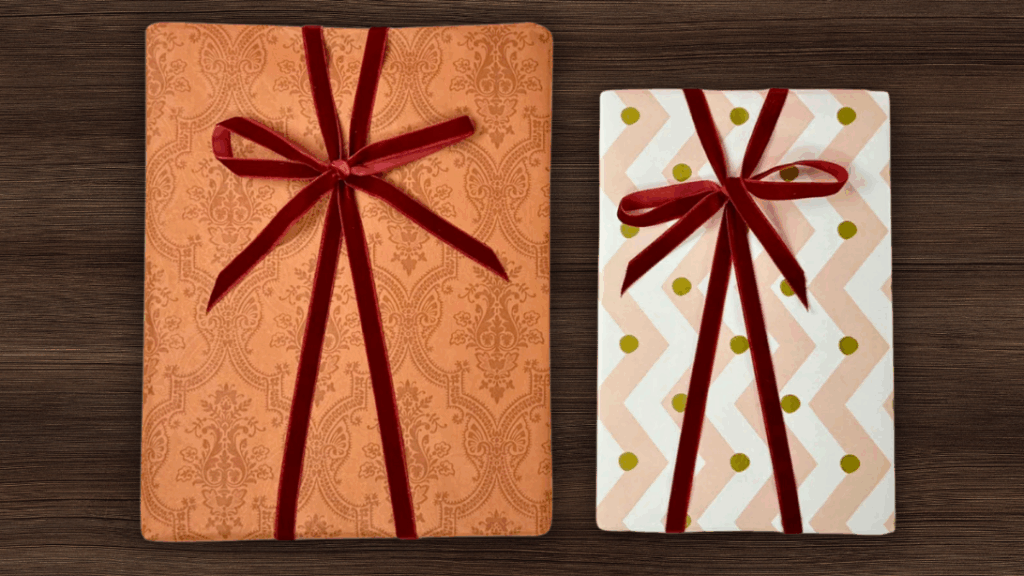
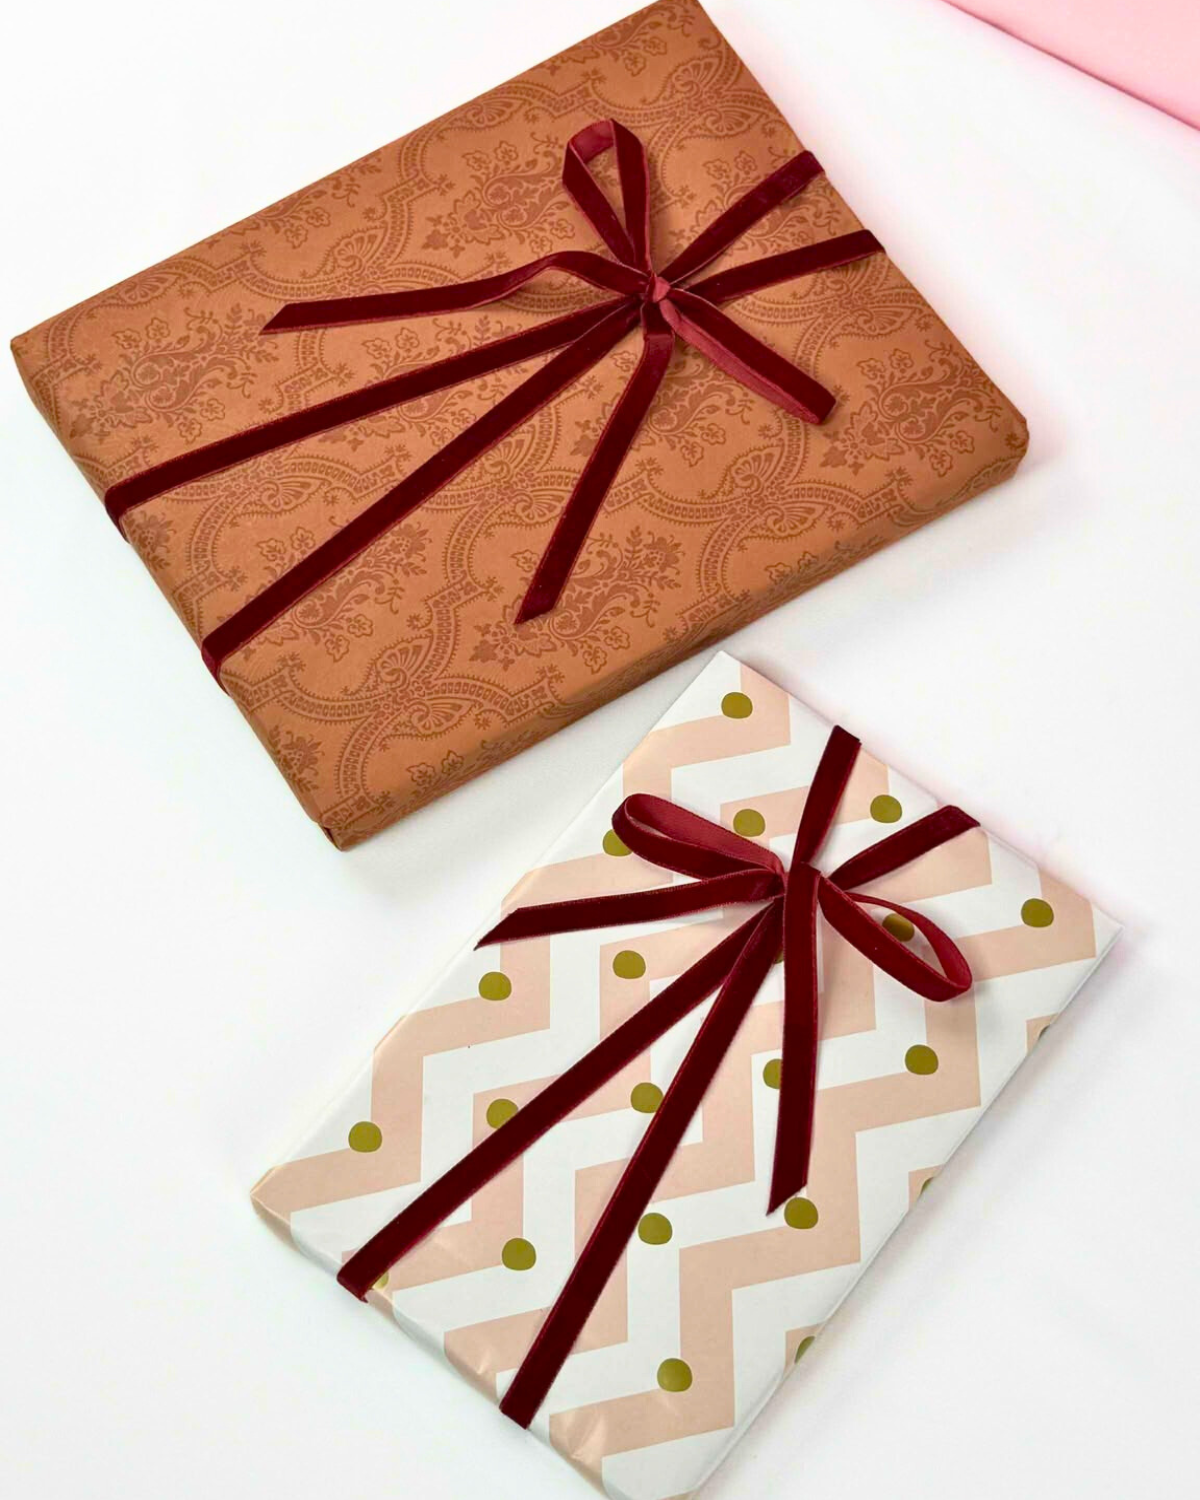
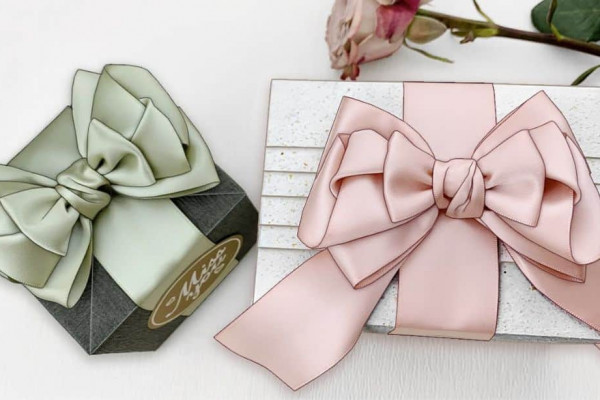
This ribbon hack works with almost any type of ribbon, but my favorite to use is thin velvet ones. They look neat, simple, and elegant all at once. Another great thing about this ribbon-tying technique is its versatility—it’s not limited to square or rectangular gifts. You can use it just as easily on round or oddly shaped presents, and it still looks polished every time.
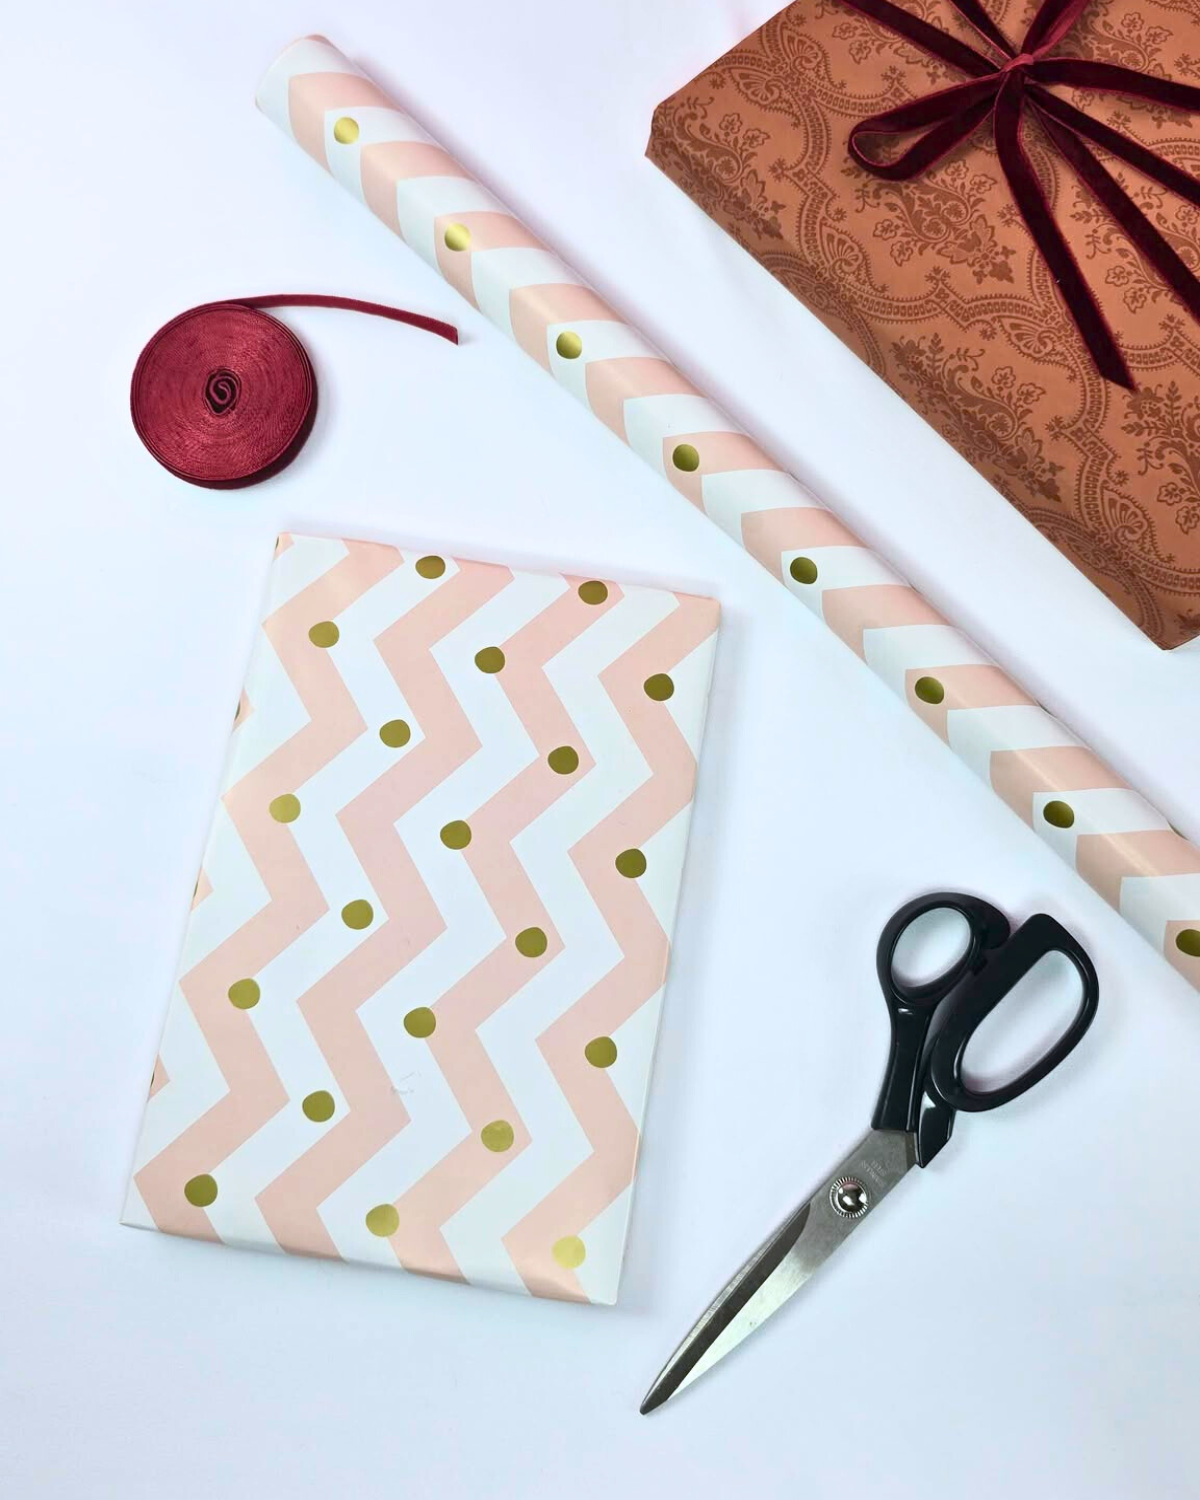
What You’ll Need for Ribbon Tying Hack
How to Tie a Perfect Ribbon
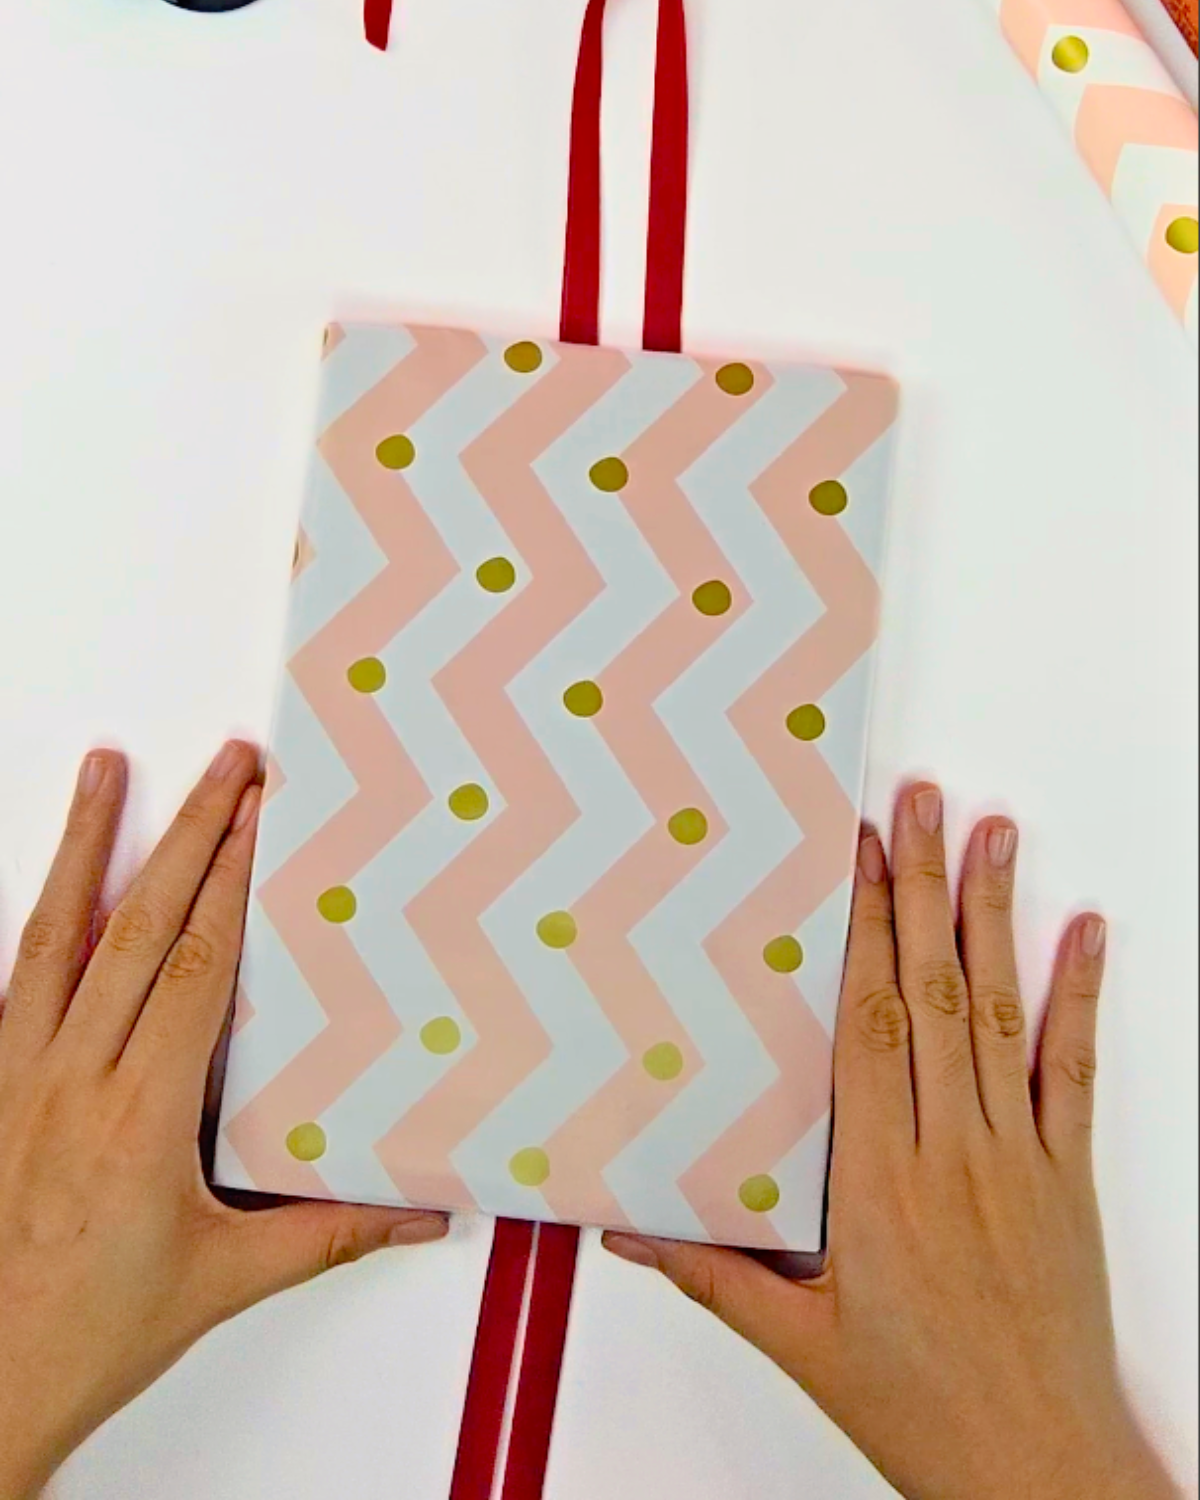
Step 1: Prepare the Ribbon

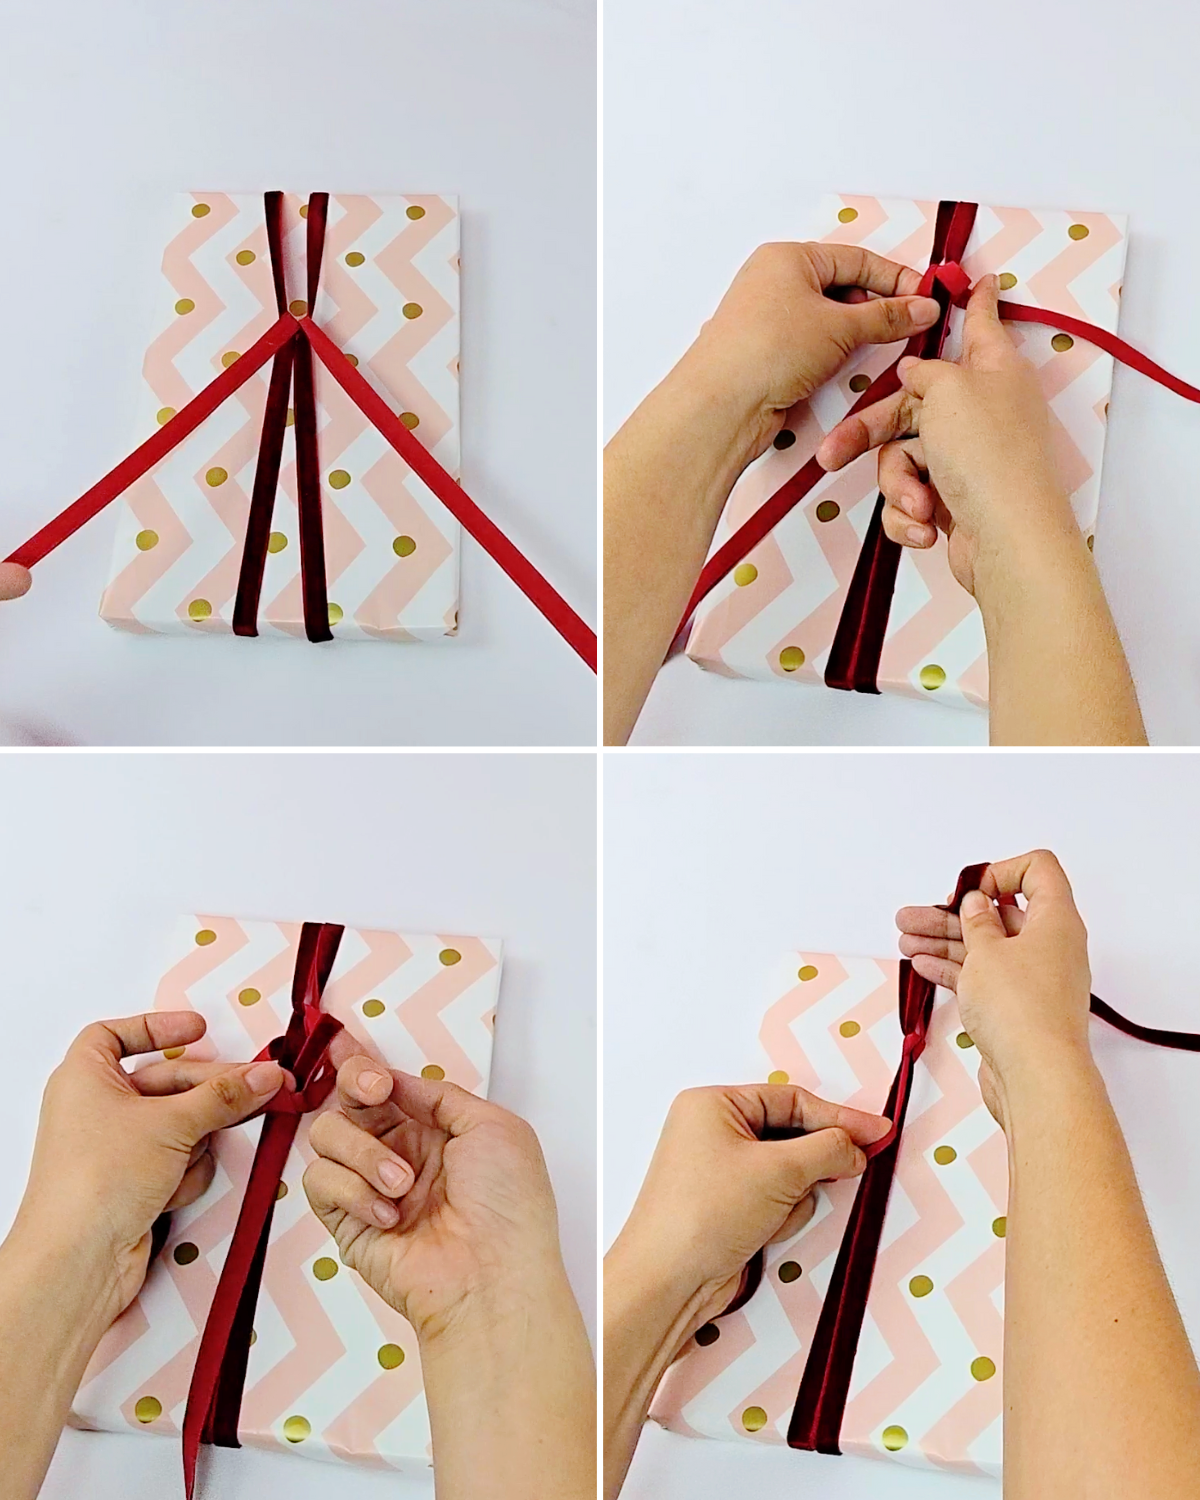
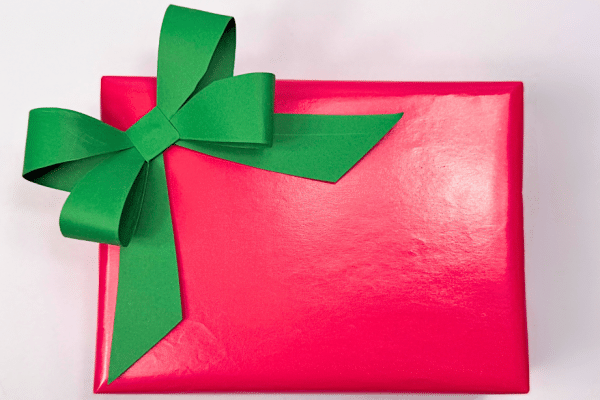
Cut a long piece of ribbon and fold it in half. Lay it neatly on your work surface, then place your present on top, leaving enough space between the loop and the gift.Step 2: Wrap and Tie the Ribbon
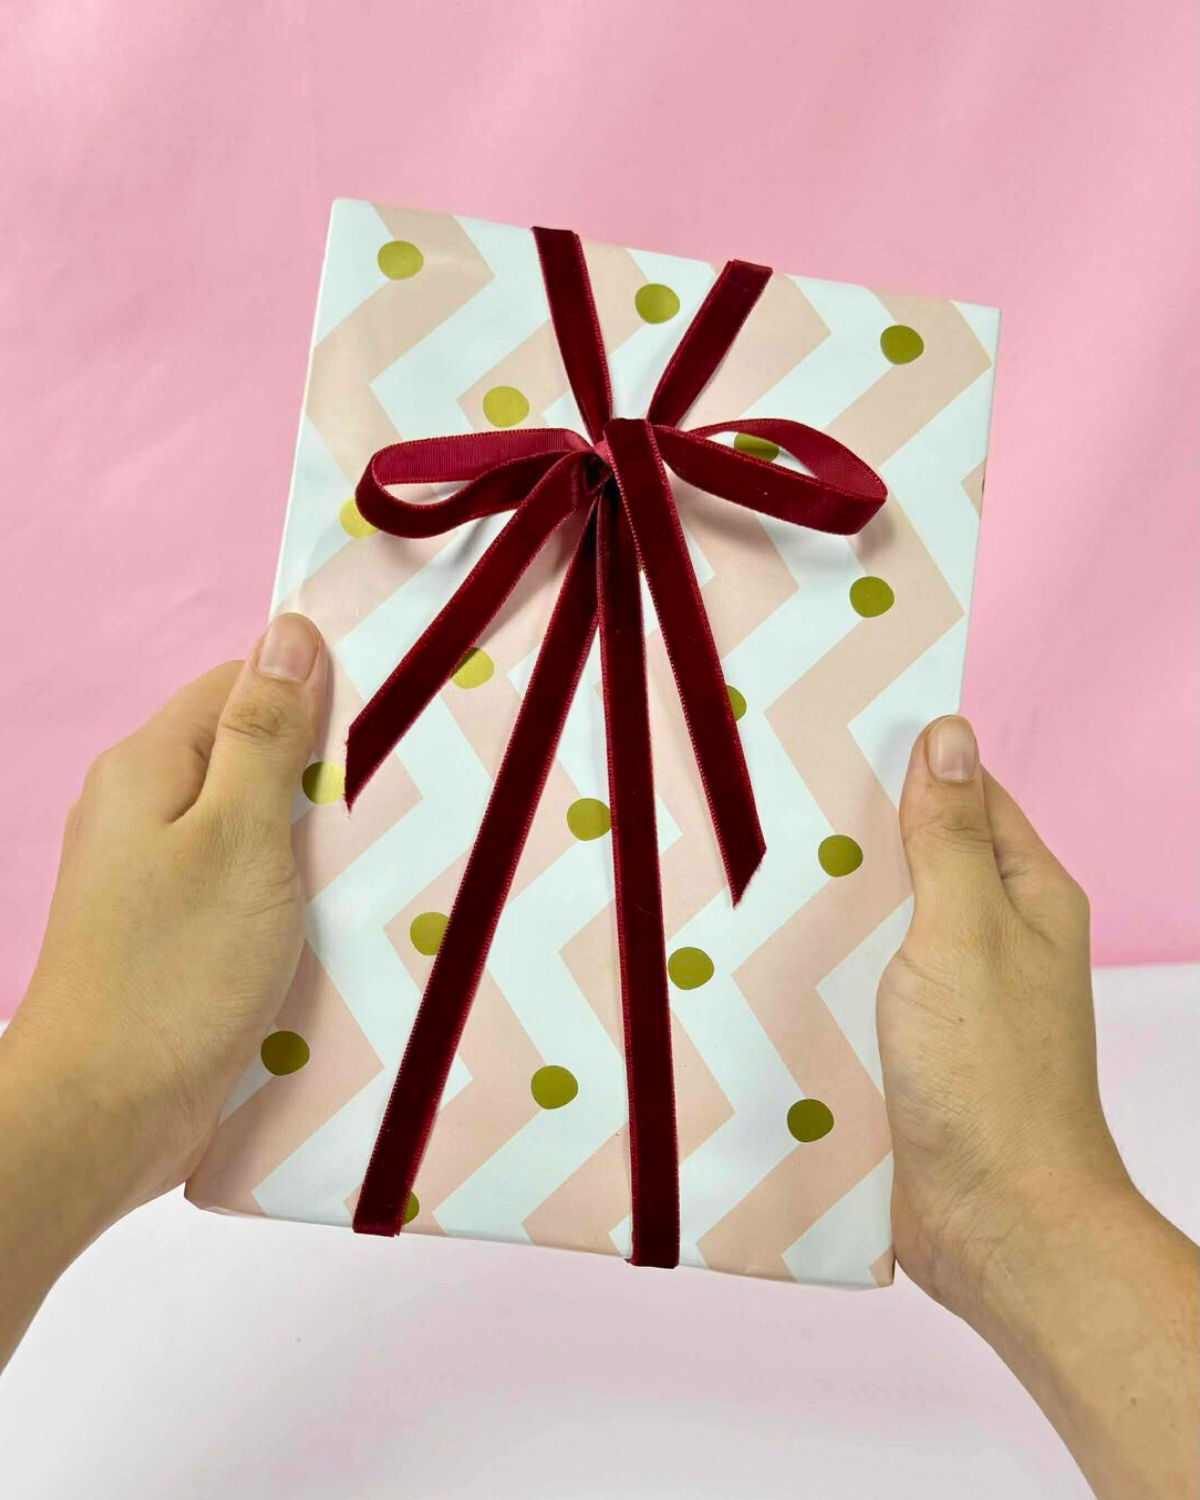
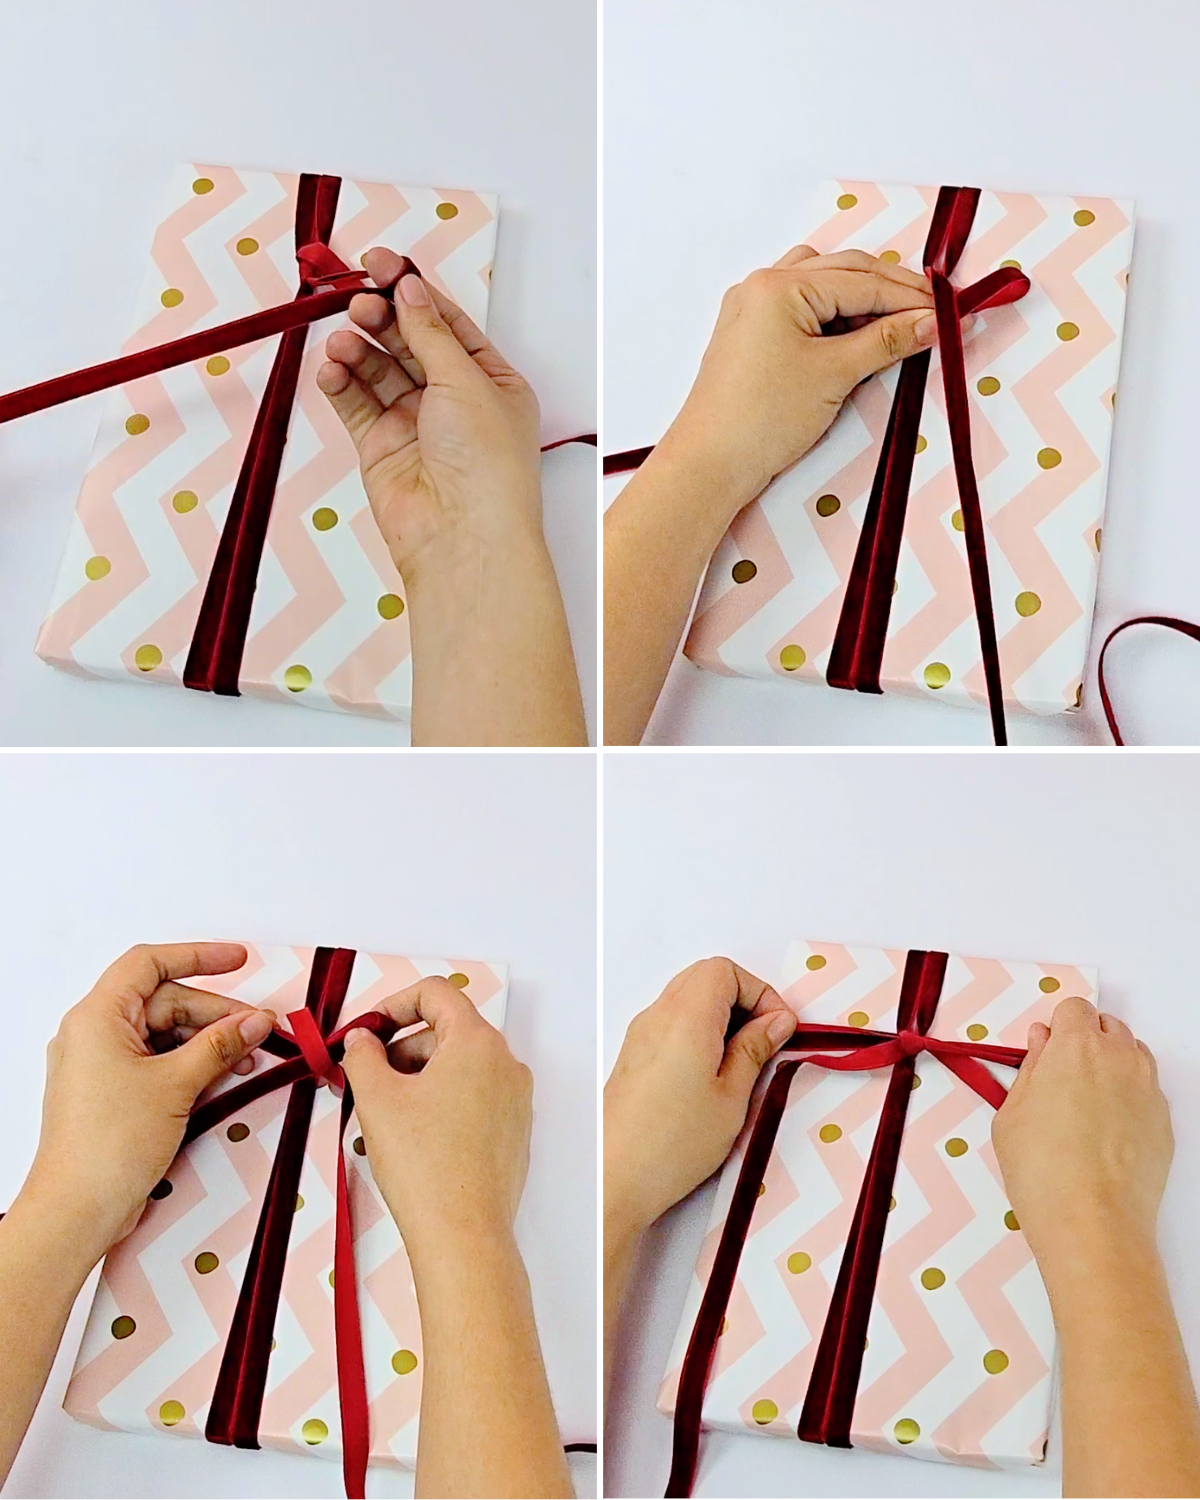
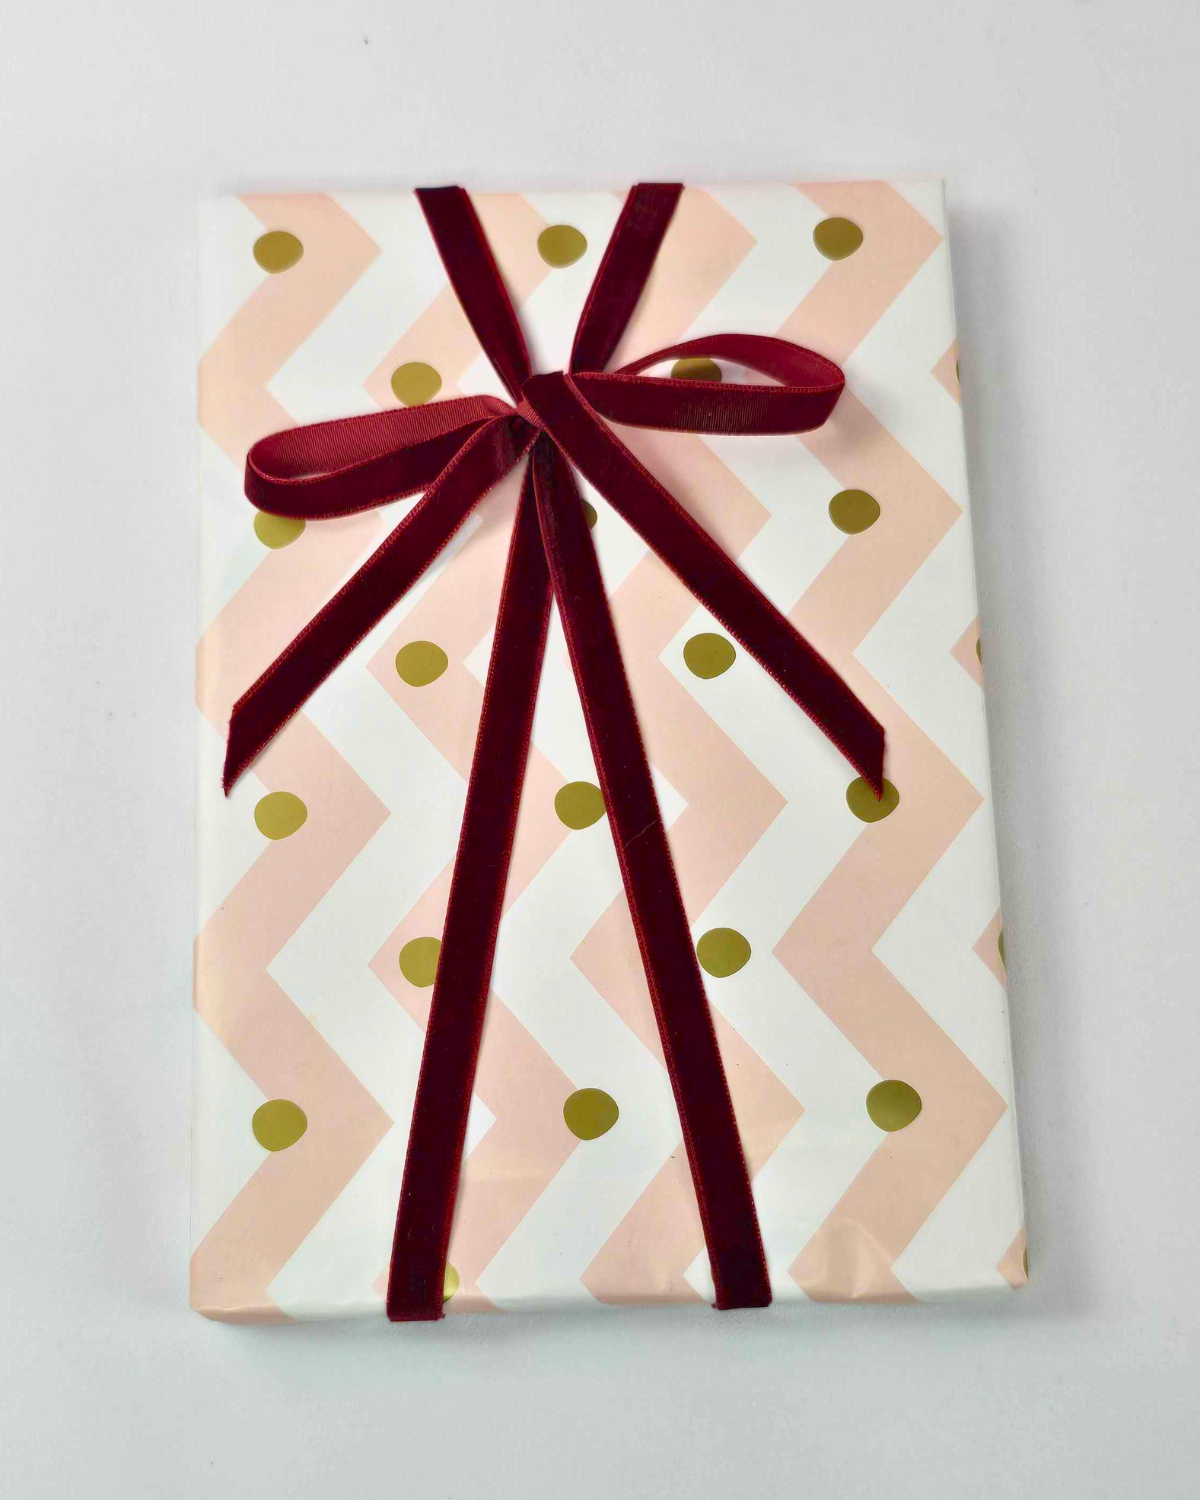
Bring the loop over the present, then insert the tails through the loop. Adjust their position so they sit about 1/4 of the way from the top of the gift. Hold the tails separately, bring the right tail around to the back and forward again, then tie it together with the left tail to secure the ribbon.Step 3: Form the Bow
Hold the bottom tail and make a loop. Bring the top tail around the loop, then push it through the center loop. Pull gently to form a bow.Step 4: Trim the Tails
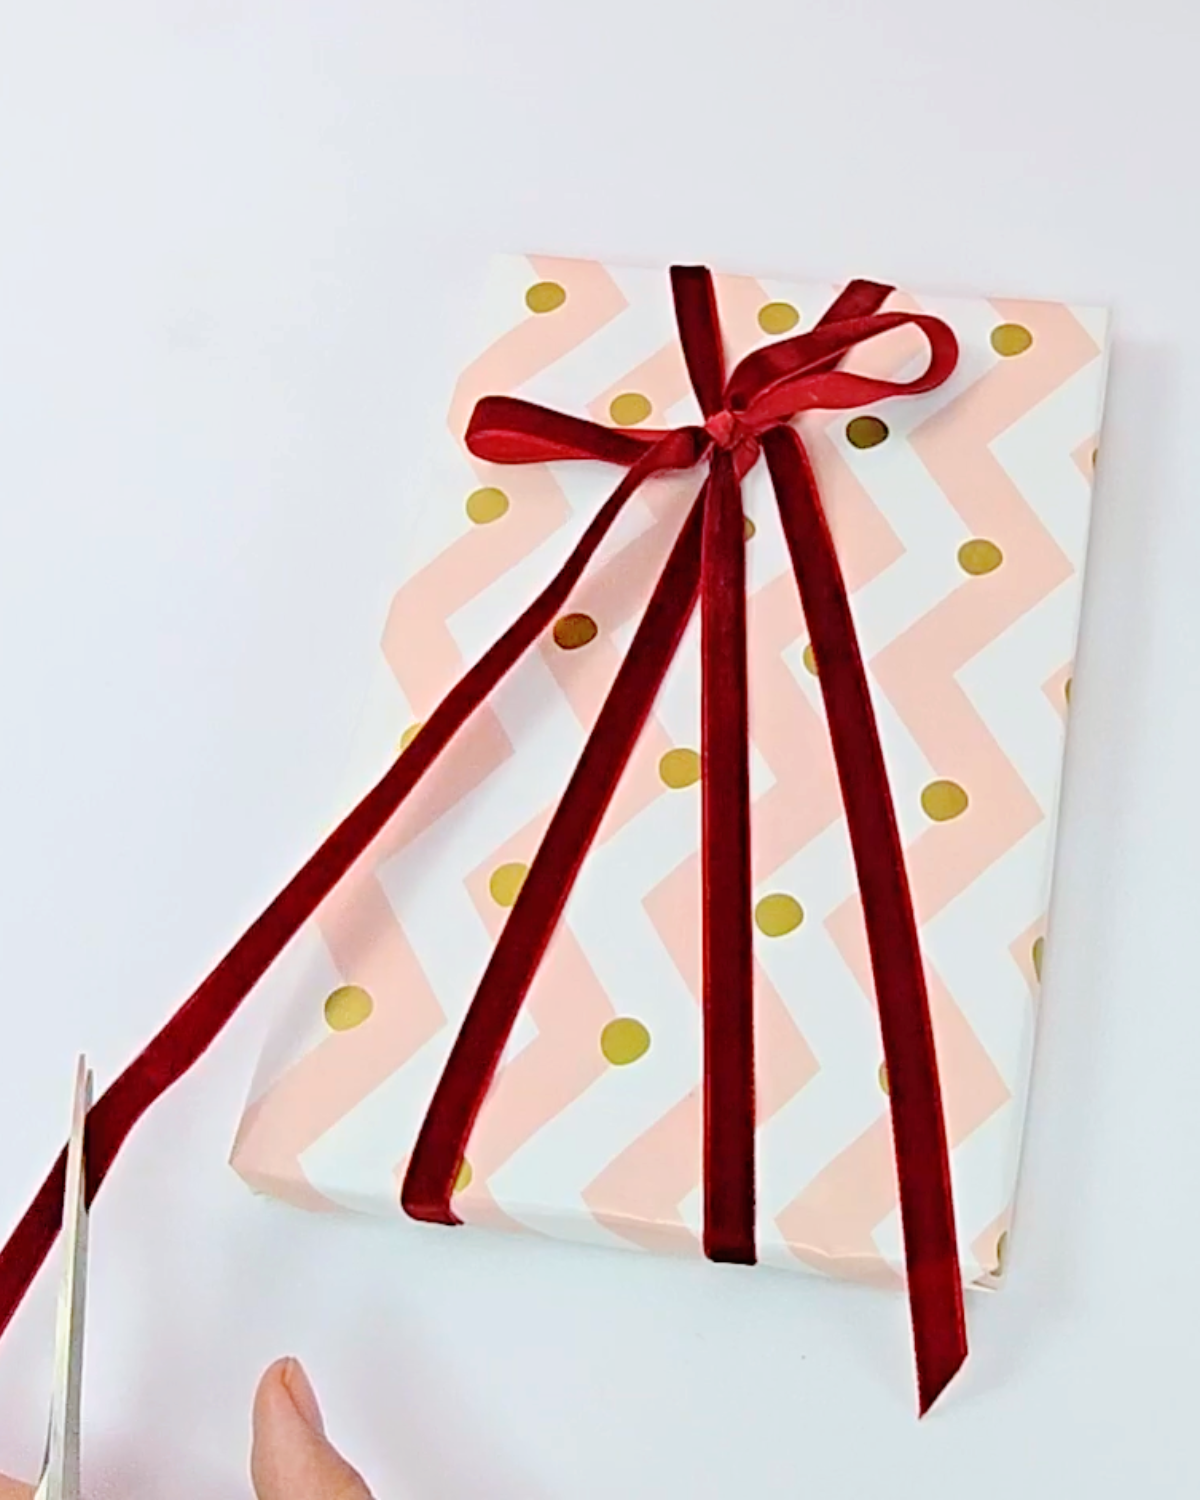
Spread the ribbon apart on the top and bottom. Cut the excess ribbon tails to your desired length. You can keep them long for a dramatic look or short for a neat finish.
Materials
- Ribbon
- Scissors
![]()
Why You’ll Love This Hack
This ribbon tying hack is quick, simple, and makes your gifts look instantly polished. You don’t need any special tools or complicated steps—just a ribbon and a few minutes of your time.
The best part is that it works with almost any ribbon and on any shape of present, whether square, round, or rectangle. It’s secure enough to stay in place yet easy to remove when it’s time to unwrap. If you’ve ever struggled with messy bows or rushed wrapping, this is the trick that will save you every time.
More Gift Hacks You’ll Love
Paper Crafts
Paper Crafts
DIY Gifts
*If you love this craft, then visit our official website, follow our Facebook page, and subscribe to our YouTube channel for more!
5-Minute Ribbon Tying Hack