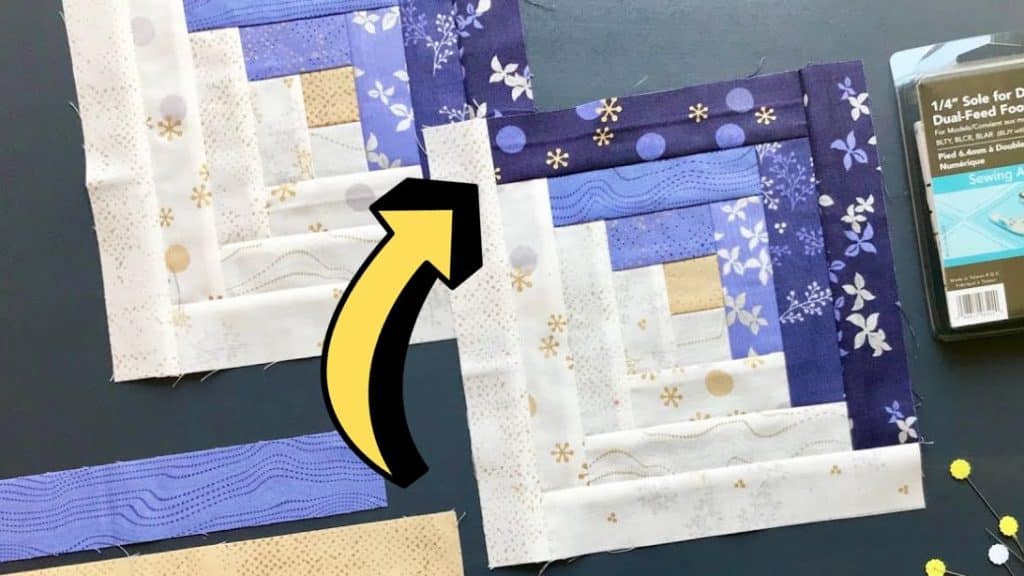
Log cabin blocks are one of the best and easiest quilt projects for beginners to try and are also very appealing even to expert quilters. It consists of different-sized strips and can be sewn using fabric scraps as well. If you’re new to this block, then learn these tips and hacks by American Patchwork & Quilting on YouTube, and you’ll surely end up with a perfect log cabin quilt.
Tips:
- Choosing the right fabric
- Organizing the pieces
- Seam allowance accuracy
- Pressing properly
Directions:
Choosing the right fabric
The success of the design depends on the strong contrast between the fabrics on either side that forms when the logs are pieced together. Make sure to choose fabrics that are different from one another so that you’ll be able to see the design.
Organizing the pieces
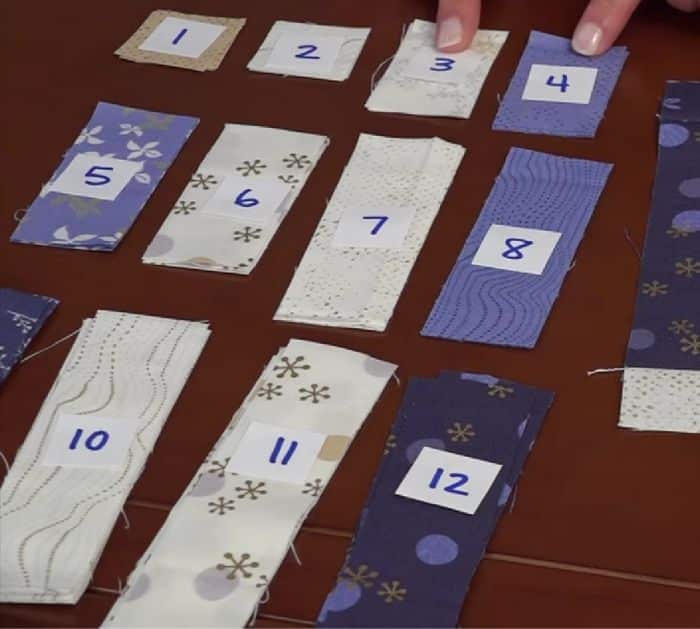
A log cabin block is assembled in a numerical sequence beginning at the center and working in a clockwise direction around the center. If you’re having fabric pieces cut in advance, it’s helpful to label them and keep them organized in units so you don’t grab the wrong piece.

[social_warfare]
Seam allowance accuracy
An accurate ¼ inch seam allowance is important in sewing the block, if the seam is off, the block will easily distort as you add more pieces. It’s best to test the seam allowance before you start, sew together 3 strips at 1½ inches, then measure the center, and it should be exactly 1 inch wide. If not, then make adjustments until the seam is accurate.
Pressing properly
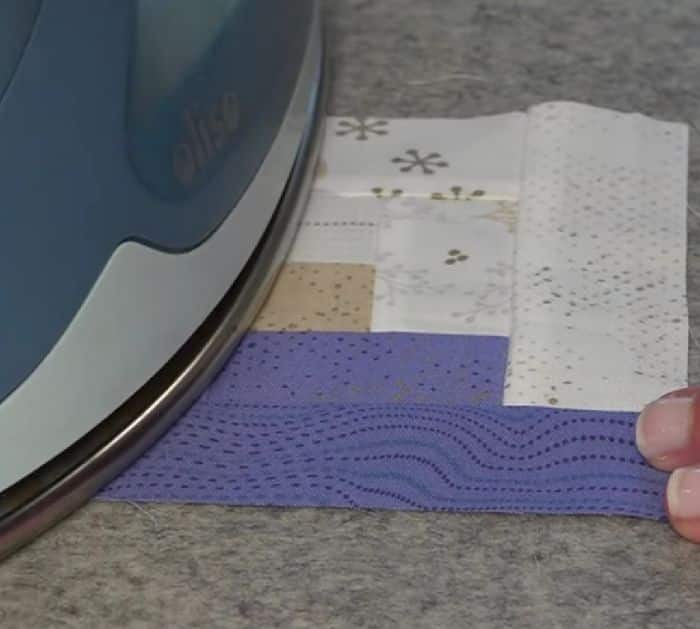
As you add each strip on the block, press them flatly after each one, do not iron as it’s easy to warp the fabric as you pull on them. You should also pin them in place before stitching to avoid your strip from shifting and to ensure that your block is kept square.

*All image credit belongs to American Patchwork & Quilting via YouTube. Follow and subscribe to her channel for more!


