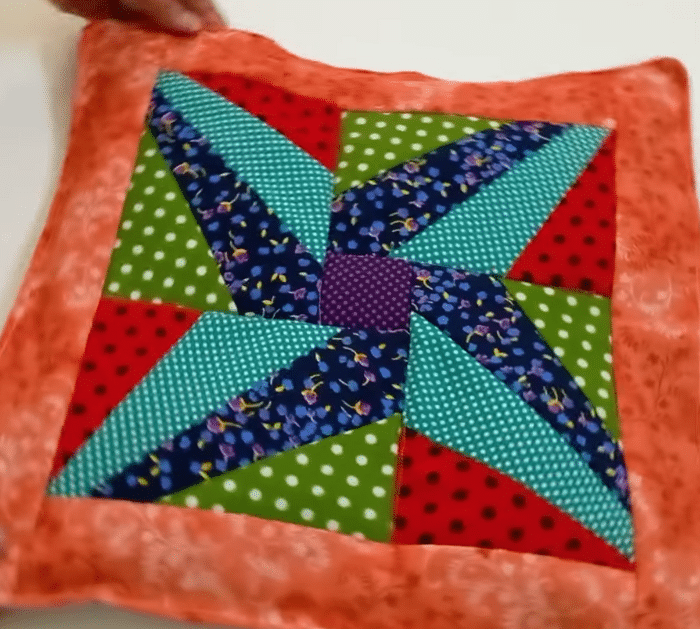
If you have a couple of leftover fabrics and don’t know where to use them, then check out this DIY project idea by easy sewing on YouTube, and you might just love it! This seat cushion is super simple and easy to make, and I bet that even beginners can do this perfectly on their first try.
RELATED: How to Make a Bench Cushion
This is a great item to make and sell or to give as a gift to your loved one, you can also personalize this cushion however you want by using different sets of fabric. Learn how to make this now by watching the video tutorial below.
Materials for DIY Quilted Seat Cushion:
- Assorted print fabric
- Cotton batting fabric
- Backing fabric
- Border fabric
- Pillow stuffing
- Ruler
- Marking pen, pencil, or chalk
- Scissors or rotary cutter and a cutting mat
- Needle and thread
- Fabric pins
- Iron, for pressing
- Sewing machine
How to Make a Quilted Seat Cushion:
Step 1
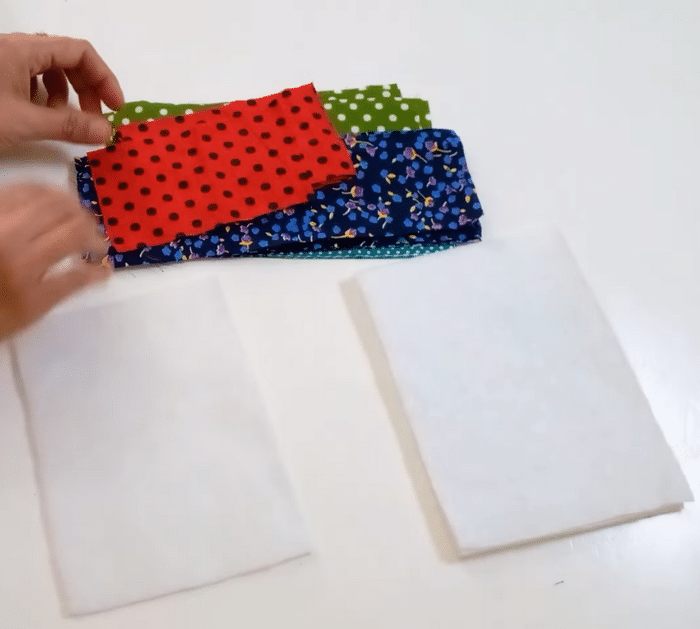
Cut 4 batting into 5×7″, then cut the print fabrics at 3×5.5″, 3×8, 3×9.5″, and another at 3×8″. Place the 3×5.5″ fabric on top of the batting, then pin it in securely, and place the 3×8″ fabric on top slanted and with their right sides facing.
Step 2
Stitch them together, then open the fabric, and keep adding the next strips of fabric 3×9.5″ and finishing with a 3×8″ at the end. Flip the piece over, then stitch all around the sides near the edges of the batting, and trim off the excess fabrics.
Step 3
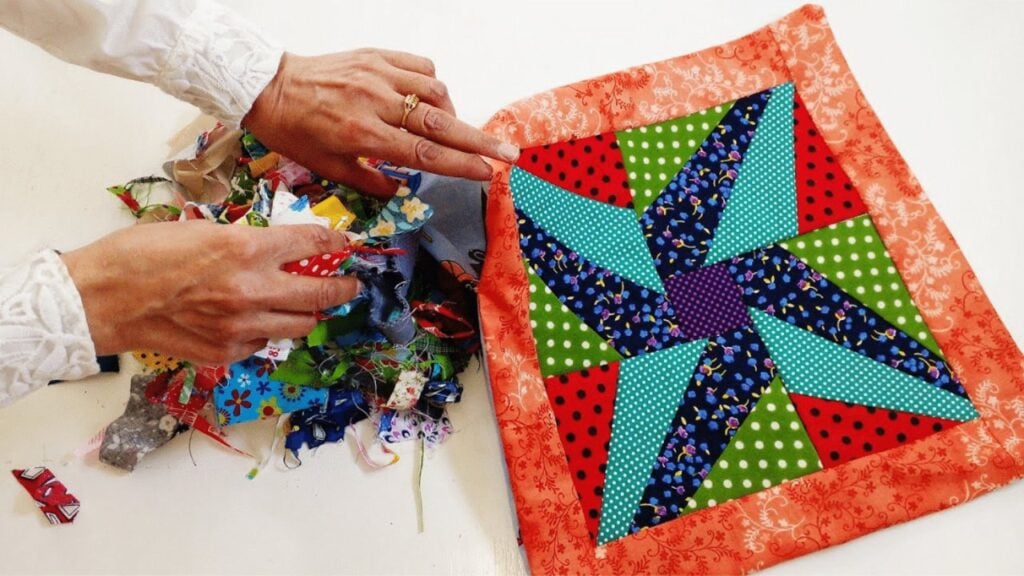
Repeat the same steps with the remaining batting pieces, then cut a print fabric and batting fabric at 2.5″ square, and stitch them together. Assemble all of the pieces as shown in the video, then start stitching them together one at a time, and proceed to stitch the border fabric.
Step 4
Place the backing fabric on top with their right sides facing, then stitch on all sides leaving a small gap for later, and turn them right side out through the hole. Poke the corners nicely, then start stuffing the seat cushion with fiberfill, scrap fabrics, or any stuffing that you prefer, and then stitch the opening closed.
*All these images are credited to easy sewing via YouTube. Give her channel a visit and subscribe for more!
Easy Quilted Seat Cushion Tutorial


