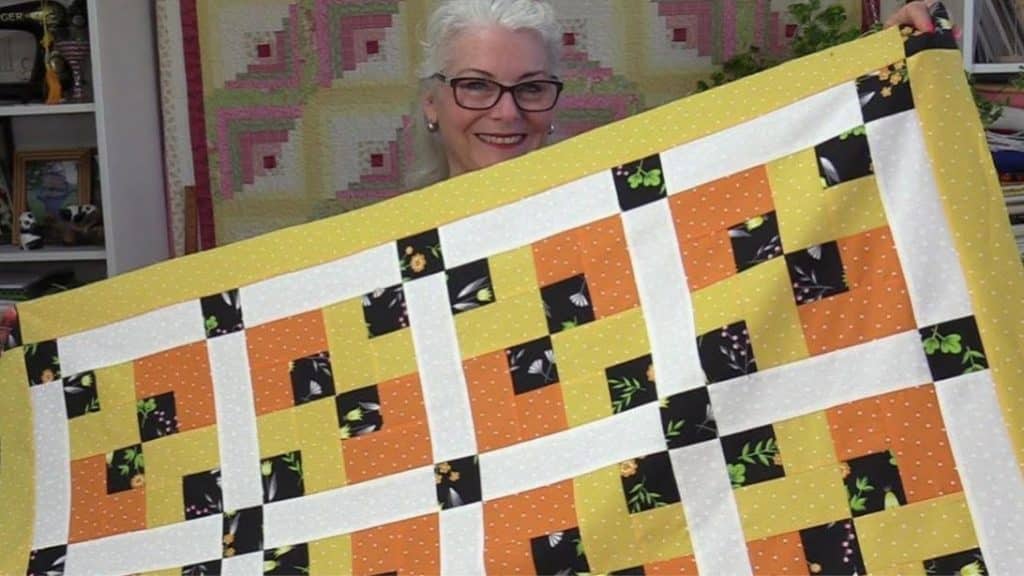
If you only have a few choices of fabric for a quilt and don’t know how to put them together, then you might just love this idea by SewVeryEasy on YouTube! This is so lovely and neat that you’d probably want to use this method with other fun fabrics, too. It is also very simple and easy to put together so even beginners can give this a try without worries.
Materials:
- Black fabric
- Yellow fabric
- Orange fabric
- Desired fabric, for sashing
- Marking pen or pencil
- Ruler
- Needle and thread
- Iron, for pressing
- Sewing machine
Directions:
Step 1
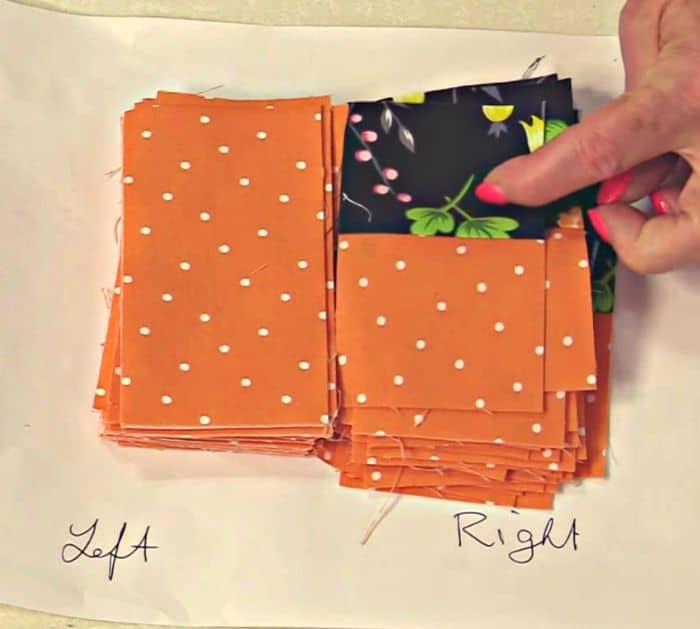
Cut the fabric into 2 strips each 2½ inches in width, then sew together each dark strip to one colored strip, and sub-cut them into 2½ inches. Repeat with the rest of the strips until you have 36 pieces of these small units from each color, there would be 4 strips left each of yellow and orange, cut them into 4½ inches strips, and you’ll end up with 36 pieces of each color. For the black strip leftover, cut them into 25 pieces of squares at 2½ inches, then lay a full orange strip on the left and the black and orange unit on the right, and sew them together to make a small block.

[social_warfare]
Step 2
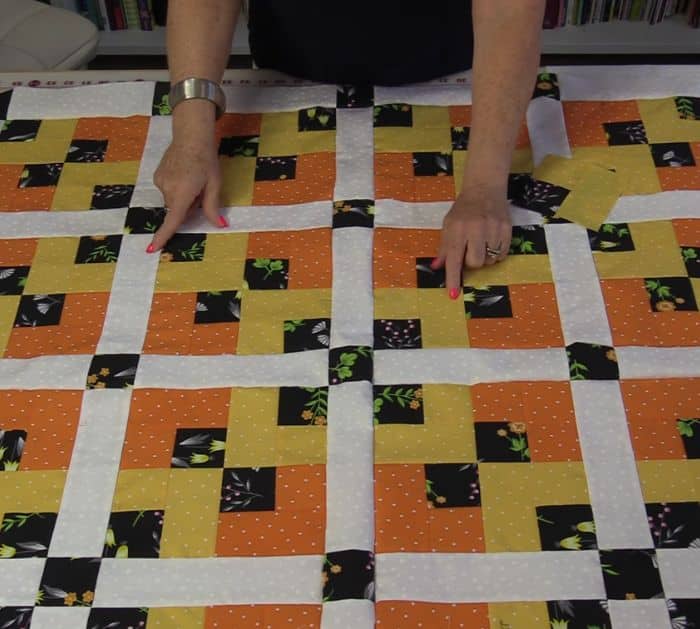
Repeat this with the pile of yellow, then divide them into 2 piles of each color, and assemble 2 orange blocks positioned diagonally with their dark corner pointing in. Lay 2 yellow blocks on the gap diagonally with their dark corner pointing outward as shown in the video, then sew them 2 units at a time, and stitch each unit together down the center to form a large block. Lay 4 large blocks, then place a dark square fabric at the center and decide whichever color of sashing you want to put as long as it’s 8½ inches in size. Once you’ve stitched the sashing, add the same set of sashing around the edges, then add the border, and you’re done!

*All these images are credited to SewVeryEasy via YouTube. Give her channel a visit and subscribe for more!


