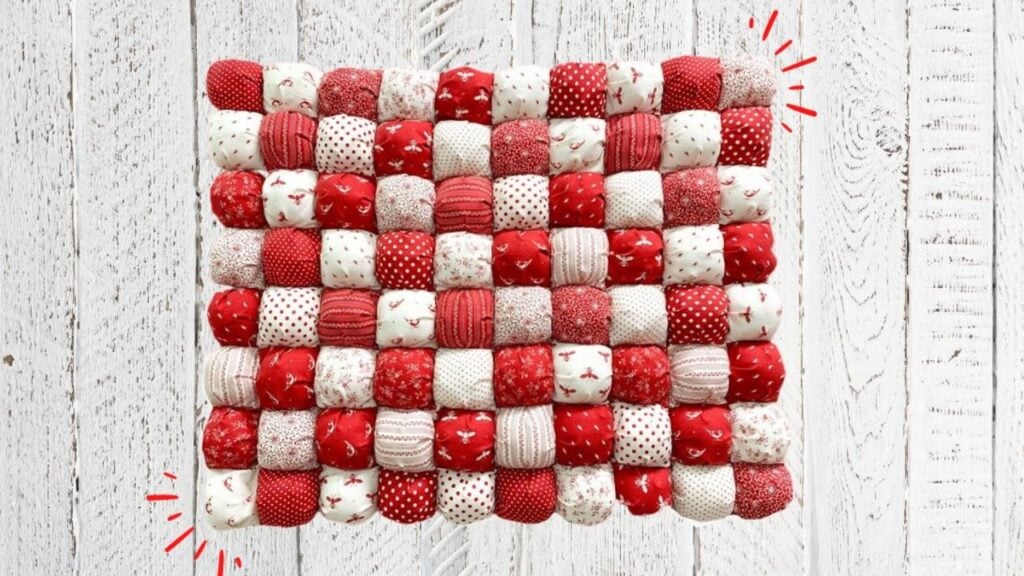
I’ve wanted to learn how to make a puff quilt for my daughter, but I always get overwhelmed with the process whenever I start. Thankfully, I found this easy puff quilt tutorial by Sew Yeah on Youtube and realized that it’s actually very simple. This has been my guide to finishing my first-ever project, and it has been fun making the first rows. I am sure my daughter will like how this will turn out.
Materials:
- 5″ squares (in two different colors for variation)
- 4″ squares (backing)
- polyfill
- plush fabric
Note: the number of 5″ and 4″ squares depends on how big you want the puff to be, but you’ll be using the same amount for the front and back squares.
[social_warfare buttons=”facebook,pinterest,twitter,whatsapp”]
Instructions:
Step 1:
Get one 5″ square and one 4″ square. Place the bigger square on top aligned on one corner of the smaller square, wrong sides together.
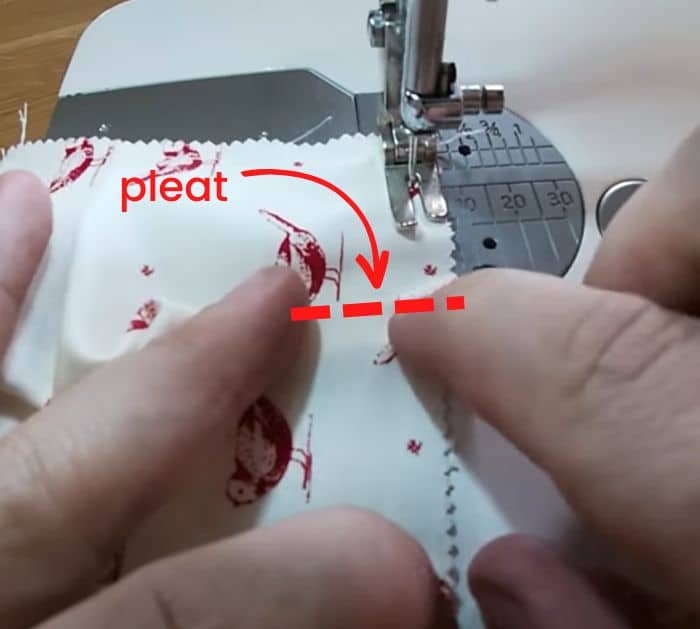
Step 2:
Sew about an inch and a half and stop the machine in a needle-down position. Line up the bottom edge, then pleat it right in the middle. Repeat on the other two sides.
Step 3:
Stuff the square with the polyfill. Make sure to not overstuff it, as it will be hard to connect all of the rows.
Step 4:
Finish pleating the fourth side, then move the polyfill inside. Repeat steps 1 to 4 for the remaining squares.
Step 5:
Get two puffs in different colors and put them right sides together. Pinch the edge real tight and sew with a quarter-inch seam allowance. Continue sewing the other puffs in alternate colors to make a row. Be sure to sew the rows in opposite directions. Sew the first one from bottom to top, then the next from top to bottom. This will help keep the puff quilt straight.
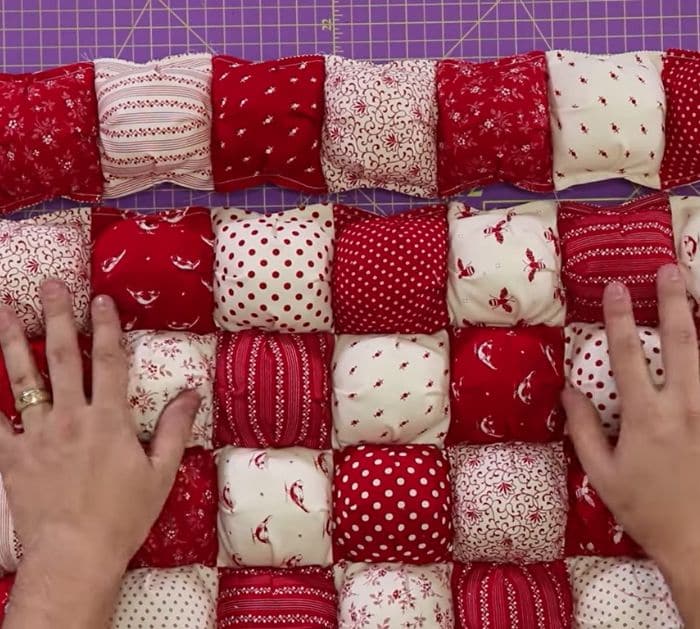
Step 6:
Line the rows as best as you can, then secure them with pins. Sew the rows together.
Step 7:
Cut the plush fabric the same size as your quilt. Lay it on a flat surface then place the puff quilt on top, right sides together. Take some pins and clip them together on the sides.
Step 8:
Sew it all the way around with a quarter-inch seam allowance leaving a 12″ opening.
Step 9:
Flip it right side out through the opening. Sew the opening.
Step 10:
Quilt every other one all the way down.
Easy Puff Quilt Tutorial


