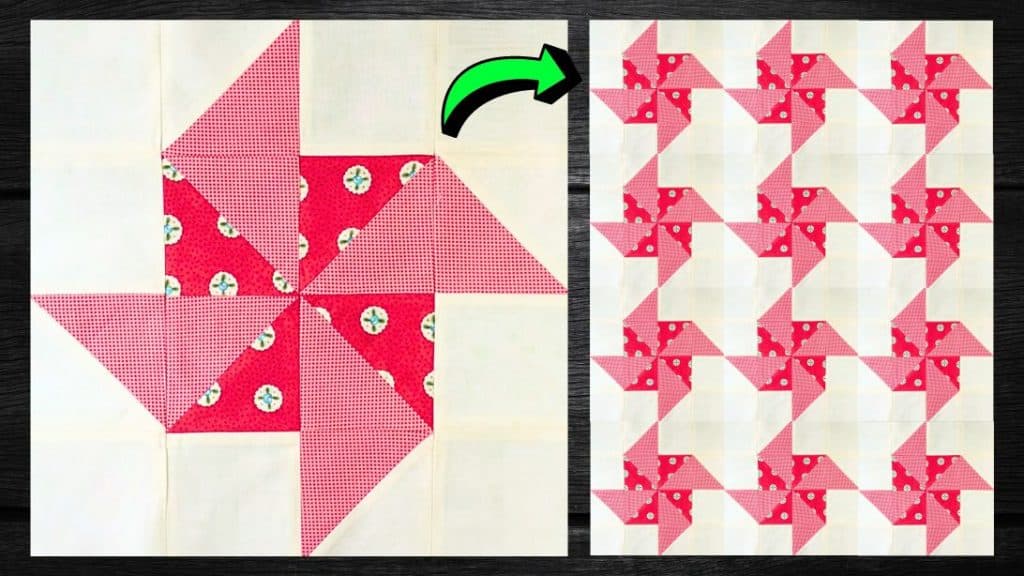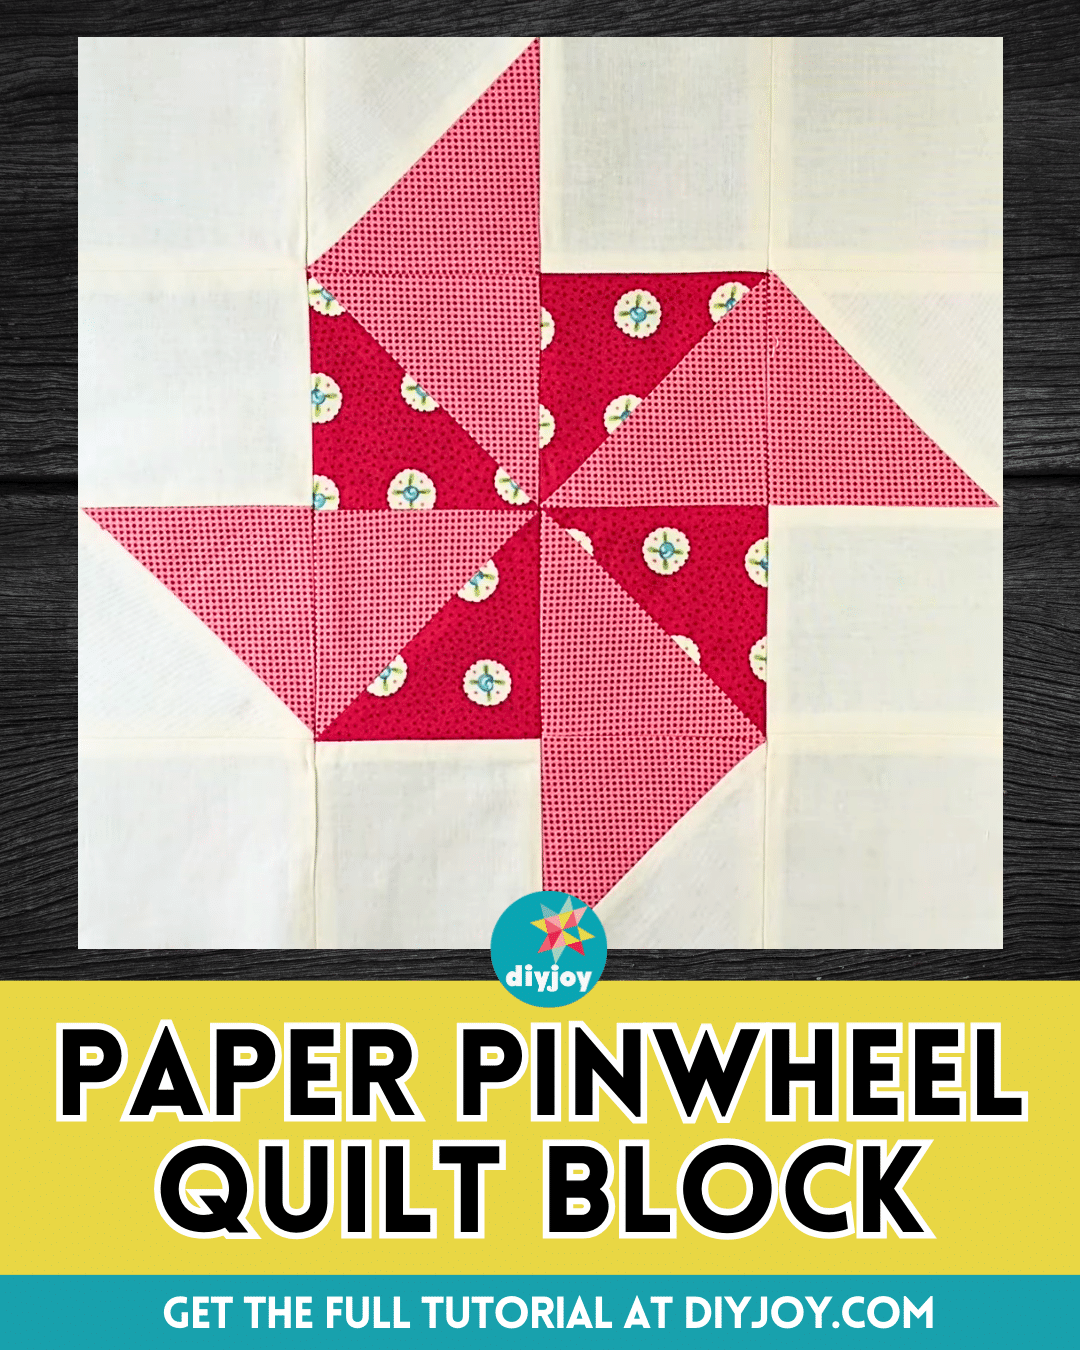
When I was a kid I remember that me and my cousins loved making paper pinwheels and playing them with the wind. It was an incredible time and nowadays I can see some kids in our neighborhood doing the same. So when I saw this quilt block idea by Teresa DownUnder on YouTube I was immediately reminded of the paper pinwheels that we used to play with.
RELATED: How to Make a Large Pinwheel Quilt
Making this quilt block is so fun and surprisingly easy, and I bet that even beginners can make this perfectly on their first try. If you want to see for yourself, then check out the instructions below and make sure to watch the video tutorial as well for more details.
Materials for Paper Pinwheel Quilt Block:
- White background fabric
- Medium red fabric
- Dark red fabric
- Marking pen, pencil, or chalk
- Ruler
- Scissors or rotary cutter and a cutting mat
- Fabric pins
- Needle and thread
- Iron, for pressing
- Sewing machine
How to Make a Paper Pinwheel Quilt Block:

Step 1
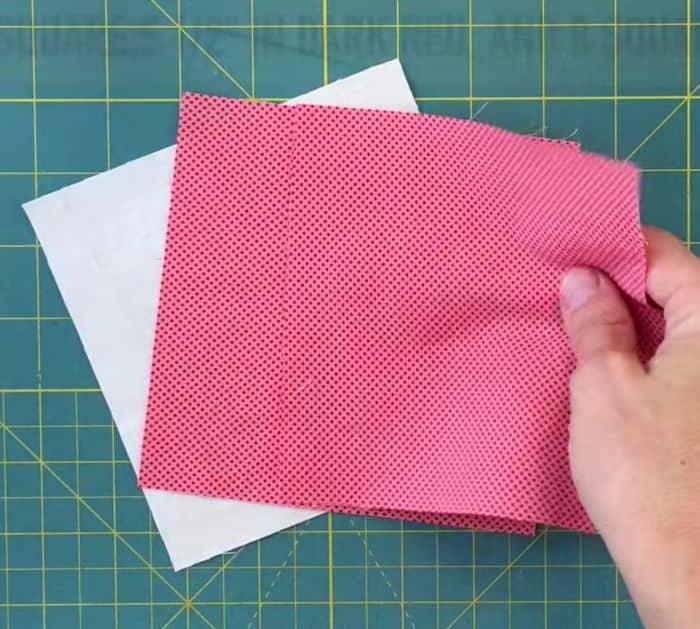
Cut one 5.5″ square in white, then two 5.5″ squares in medium red, one 5.5″ square in dark red, and eight 3.5″ squares in white.
Step 2
Lay 1 medium red square and 1 dark red square together with their right sides facing, then pin them in place and repeat the same steps with the medium red and white squares.
Step 3
Sew around both squares with ¼ inch seam allowance, then remove the pins, and cut the squares in half diagonally in both directions to make 4 half-square triangles per block.
Step 4
Press them open, then cut off the nubs, and trim them each into 3.5-inch squares if needed.
Step 5
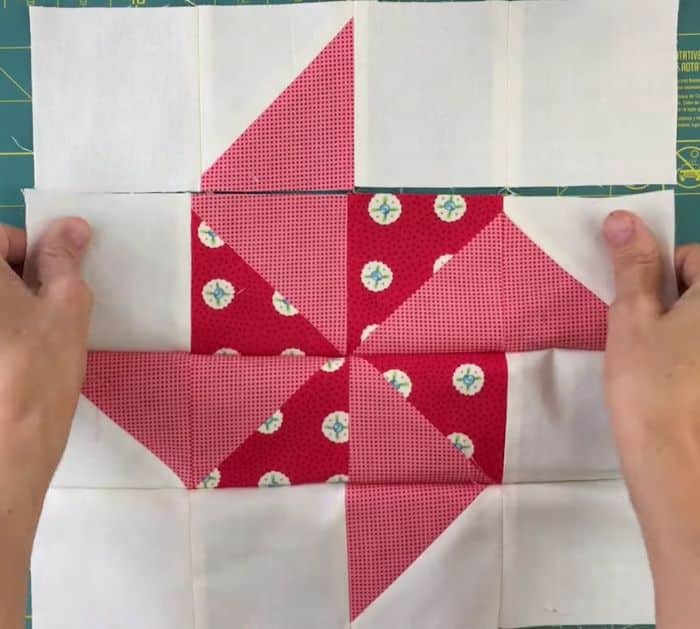
Arrange the blocks as shown in the video, then stitch them per row, and then stitch the rows to each other pressing the seams as you go. Give the block a final press and you’re done!

*All these images are credited to Teresa DownUnder via YouTube. Give her channel a visit and subscribe for more!


